The first thing on my massive house project list was the “master bath.” I put master bath in quotations, because while it is a bathroom located off our master bedroom, there’s nothing master-like about it.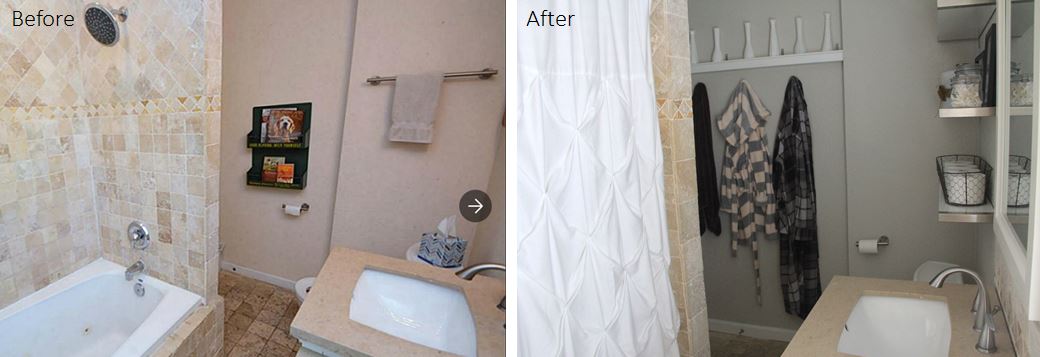
Here are the photos from the realtor’s website: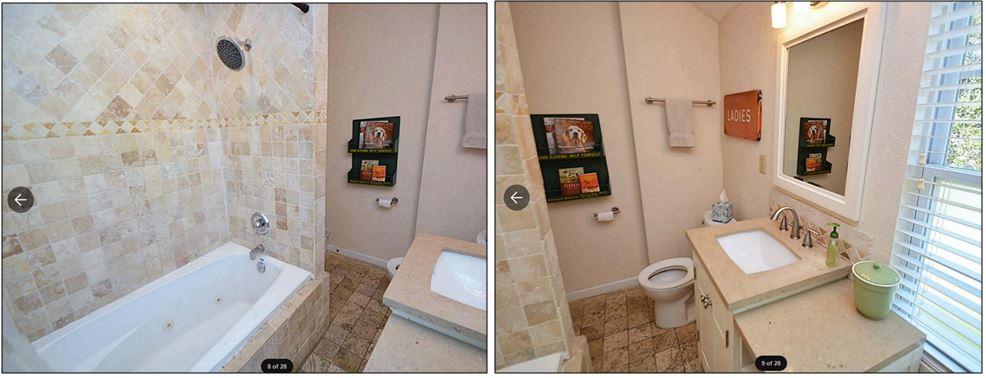
The Big Things I don’t like:
1. The configuration is all wrong.
2. Too much door-on-door action. The bedroom door bumps and blocks the bathroom door.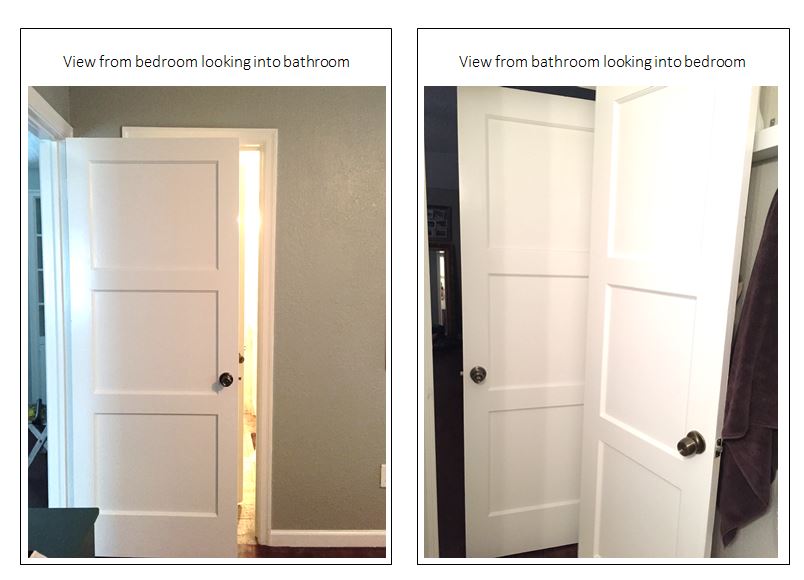
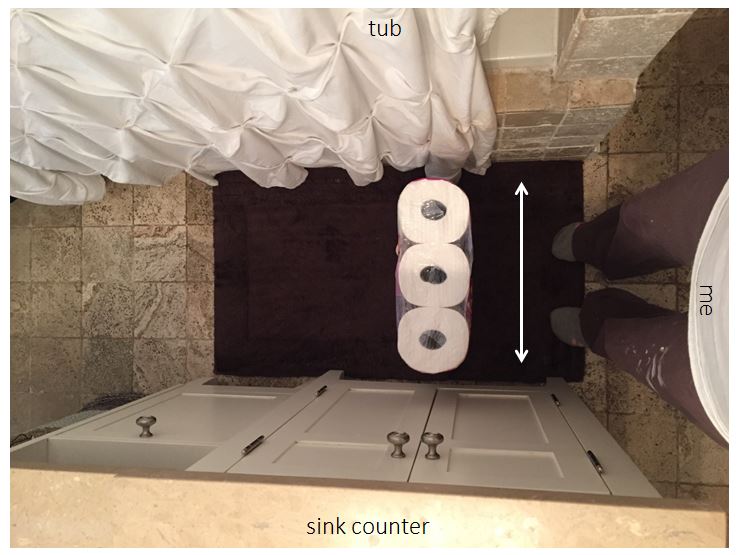
3. There is NO room. If one person is using the small, single sink then no one else can pass by. There is not enough space between the sink and the ginormous bathtub. They are only a bathmat (or three toilet paper rolls) width apart from each other.
4. Speaking of the bathtub…it’s nice? Sorta…? It’s a new, large and updated tub. But it’s waaaay too large for the space, and there’s almost six inches of tile surrounding it which, again, eats up the very limited space. It has Jacuzzi jets which would be awesome, if they weren’t constantly filled with slime and mold (TMI, I know).
5. The shower is all wrong. There is ZERO water pressure on that side of the house, and the previous owners installed a huge rain shower head. Which would be awesome…except zero water pressure + large shower head= a weak trickle of water to wash yo’self. Also, it would take years to fill up that ginormous tub if you ever wanted to actually take a bath in it. Here’s a weird photo of the water pressure: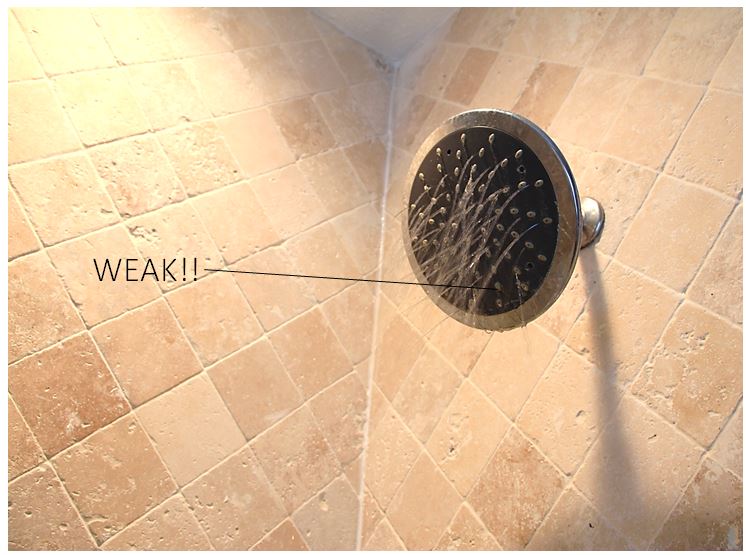
6. There is wall tile on the floor- which is a major pet peeve of mine.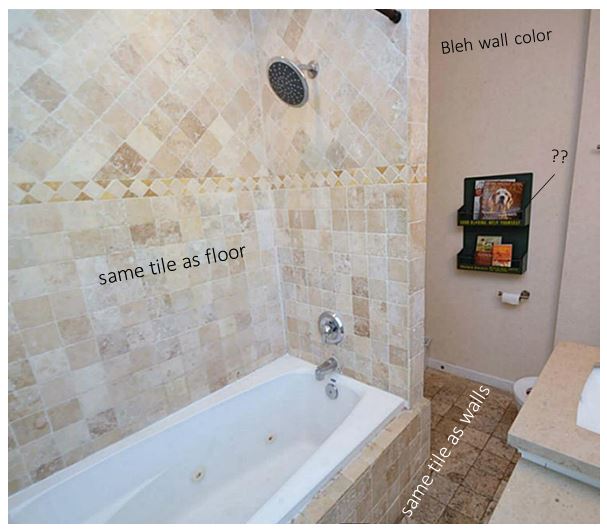
7. The tile is tumbled meaning it has dents and divots in it to give it a natural stone-like appearance. Great(ish) on walls. Terrible on floors. They catch ALL.THE.DIRT. And it’s nearly impossible to scrape it out of there. I’ve been on hands and knees with a toothbrush and a toothpick cleaning the tiles, and they still looks nasty dirty. 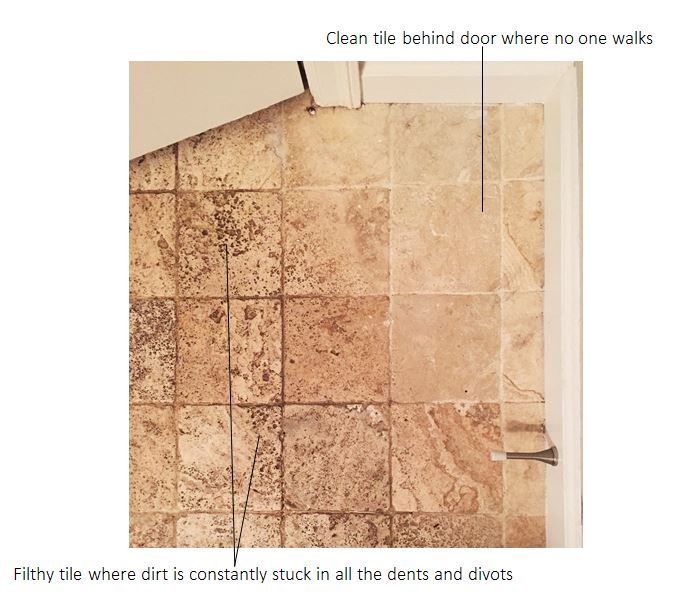
8. And last but not least, you have to pass through previously mentioned narrow bathroom to get to the “master closet.”
What We Did:
Since we were low on cash (think: holidays, I’m in-between jobs, and we just purchased a freak’n house) a complete master bath gut was not going to be happening anytime soon. And while the space is crowded and not really my style- it works. The plumbing works, the walls are in good shape, etc. We could live with it. So, all we ended up doing to the master bath were cosmetic things.
- Paint. We rounded up David’s sweet family and we all spent Christmas painting the walls. We changed the yellow-ie white/tan to a cool grey-white. The color is Toasty Grey by Behr.
2. Then, we took off the two original doors, sanded them down (because the original paint was peeling off) and re-painted them Falling Snow by Behr. I painted the trim around the closet door mirror a deep charcoal grey. 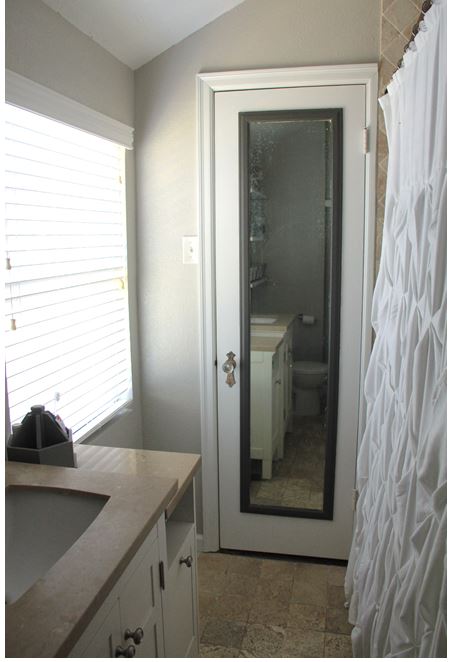
We kept the original sunflower glass doorknob on the closet door, because it has that whole history and charm thing going on. Now that I think of it, that doorknob/plate might be the ONE thing I love about this bathroom.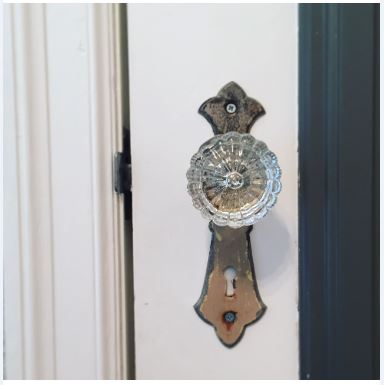
3. We installed these floating shelves above the toilet* for more storage: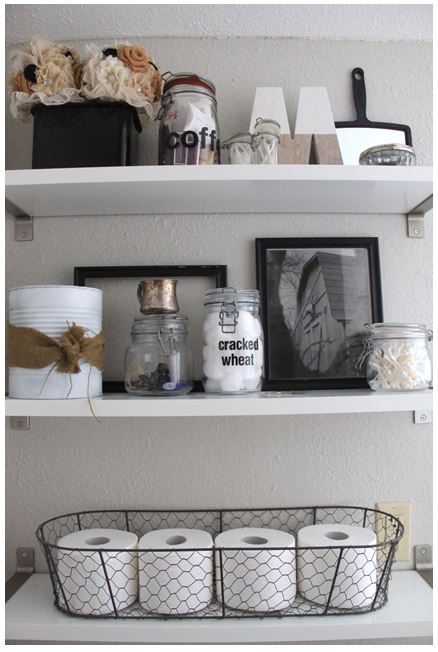
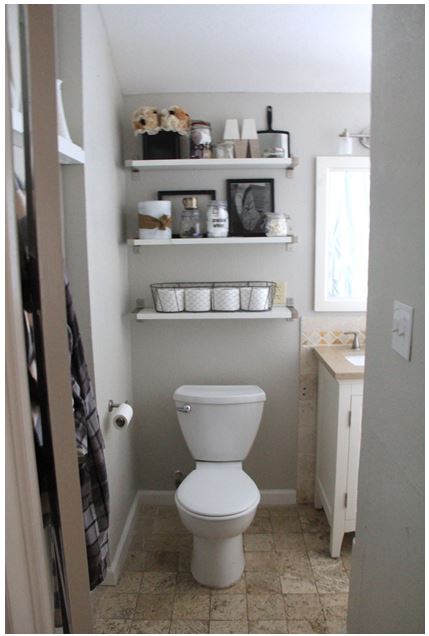
*I think it’s worth hilariously mentioning that the toilet in the photo above is not the original toilet in this room. After doing some investigation on www.swamplot.com, we discovered that our master bathroom originally had a FISH-N-FLUSH toilet. Swamplot’s post from June of ’08 is below. I’m not making this stuff up folks, this is our actual house**** 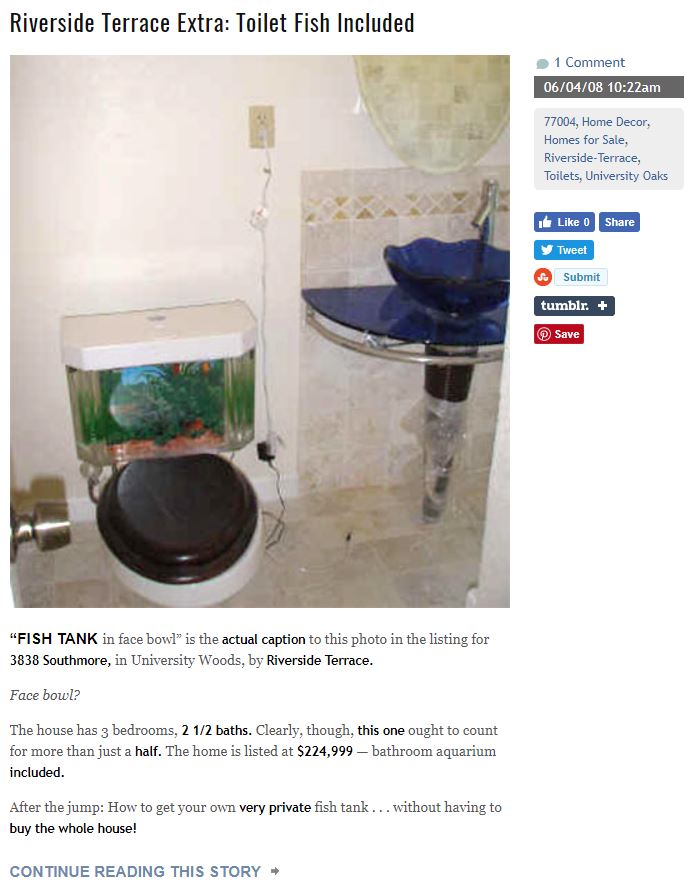
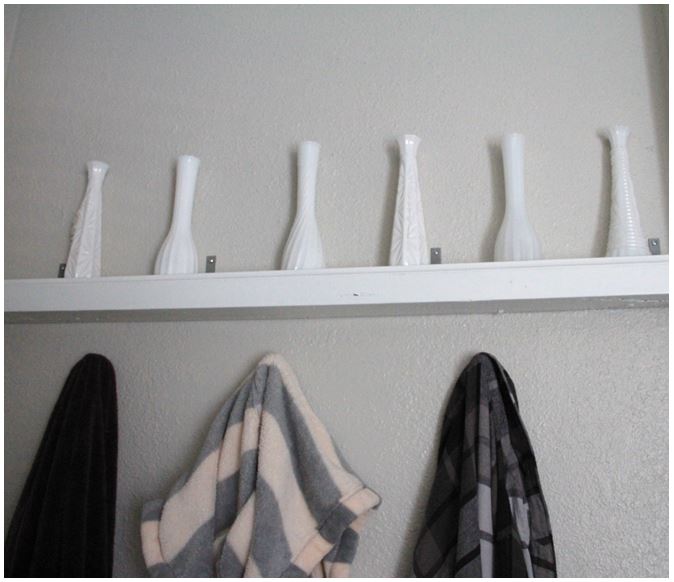
4. We added this little picture ledge out of reclaimed wood that I painted white for decoration behind the bathroom door. I topped it with some milk glass pieces I had been collecting. We also took down, reorganized, and replaced the towel hooks, toilet paper roll holders, etc. It all looks a little spooky in this photo, but you get the gist: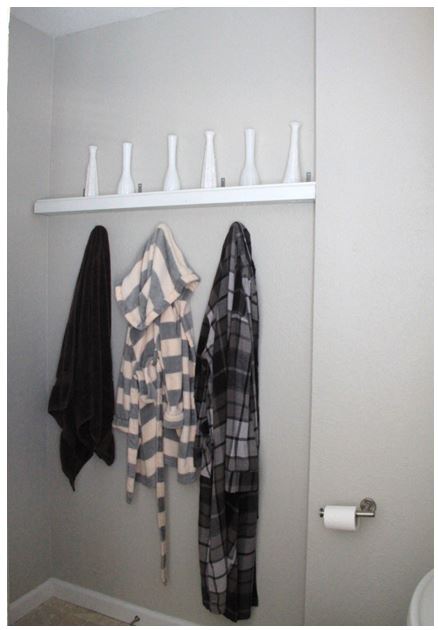
5. Oh yeah, and we added a classic pintuck white shower curtain with decorative glass hooks to match the glass doorknob! Bonus because our bedroom comforter has pintucks, too!
The bathroom is still by no means my dream mater bathroom, BUT, it will work for the time being while we save up for a major renovation. More to come on that subject later…

