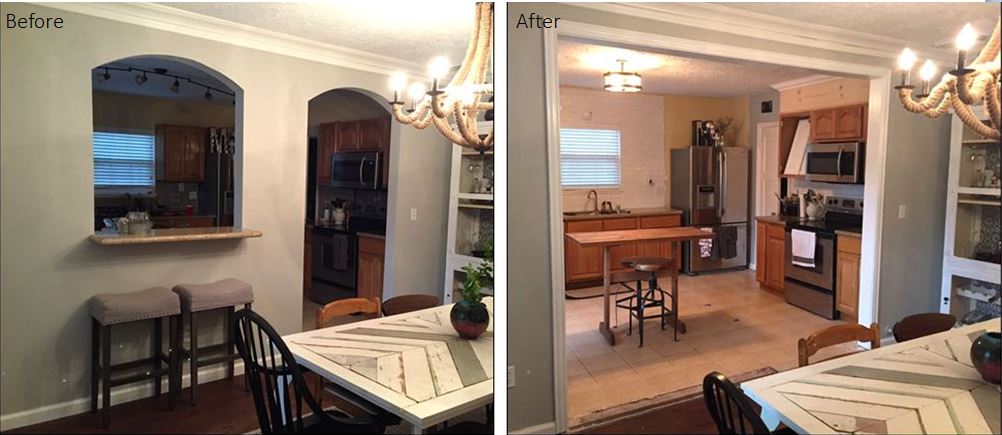
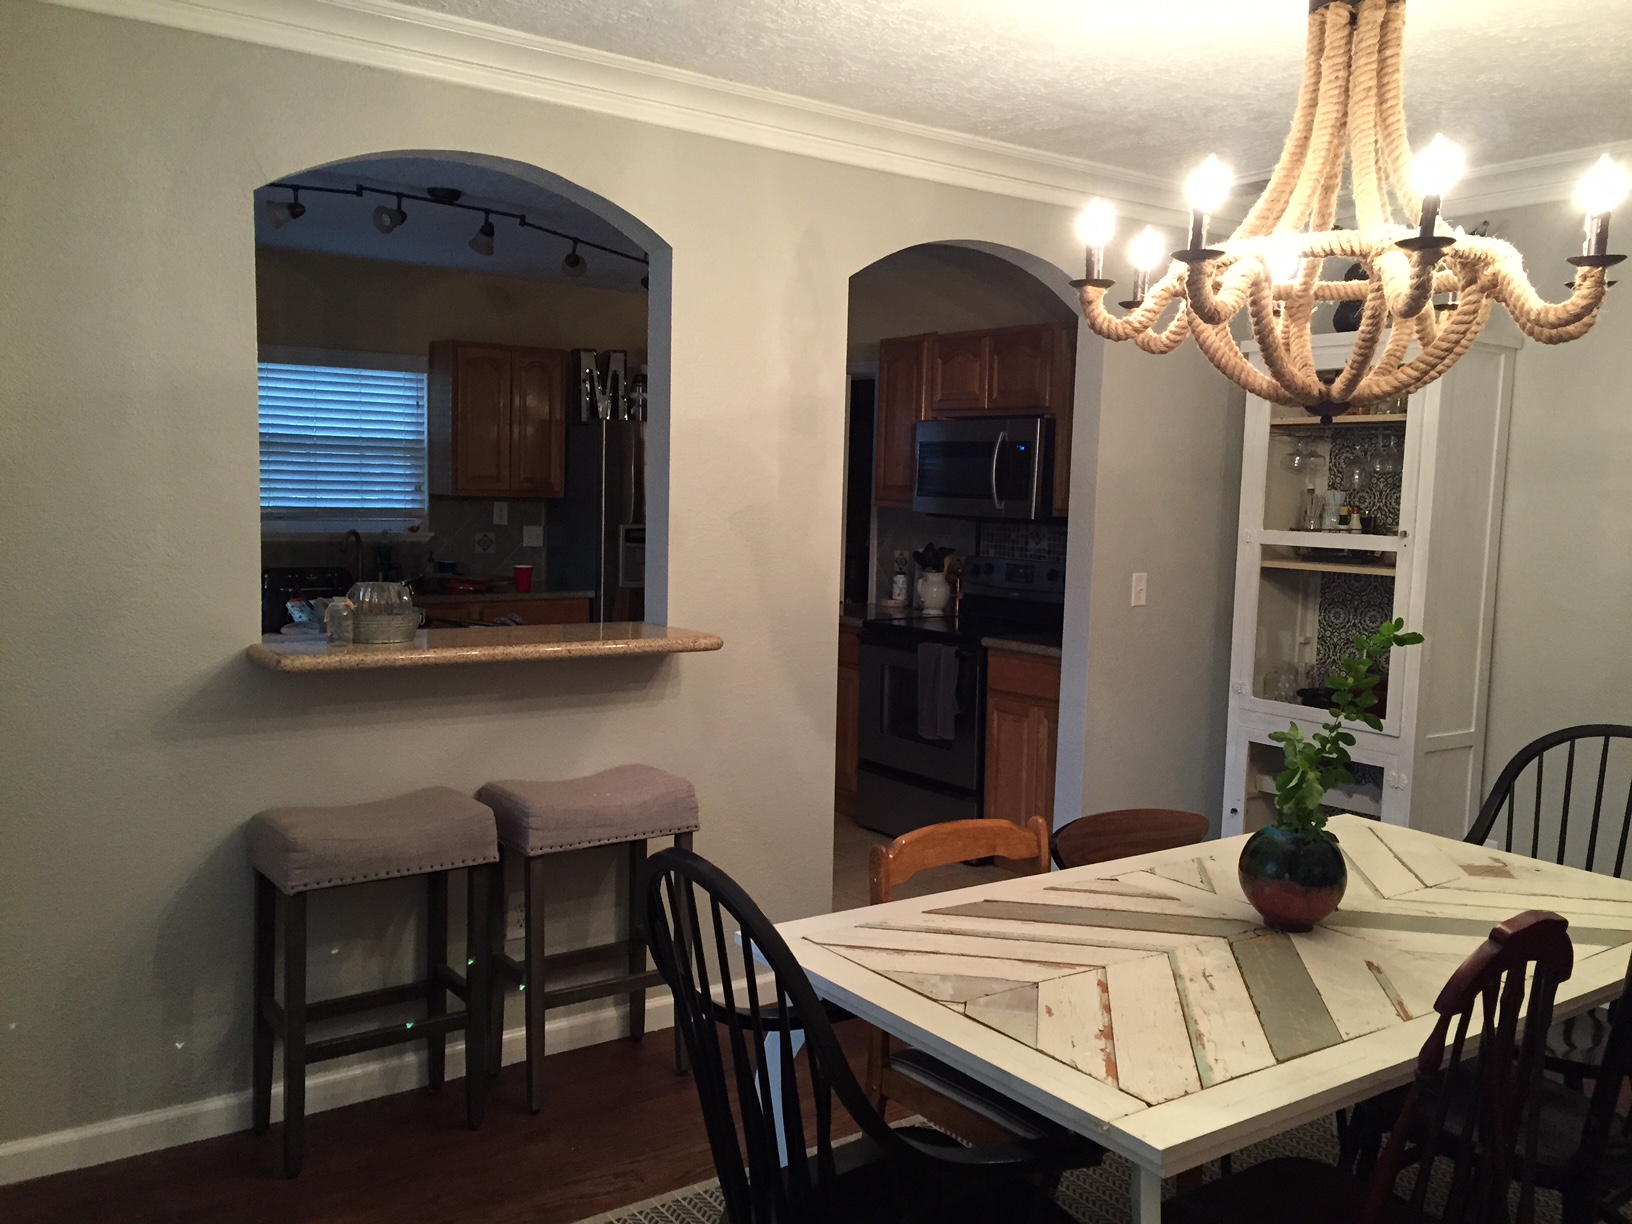
The first step of our kitchen reno is to open the wall between our kitchen and dining room. Ultimately, I want one big cased opening that matches the others in the house. The photo below shows David’s work before and after he removed the arched doorway and arched bar window (?) between the two rooms.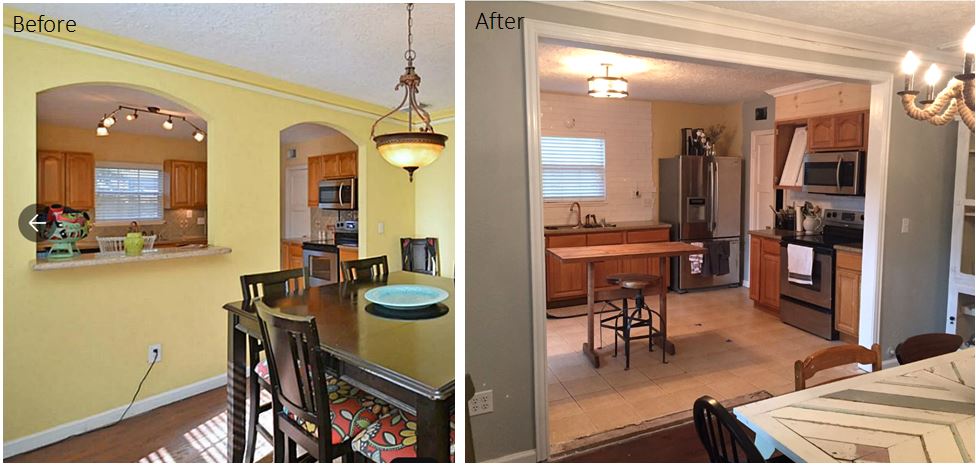
What the wall looked like before we ripped it down:
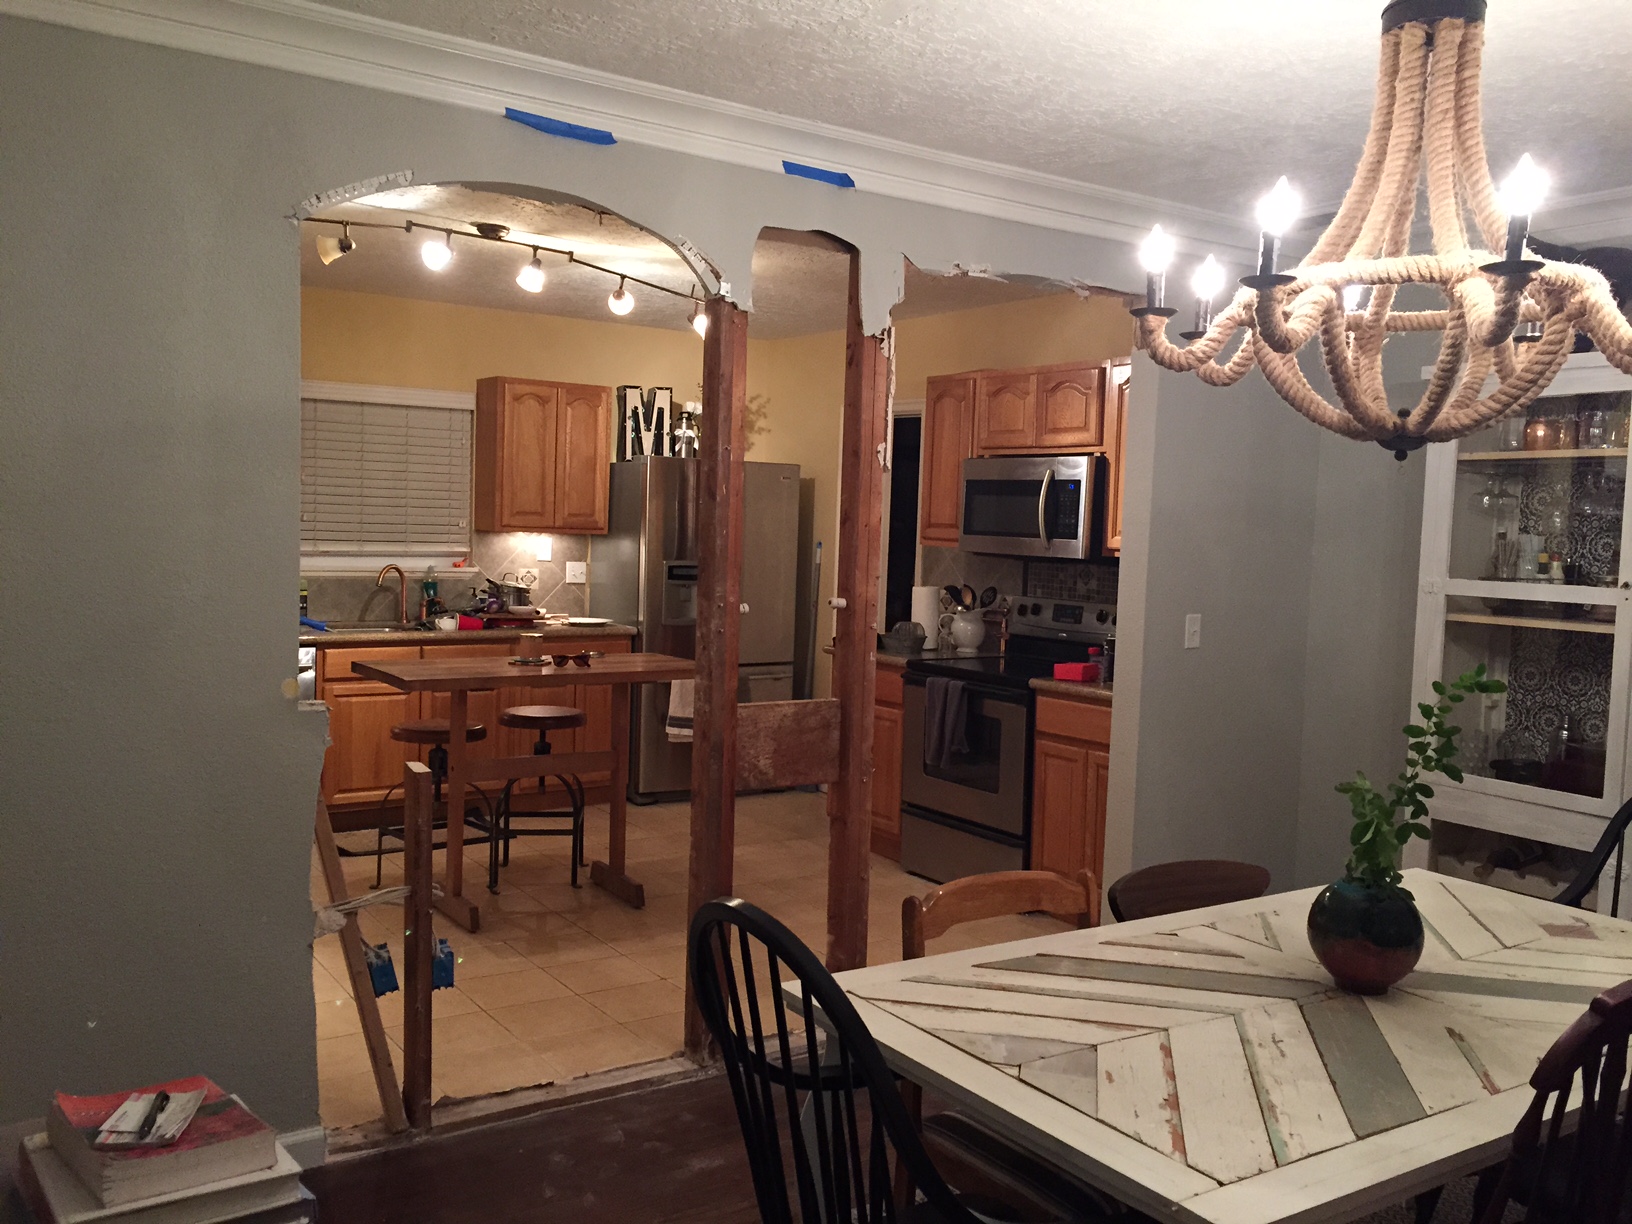
Removing the arches: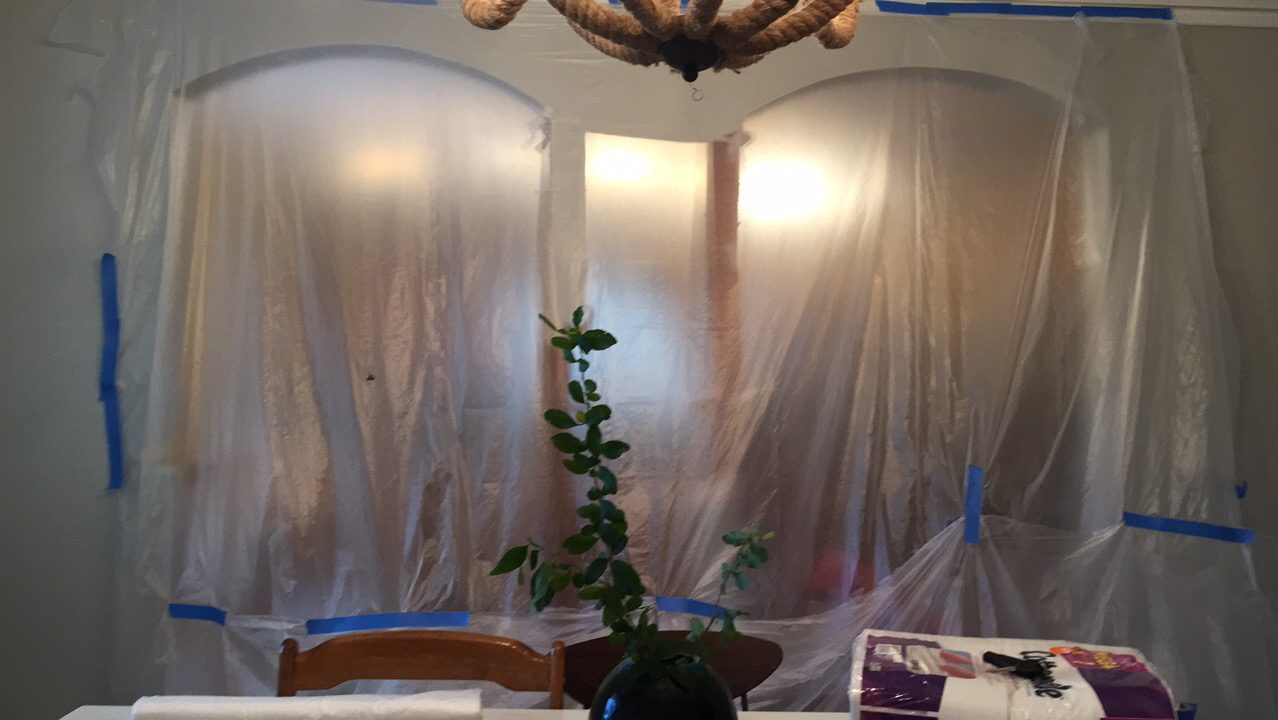
One arch removed:
Then David built a temporary wall to reinforce the ceiling while he knocked out the center supports:
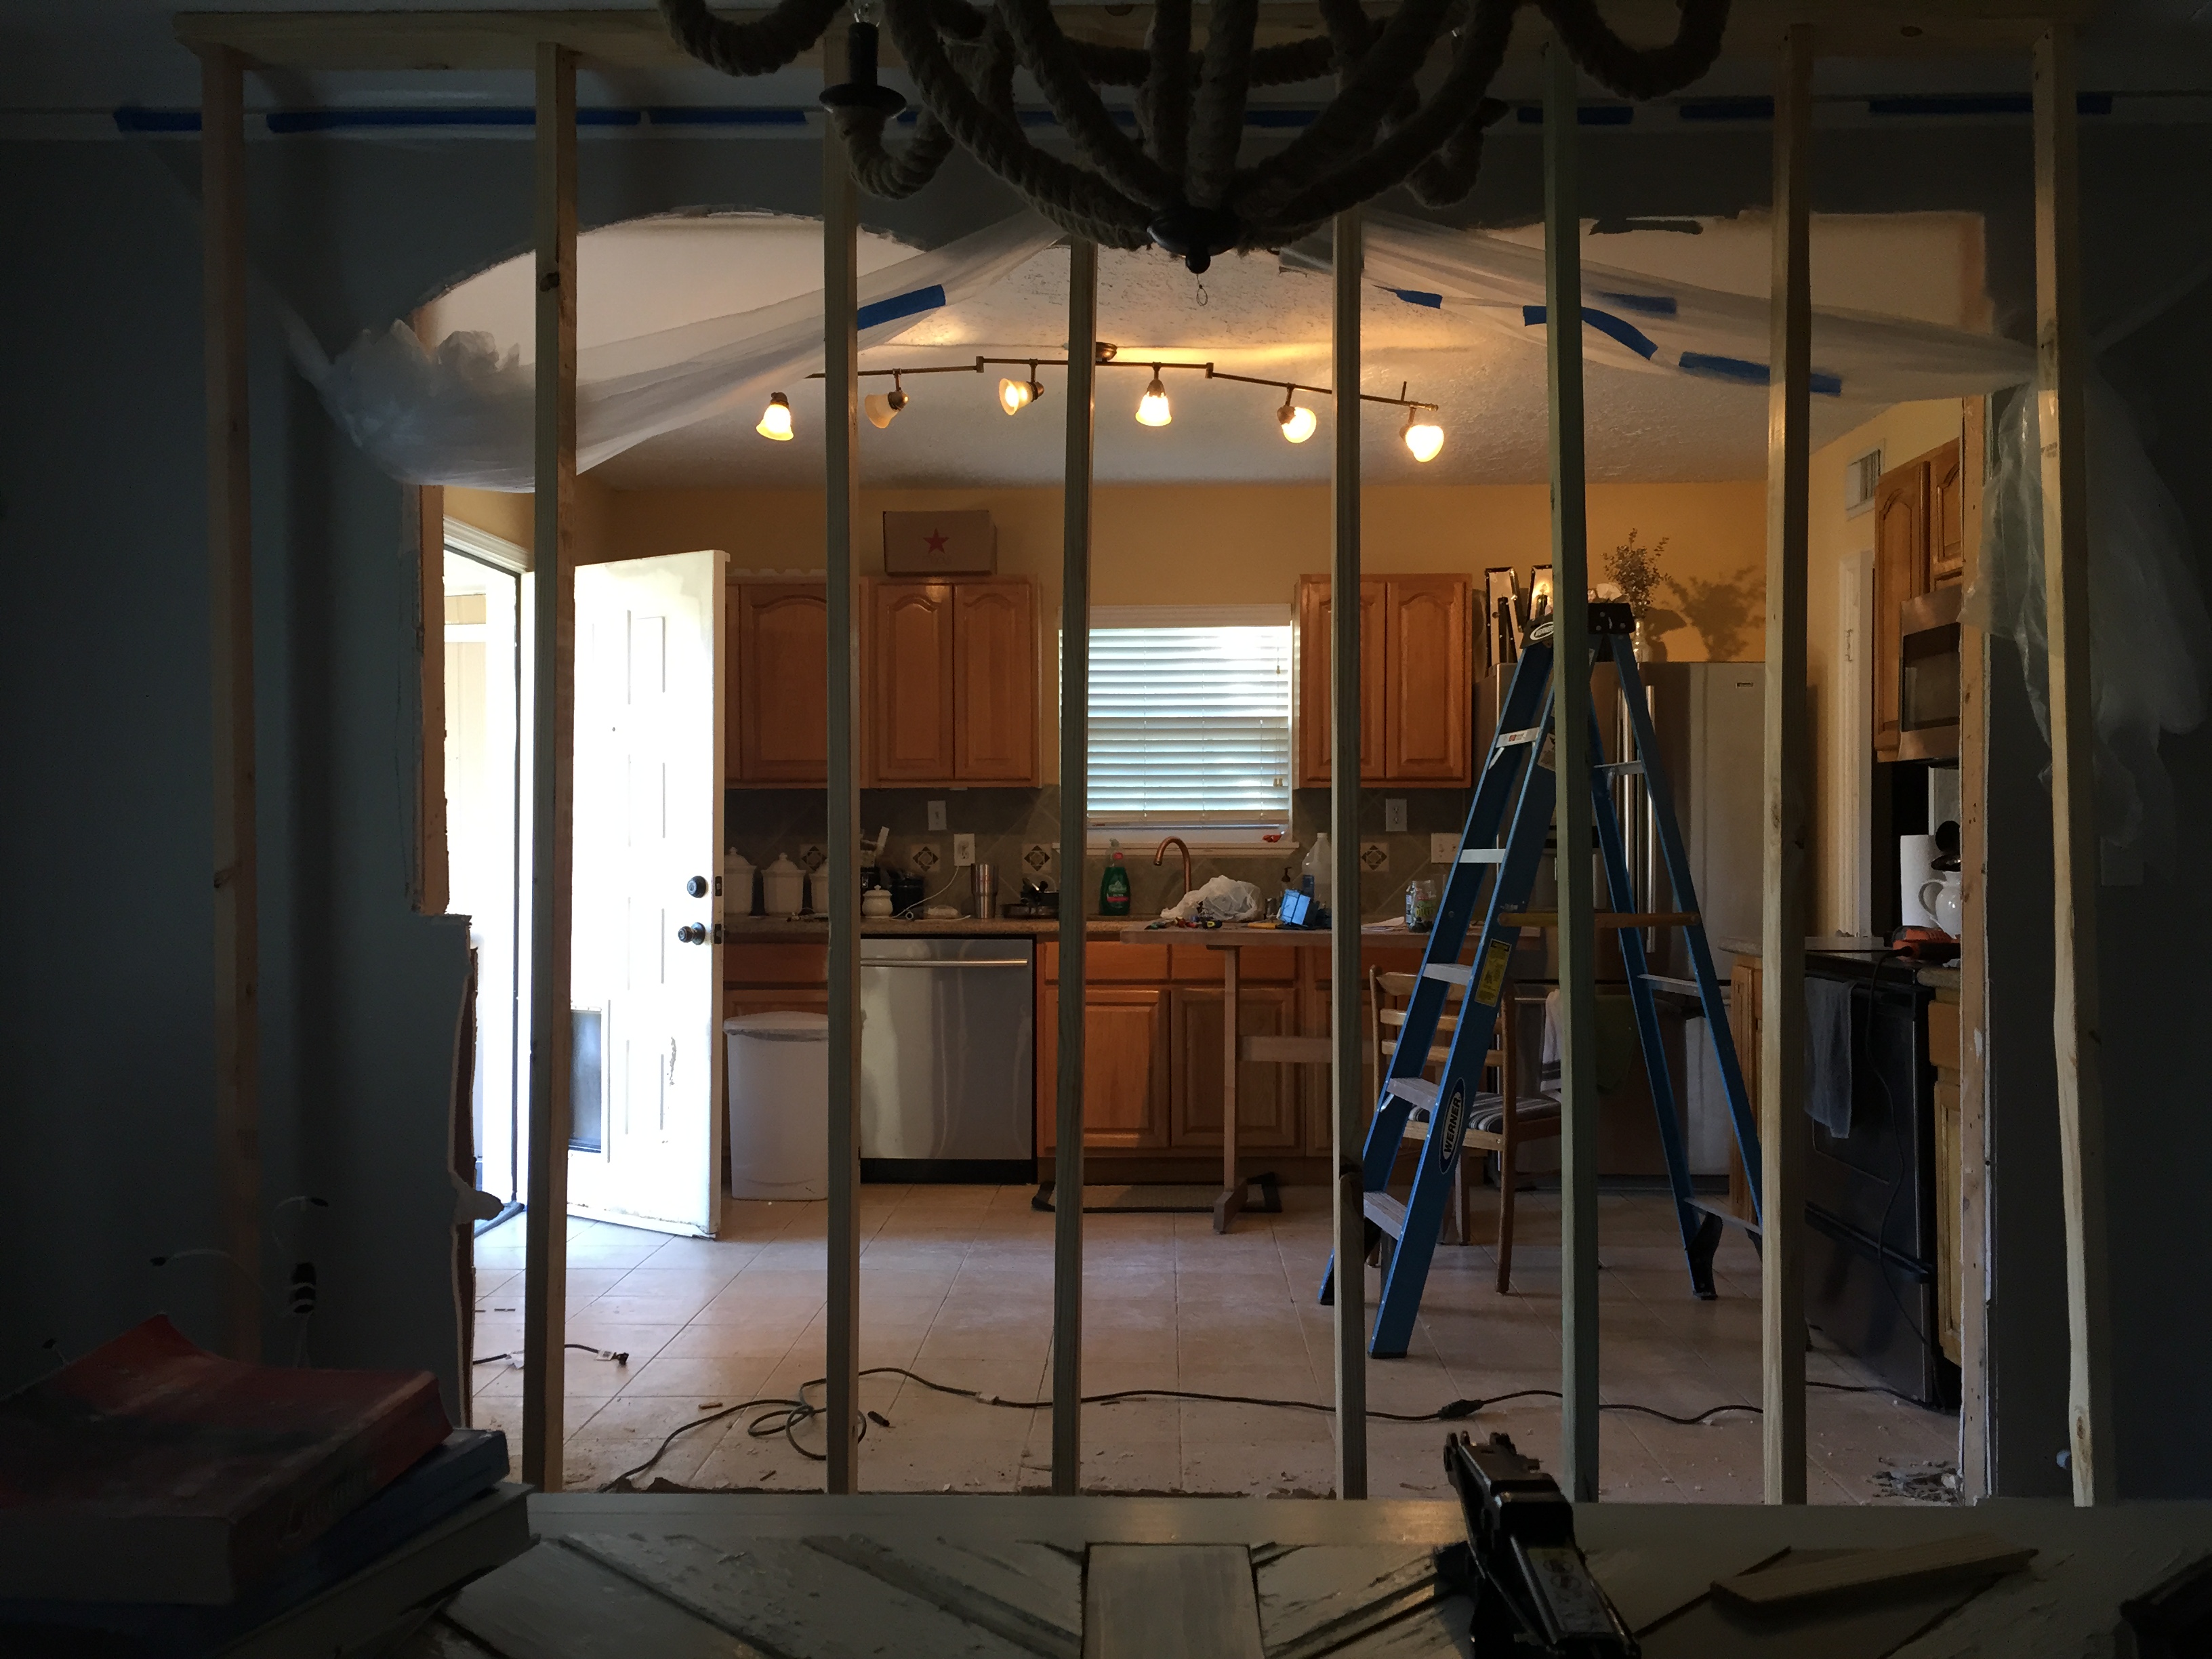 Who knew all of this was so complicated?!
Here, the support wall is gone. The overhead beam is installed. This is what we are left with: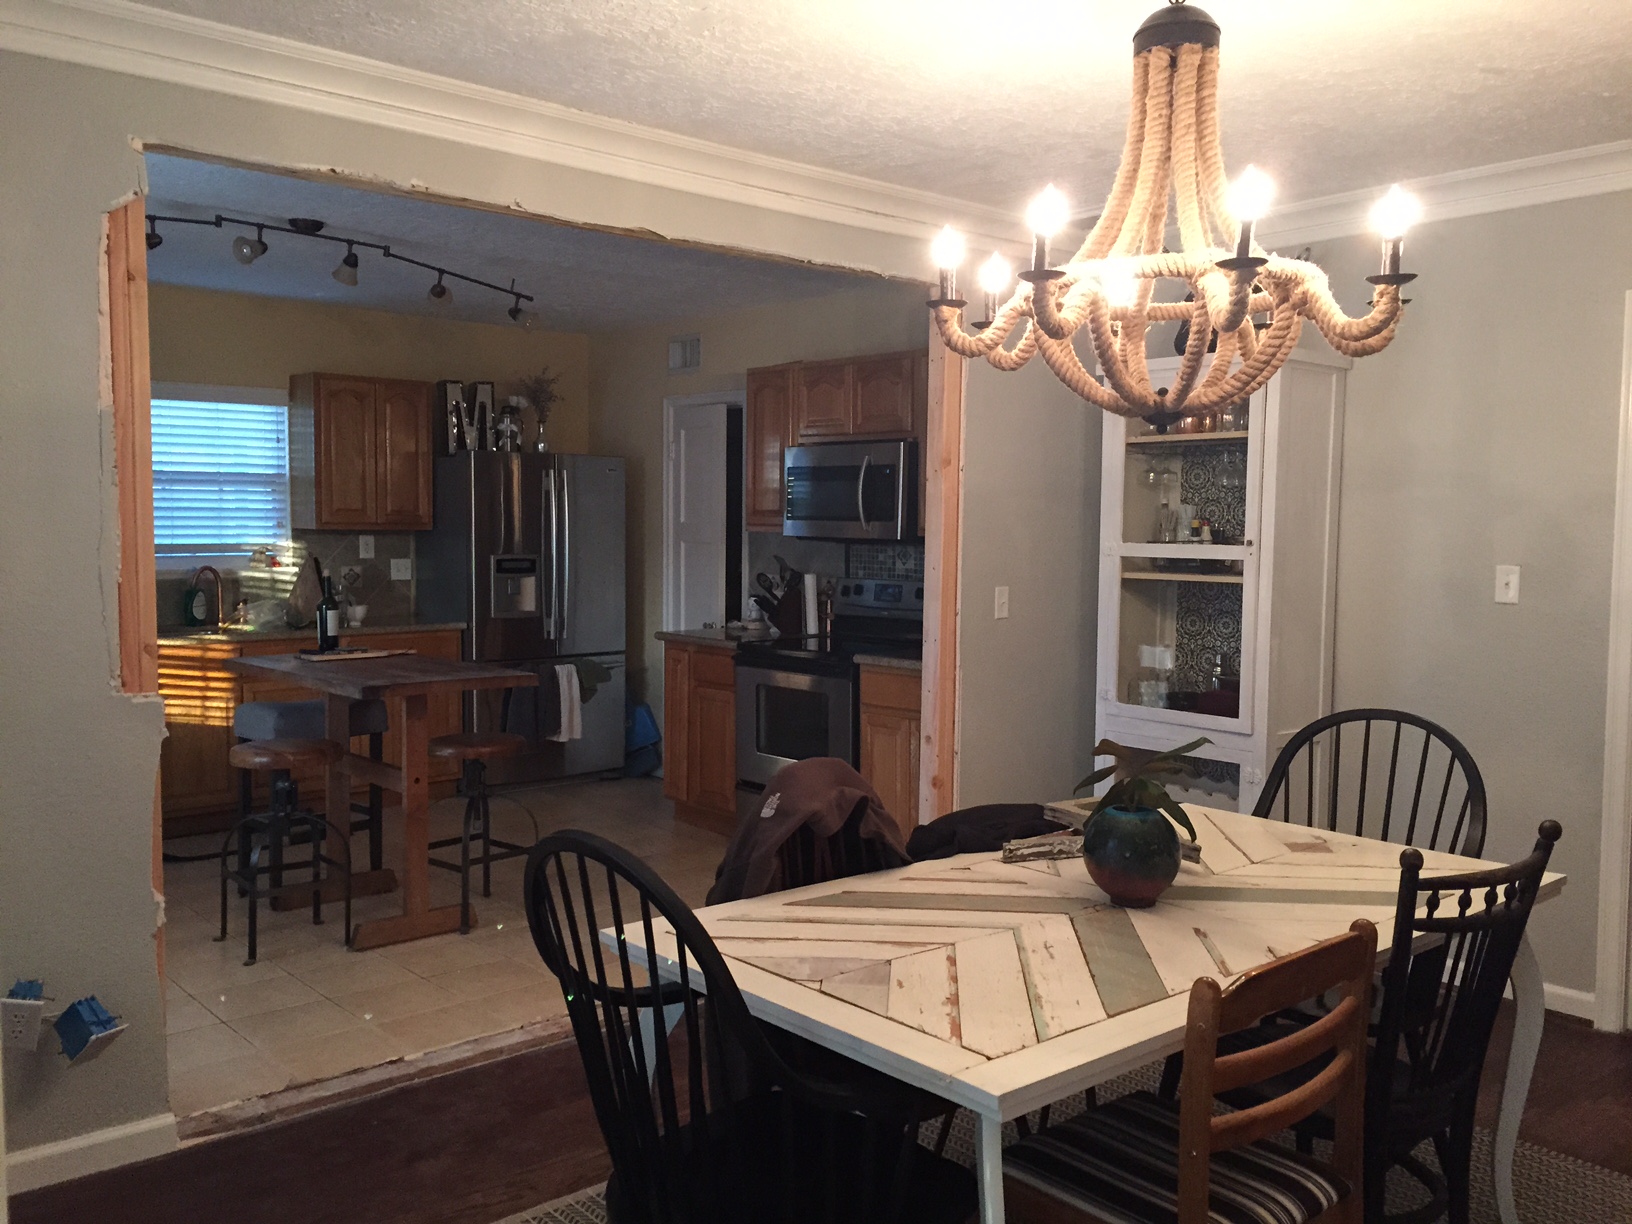
Here is what the beam and proud proud David look like from the kitchen: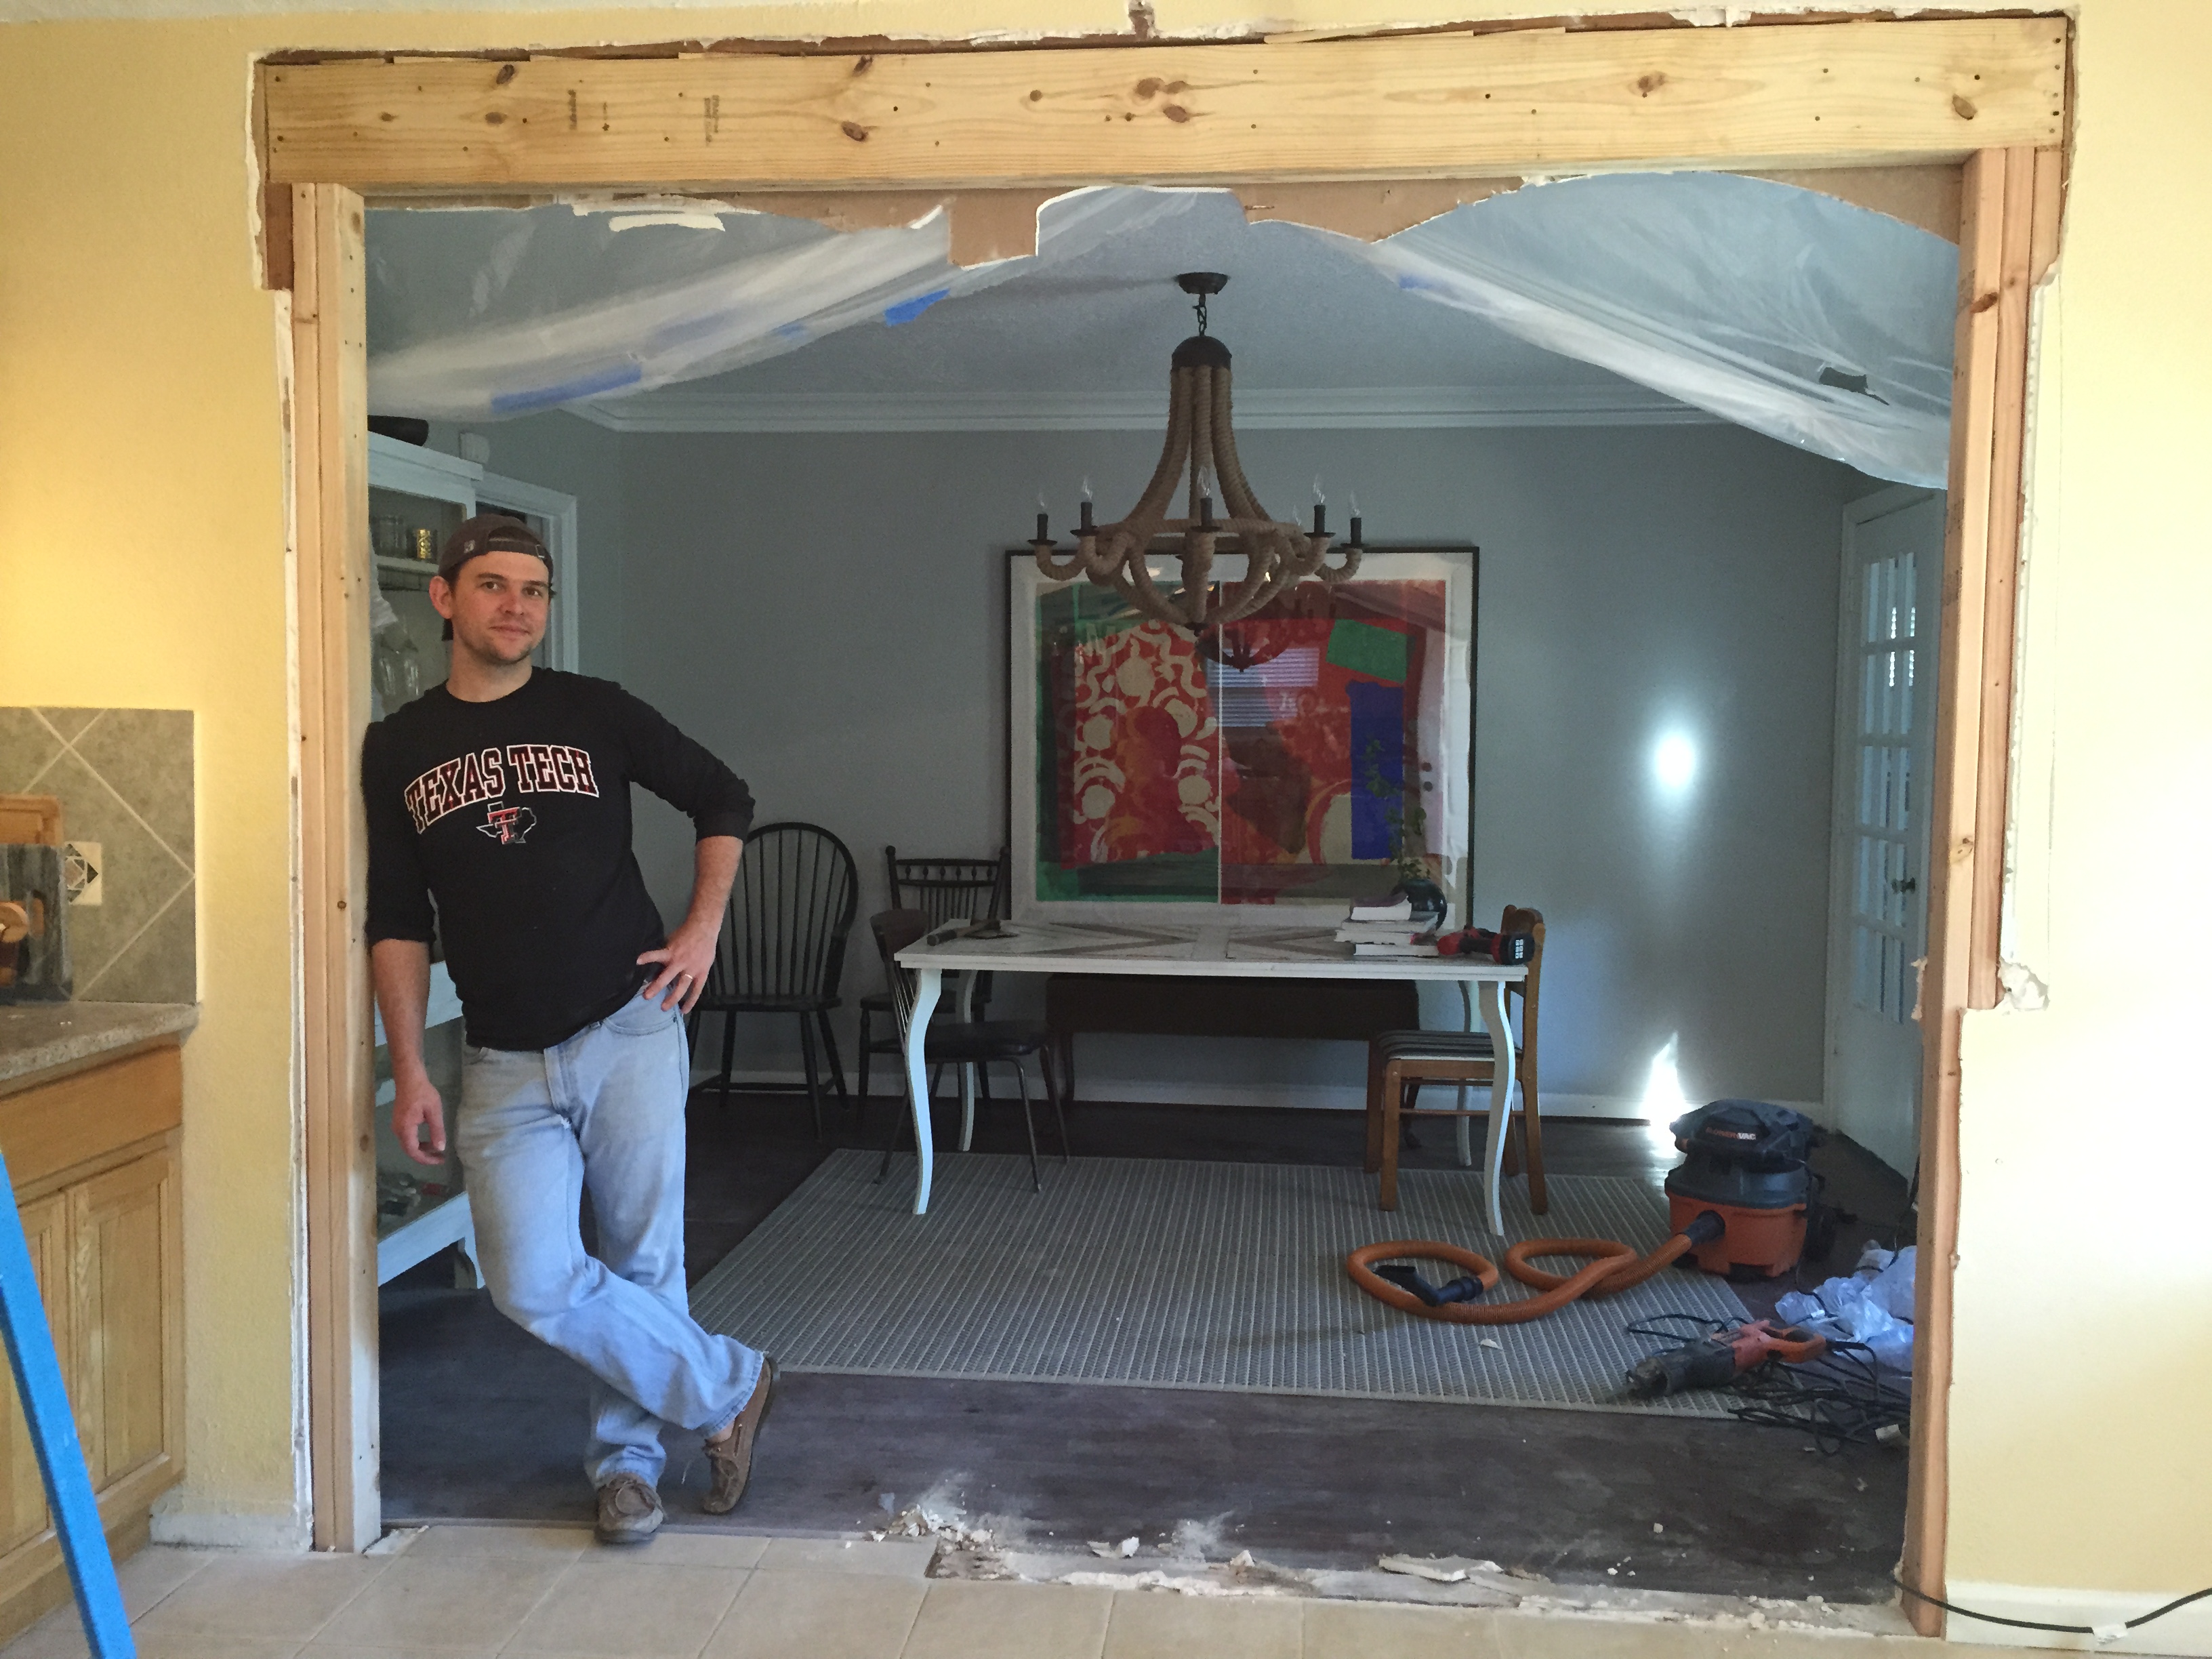 Yes, he does construction in Sperry loafers.
Next, we encased the beam with new drywall and mudded and taped on both sides: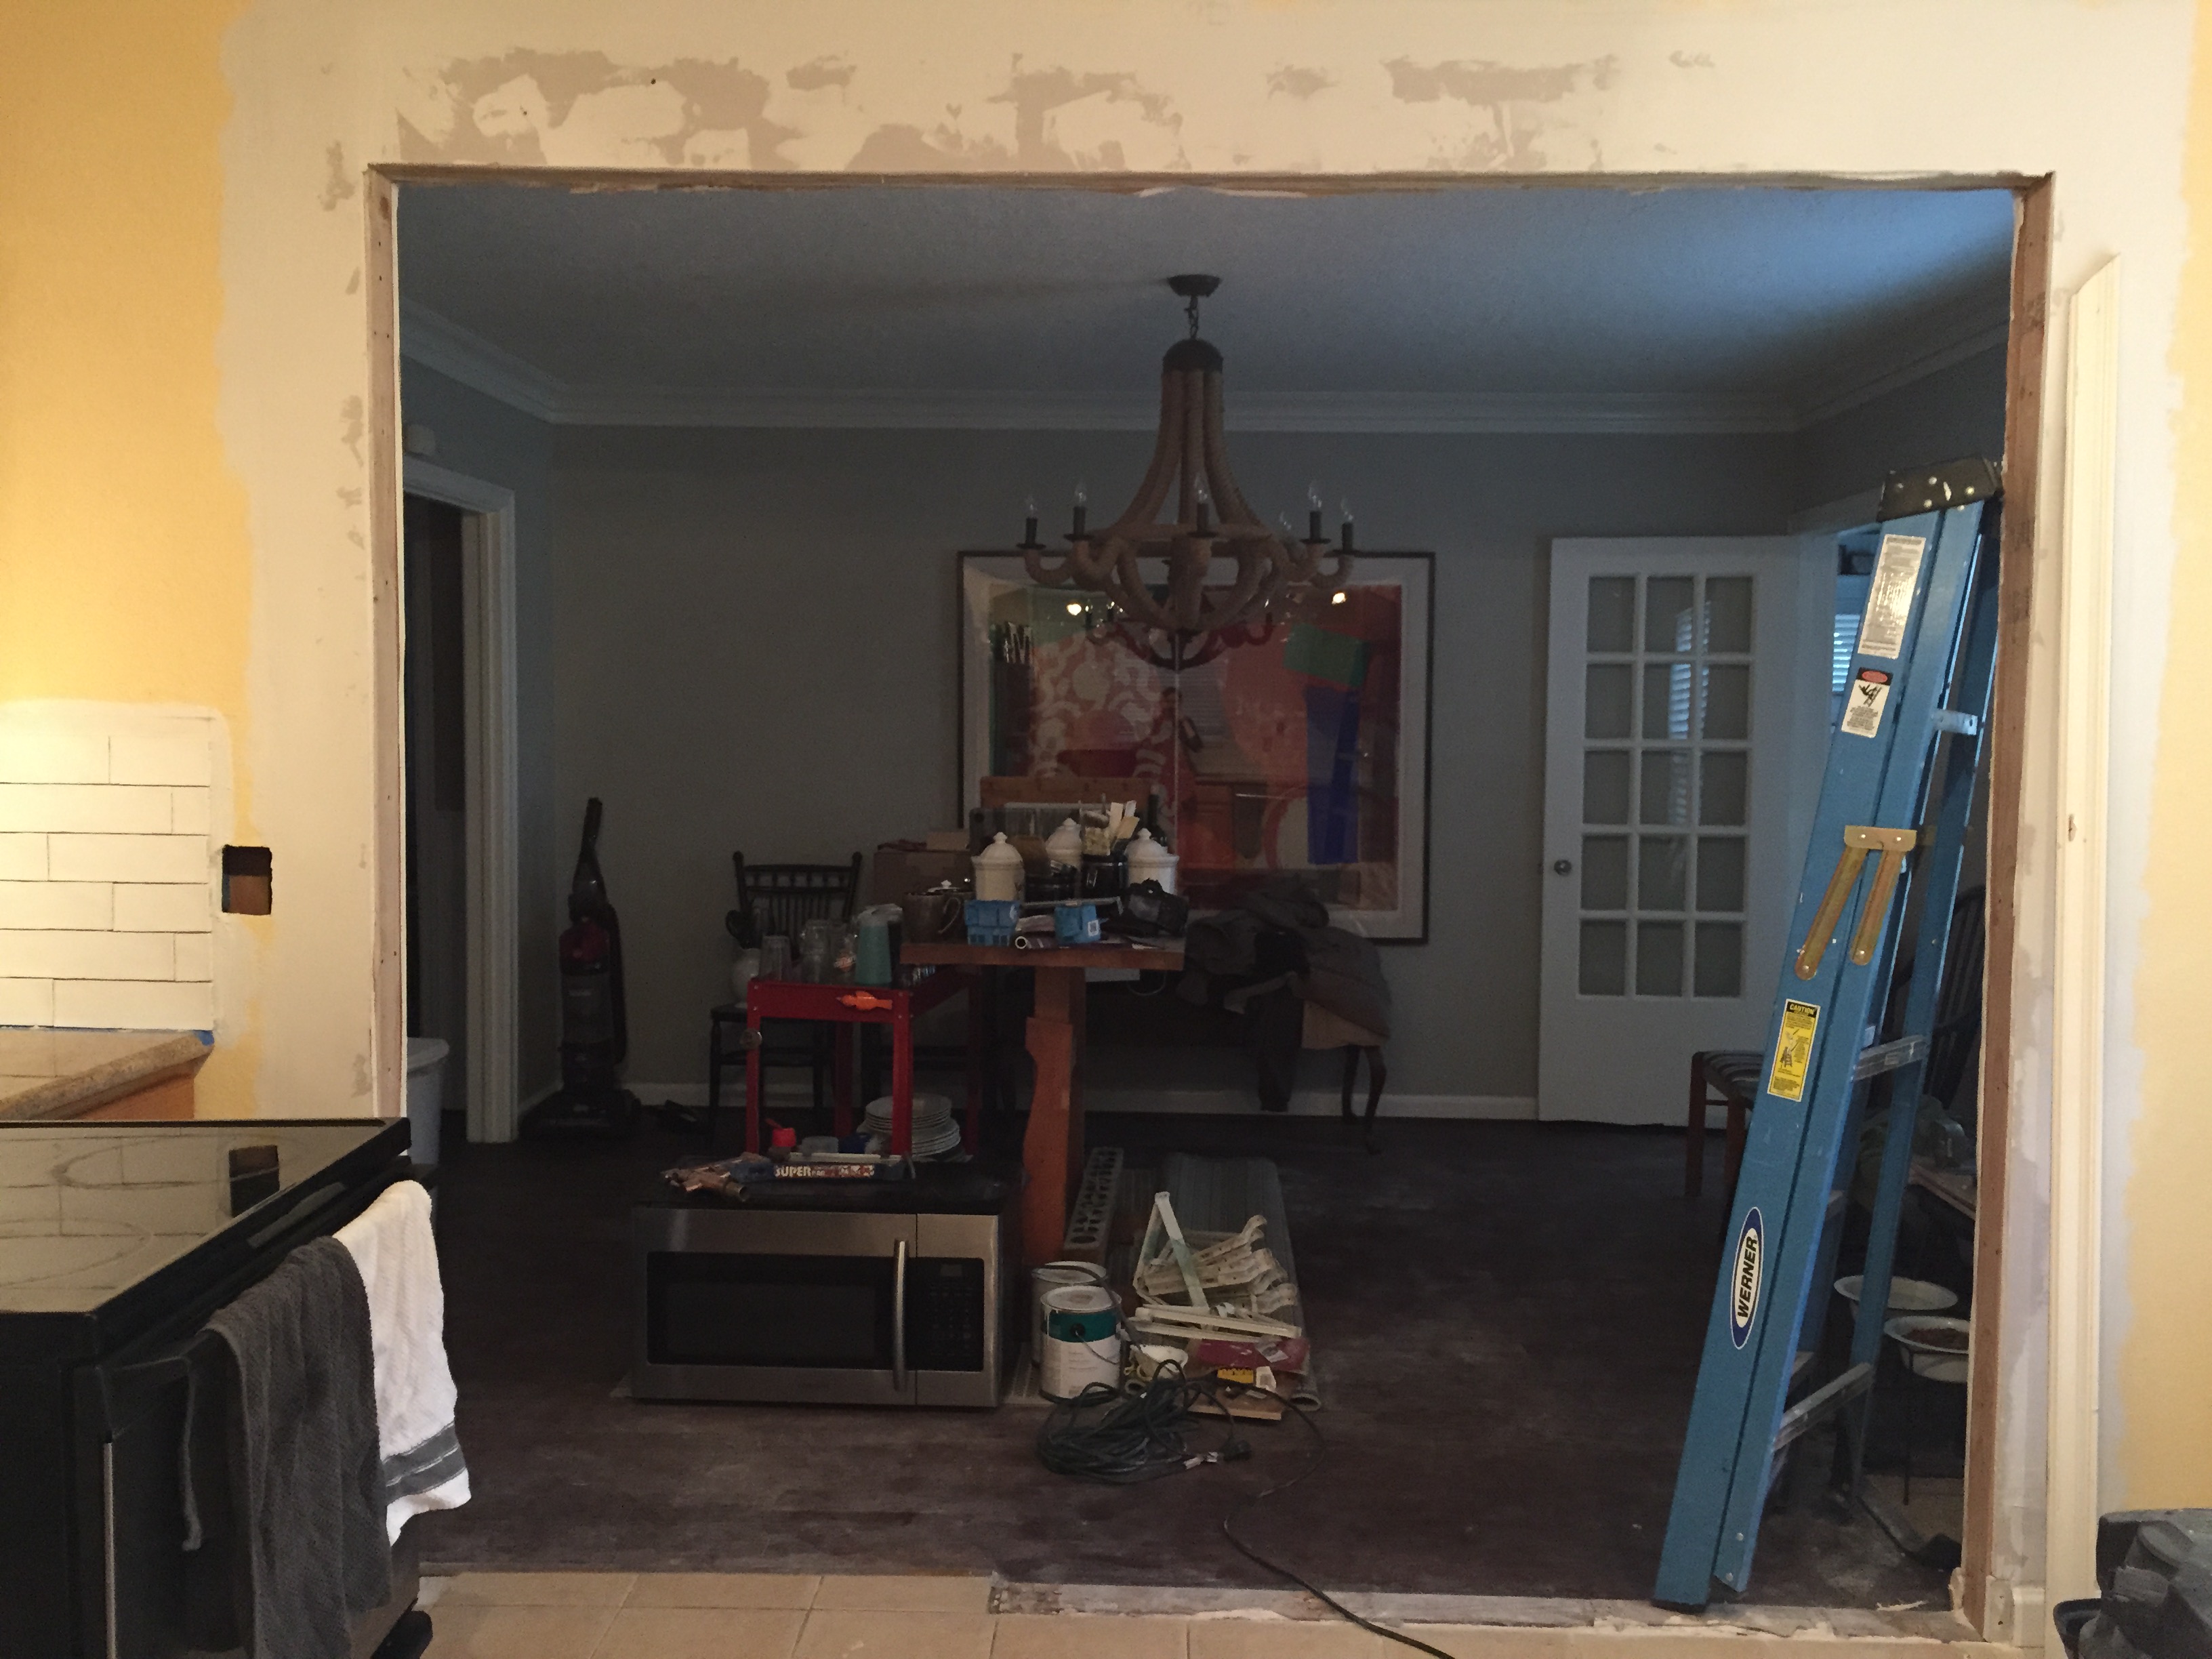

After two rounds of mudding and sanding, we added spray texture to the new drywall so that it would match what we currently had going on. It’s sorta hard to tell in the photos: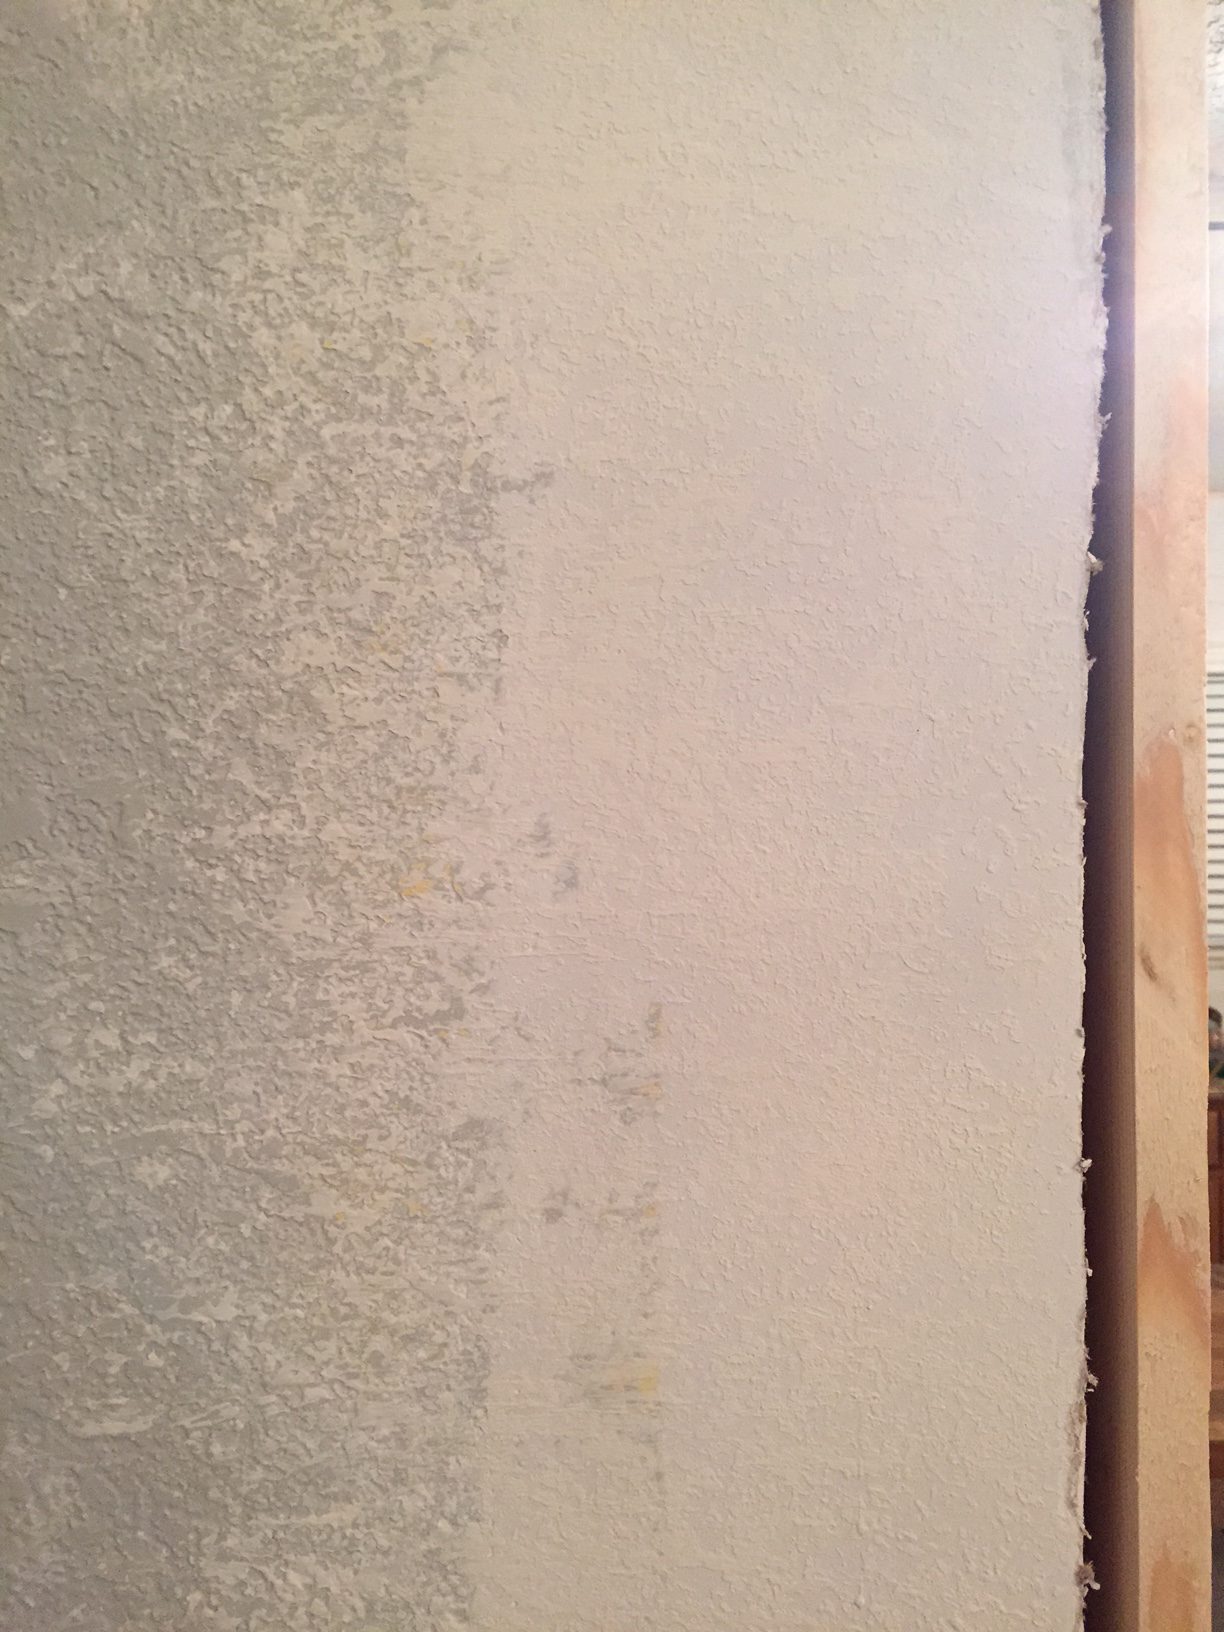
We painted the new drywall and trim. David cut and nailed the trim in place, and Wha-La! A beautiful cased opening is born: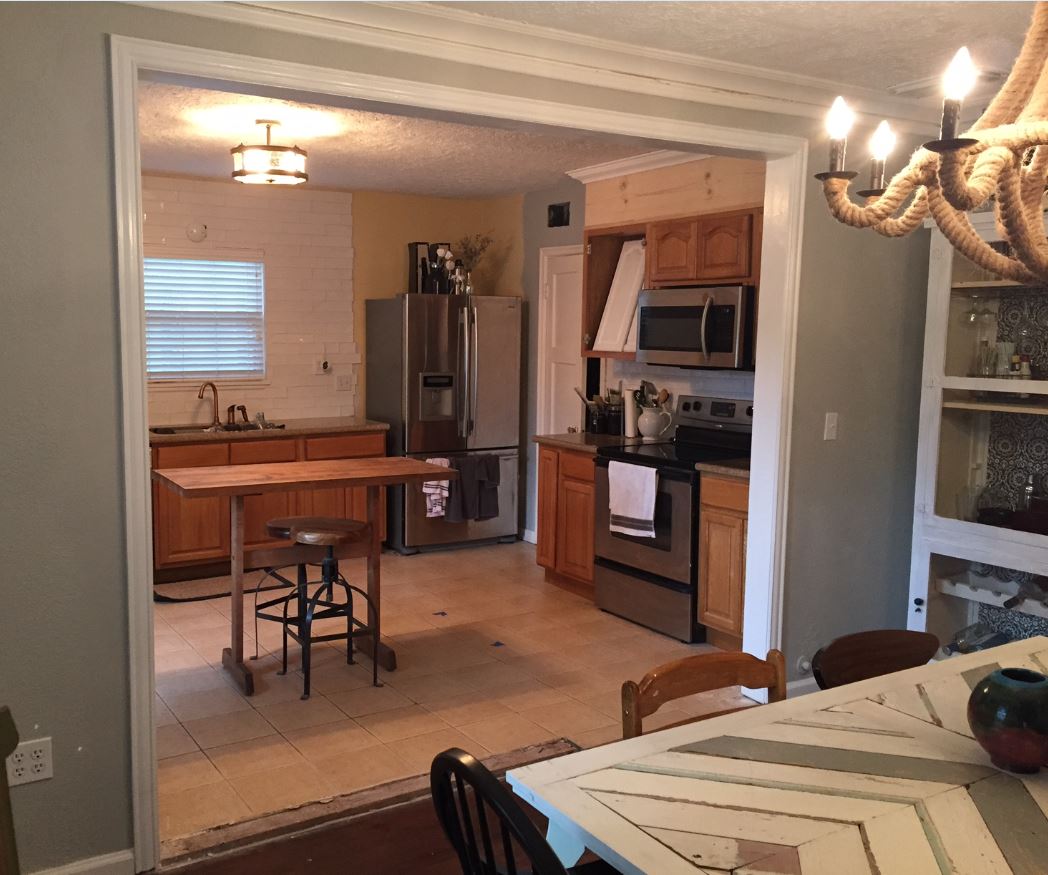 Now all we need to do is finish remodeling the kitchen and finish the floor between the two rooms. It never ends!