 I’ve always wanted to build my own dinner table. To me, the dinner table is the most intimate and symbolic part of a home. I’ve got a few buddies that have built their own – one guy did it out of new materials, and the other did it using 100-year-old wood from the ACU Ag barn. Both tables give their houses a warm and alive feel- both were made with their own two hands for their own little families.
So given that build up of inner mushiness about handmade dinner tables, I jumped on the idea when Dana pitched it. This is what inspired her:
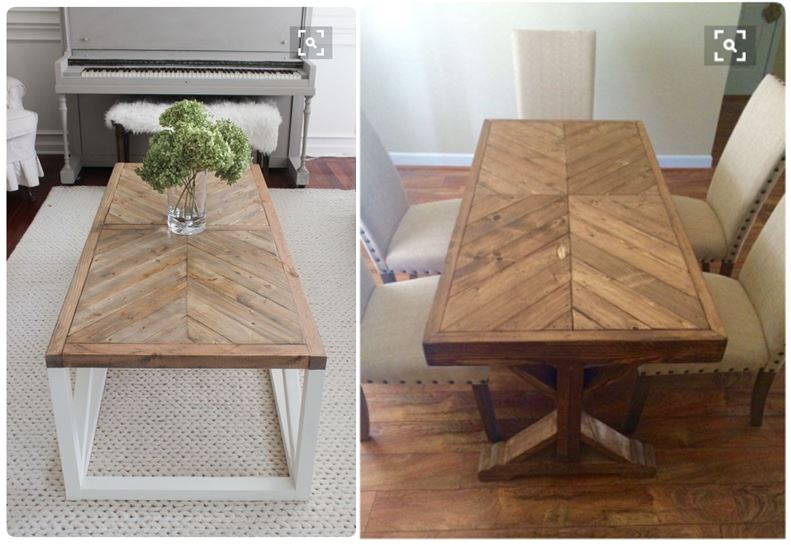
But with Dana, it ain’t just about duplication- she wanted it to be unique and match us and the style of the house. I’m not even kidding. She thinks through every style and personality piece of everything we do. It had to match the vision boards and color palate and chi and philosophical stance on fiscal policy and congressional term limits as the rest of the house. As usual, this project started with a trip to the Historic Houston Salvage Warehouse to dig though old house parts. Here’s what we came up with:
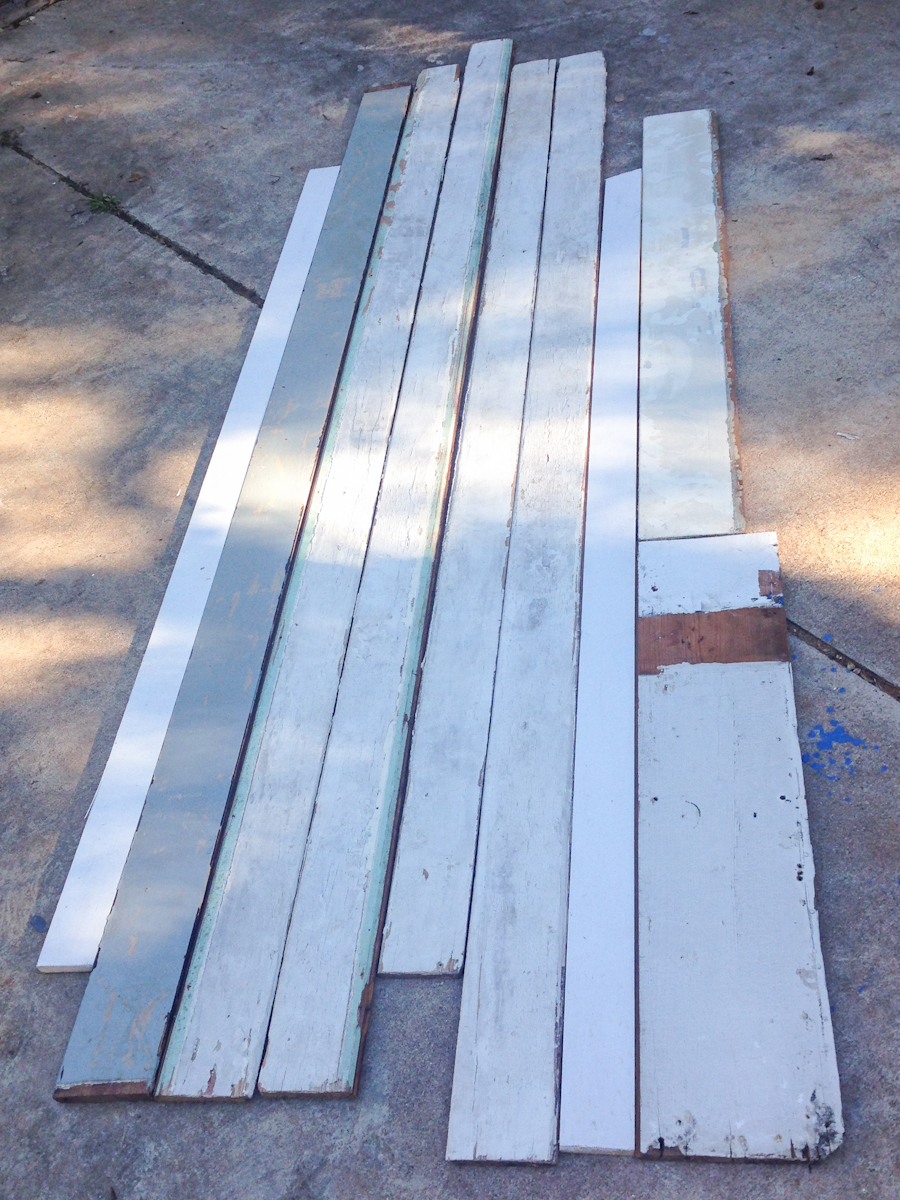
It’s a variety of old pine shiplap and cedar tongue and groove siding from houses that were built in the early 1900’s around H-town. They’re all different shapes and sizes and colors. The colors we want to keep, but the boards needed to be milled down to match in width. I ran them through my table saw and made each about 4 1/2 inches wide. Also, to make sure they joined nicely, I made a joiner guard for my table saw (insanely great tutorial here).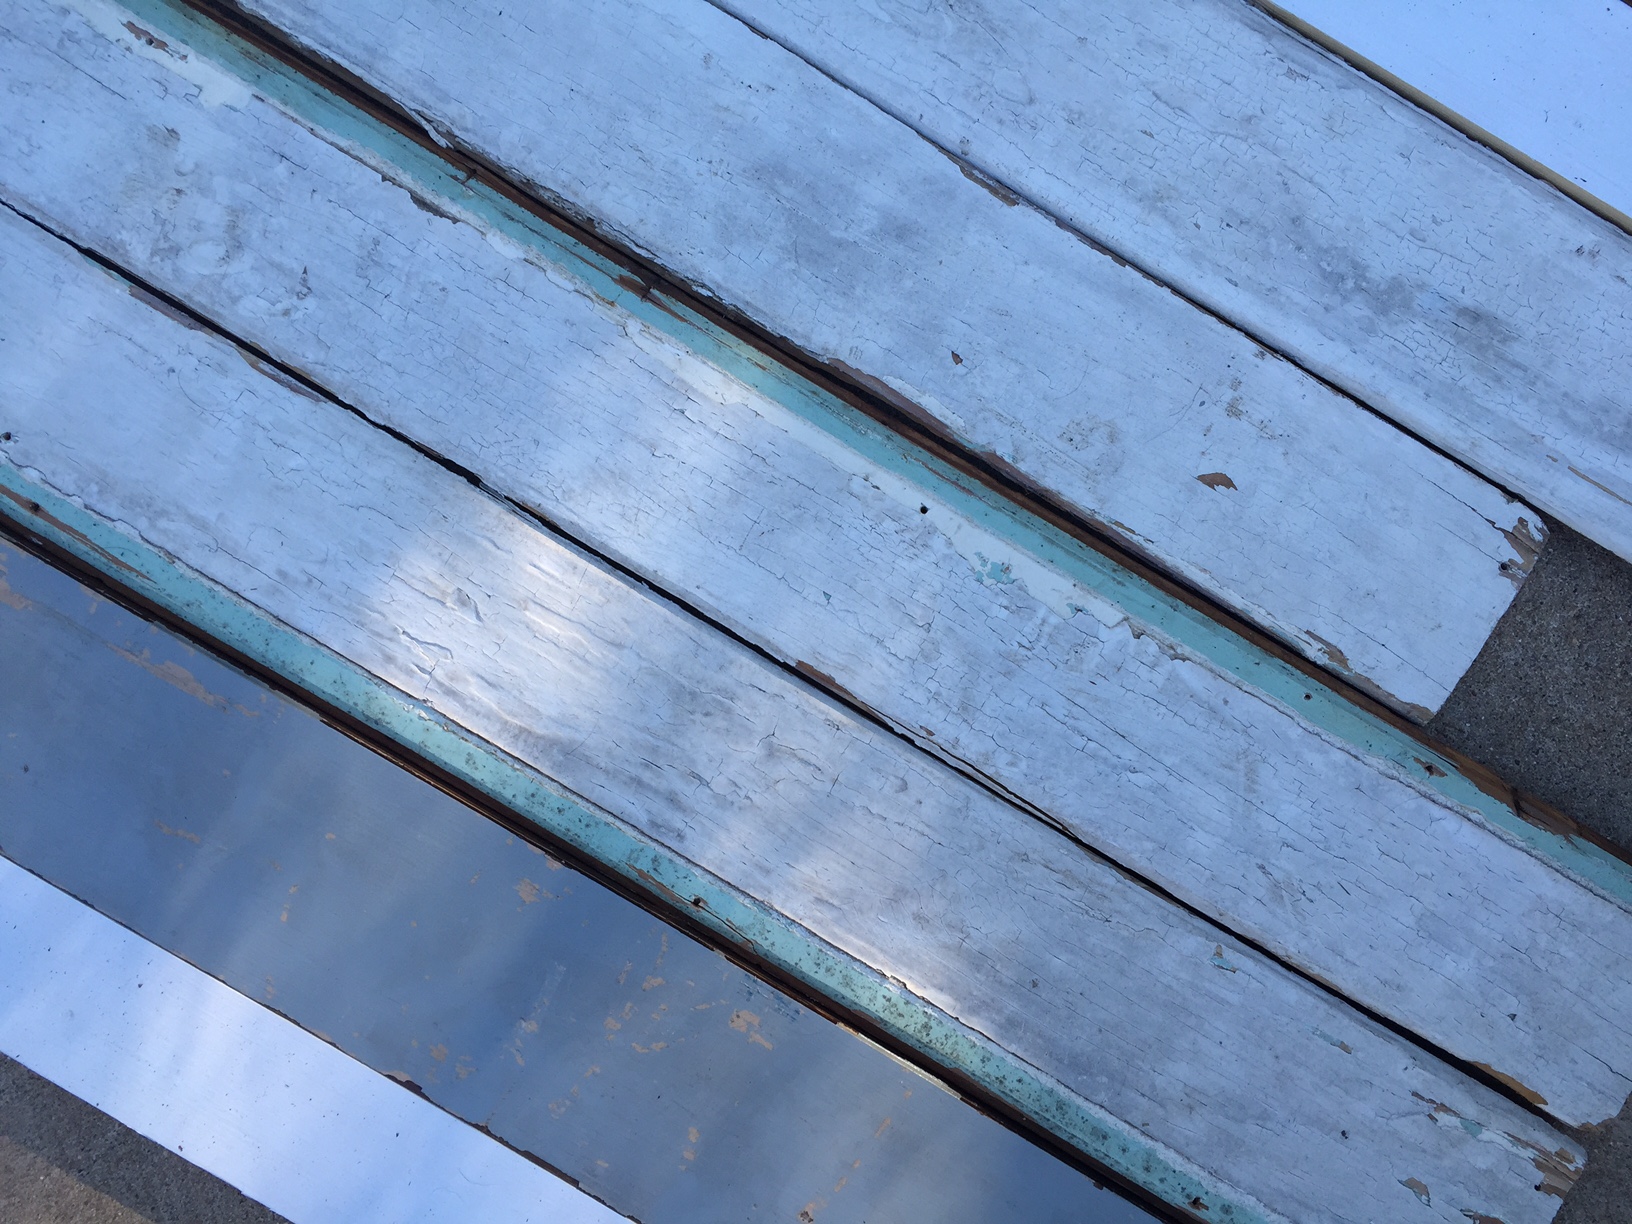
Also, to add a bit of strength and joining power, I used my router table to make rabbit joints on each board.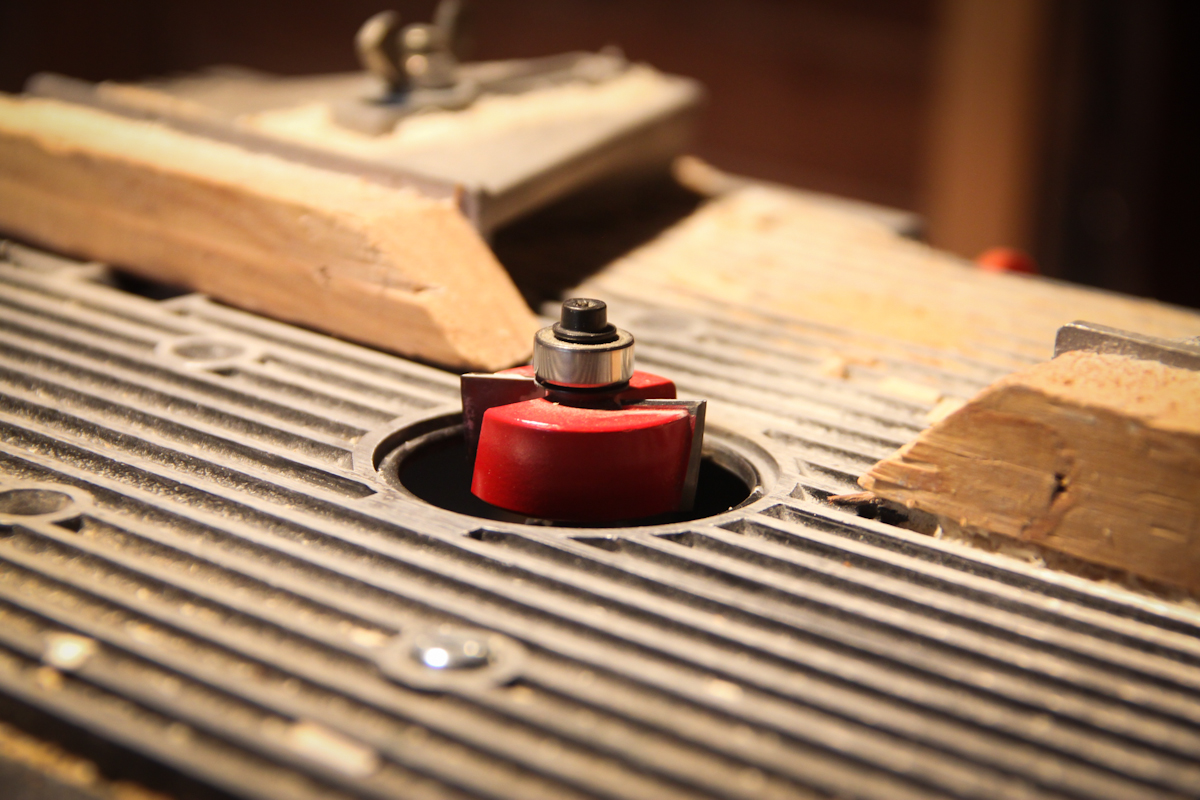
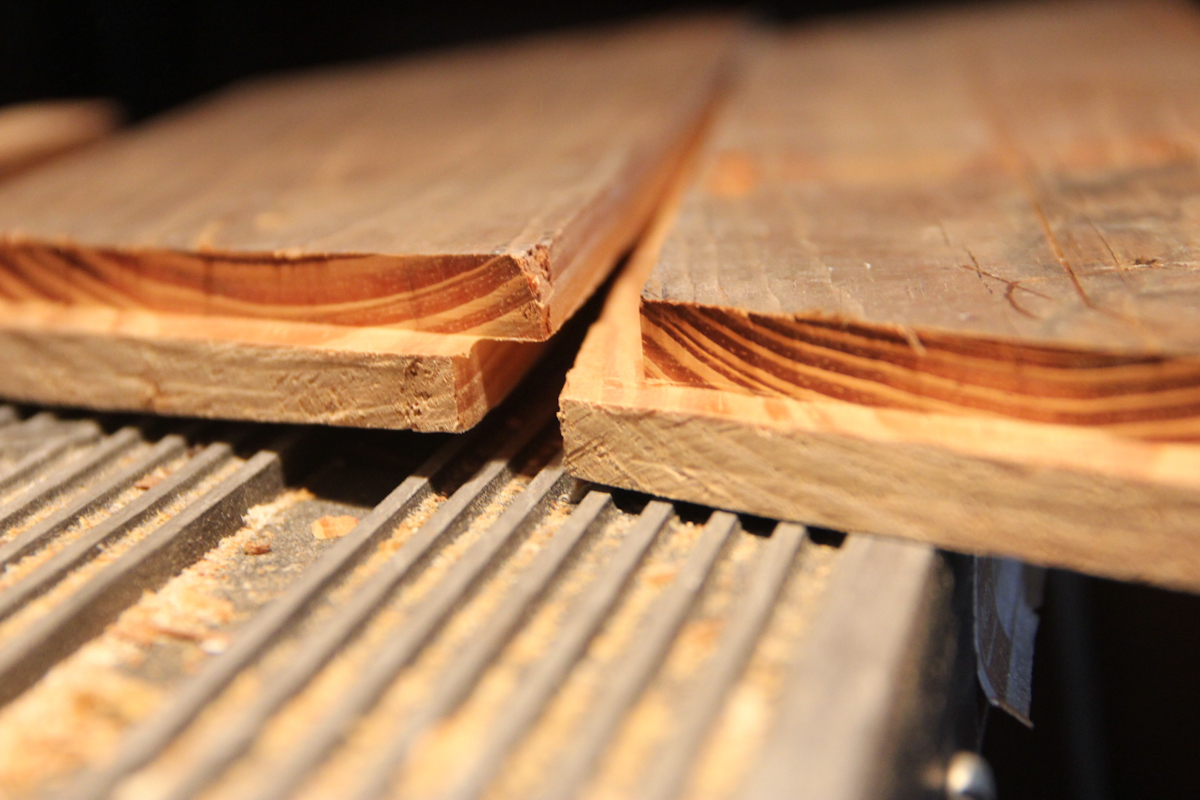
Next, it was just a function of laying out the pieces and coming up with a pattern that wins Dana’s approval.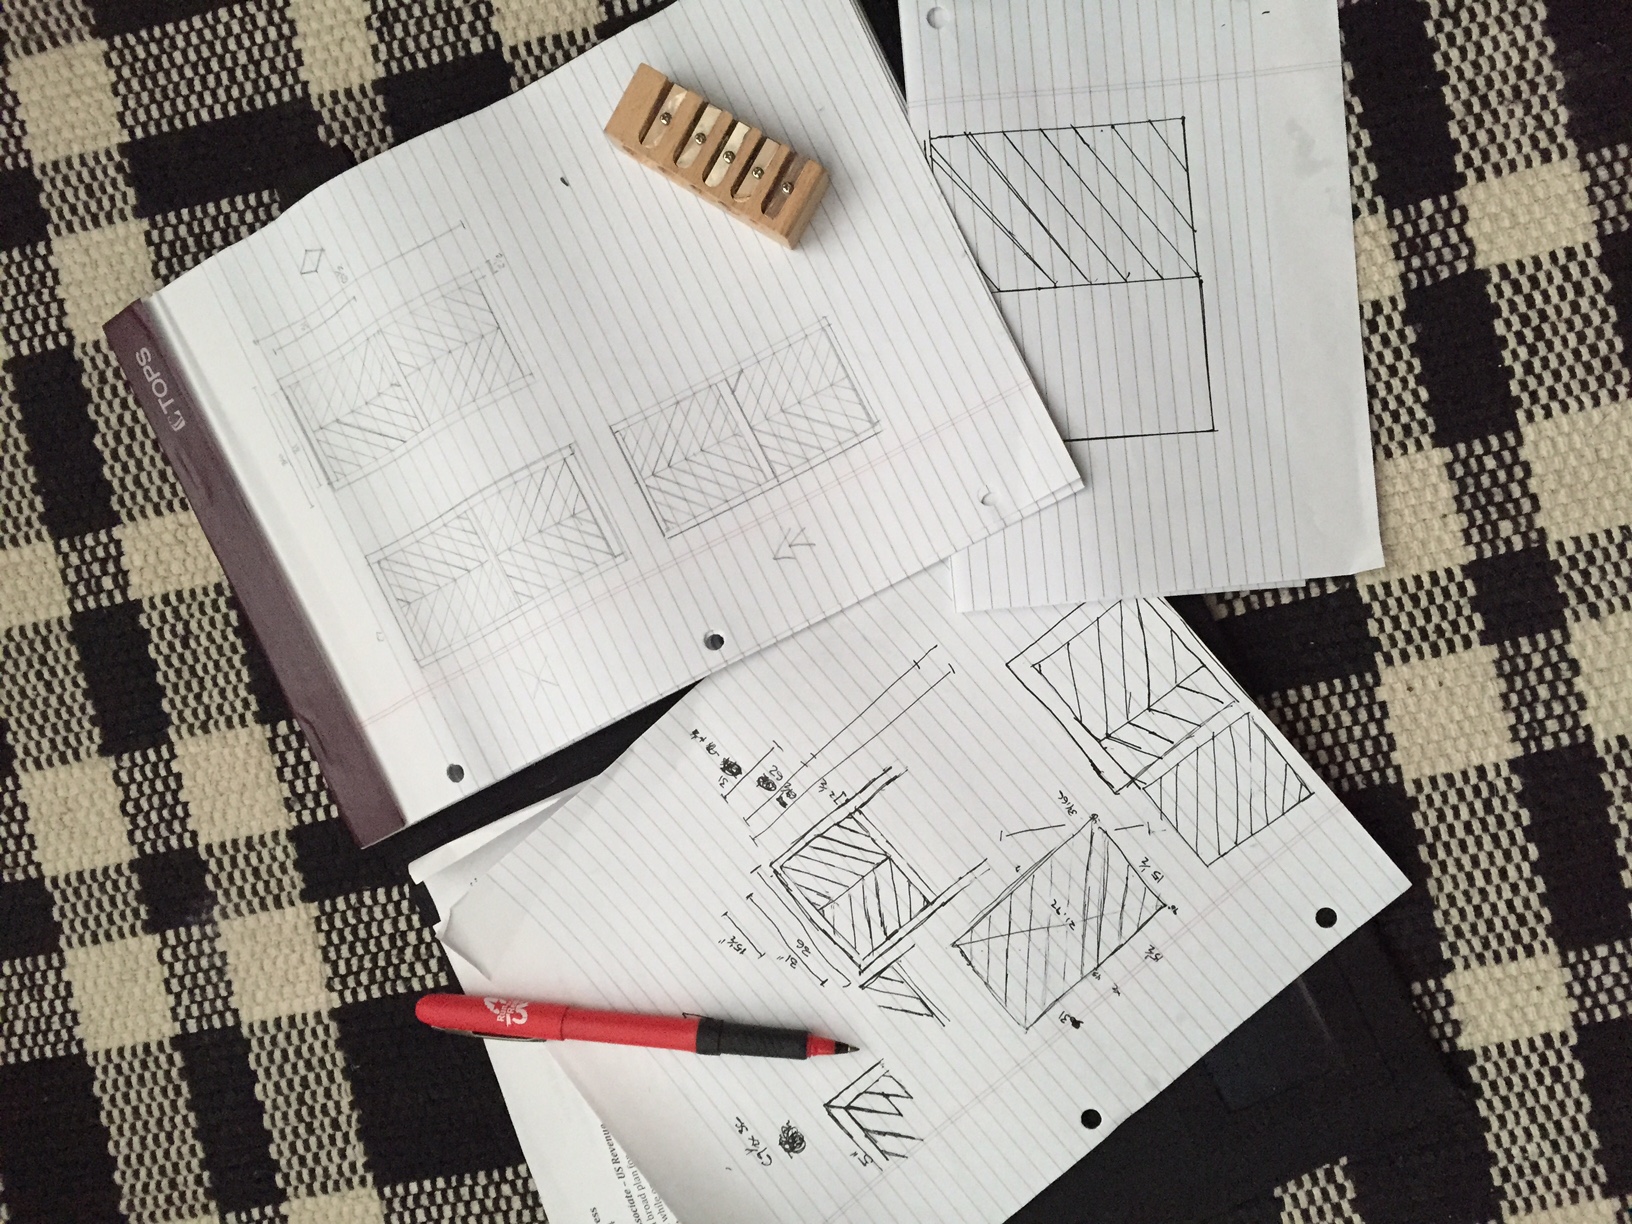
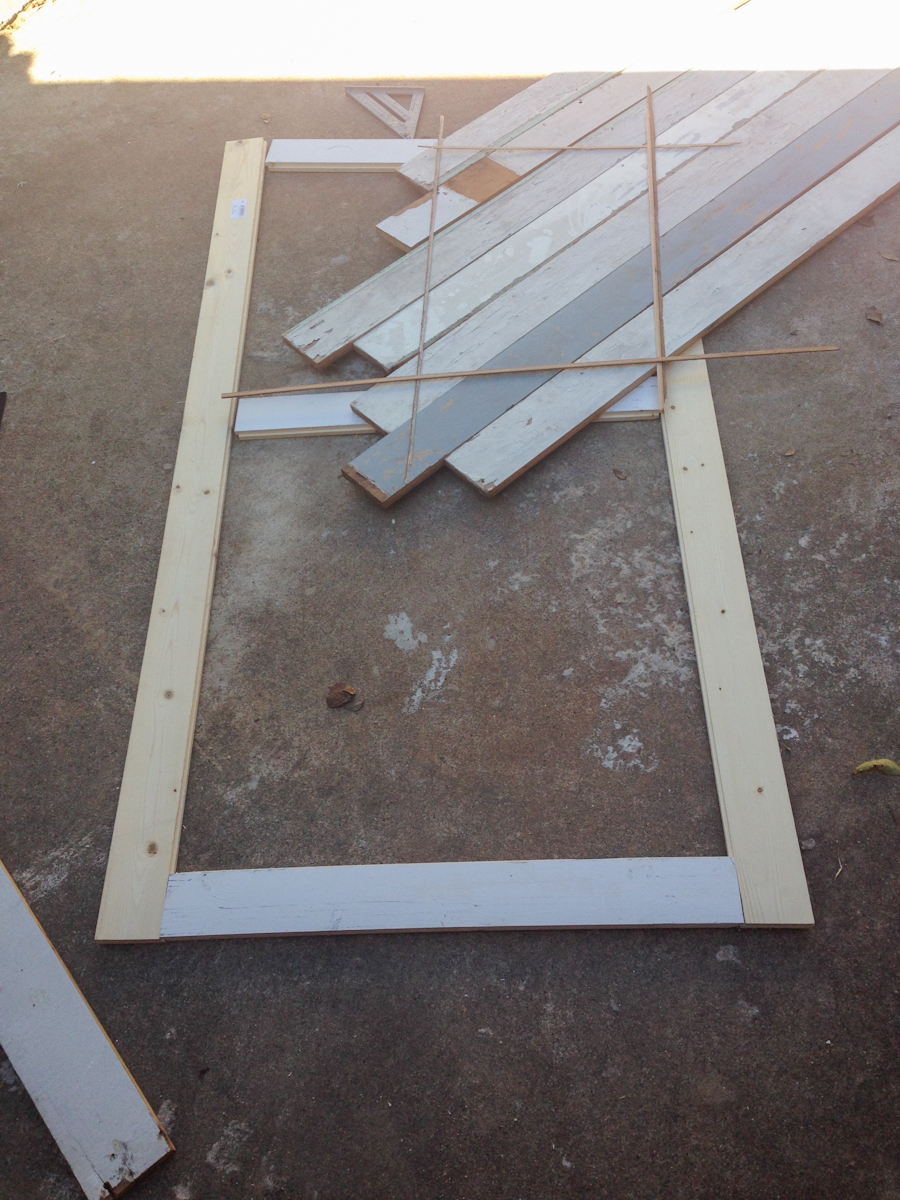
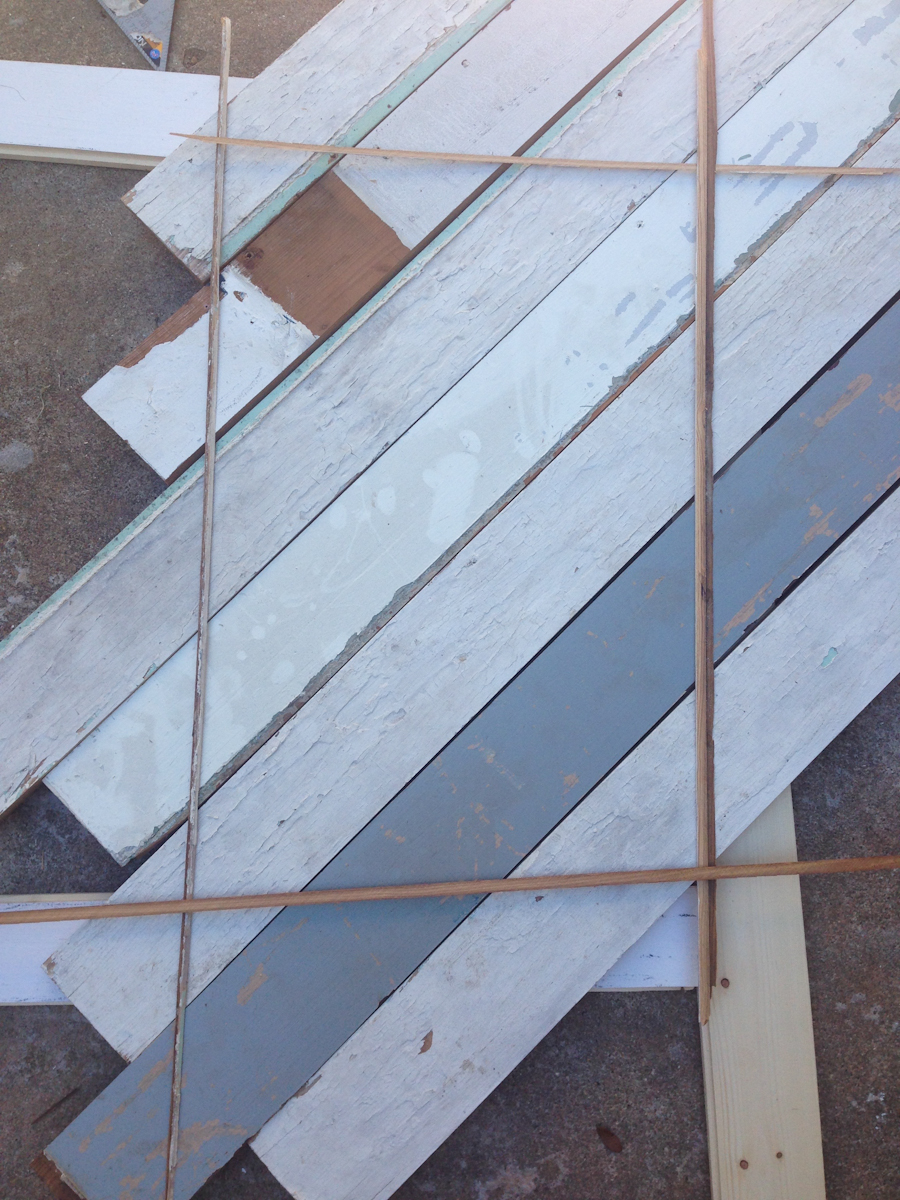
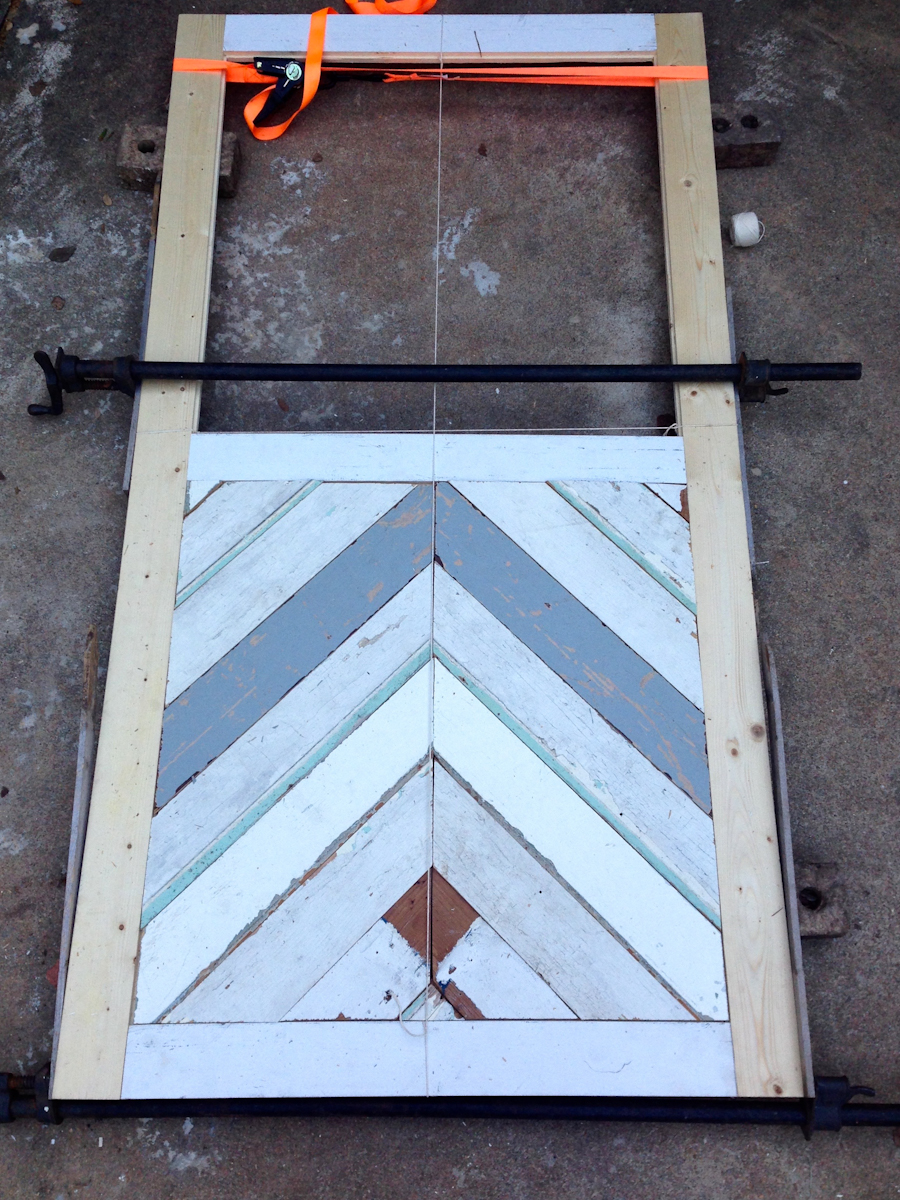
On the sides, I used 1 x 5’s jointed the same way as the center boards. To help them match the old pieces, I brushed on some primer and left them on the garage floor for “antiquing.” Basically I just used em like the garage floor for a few days.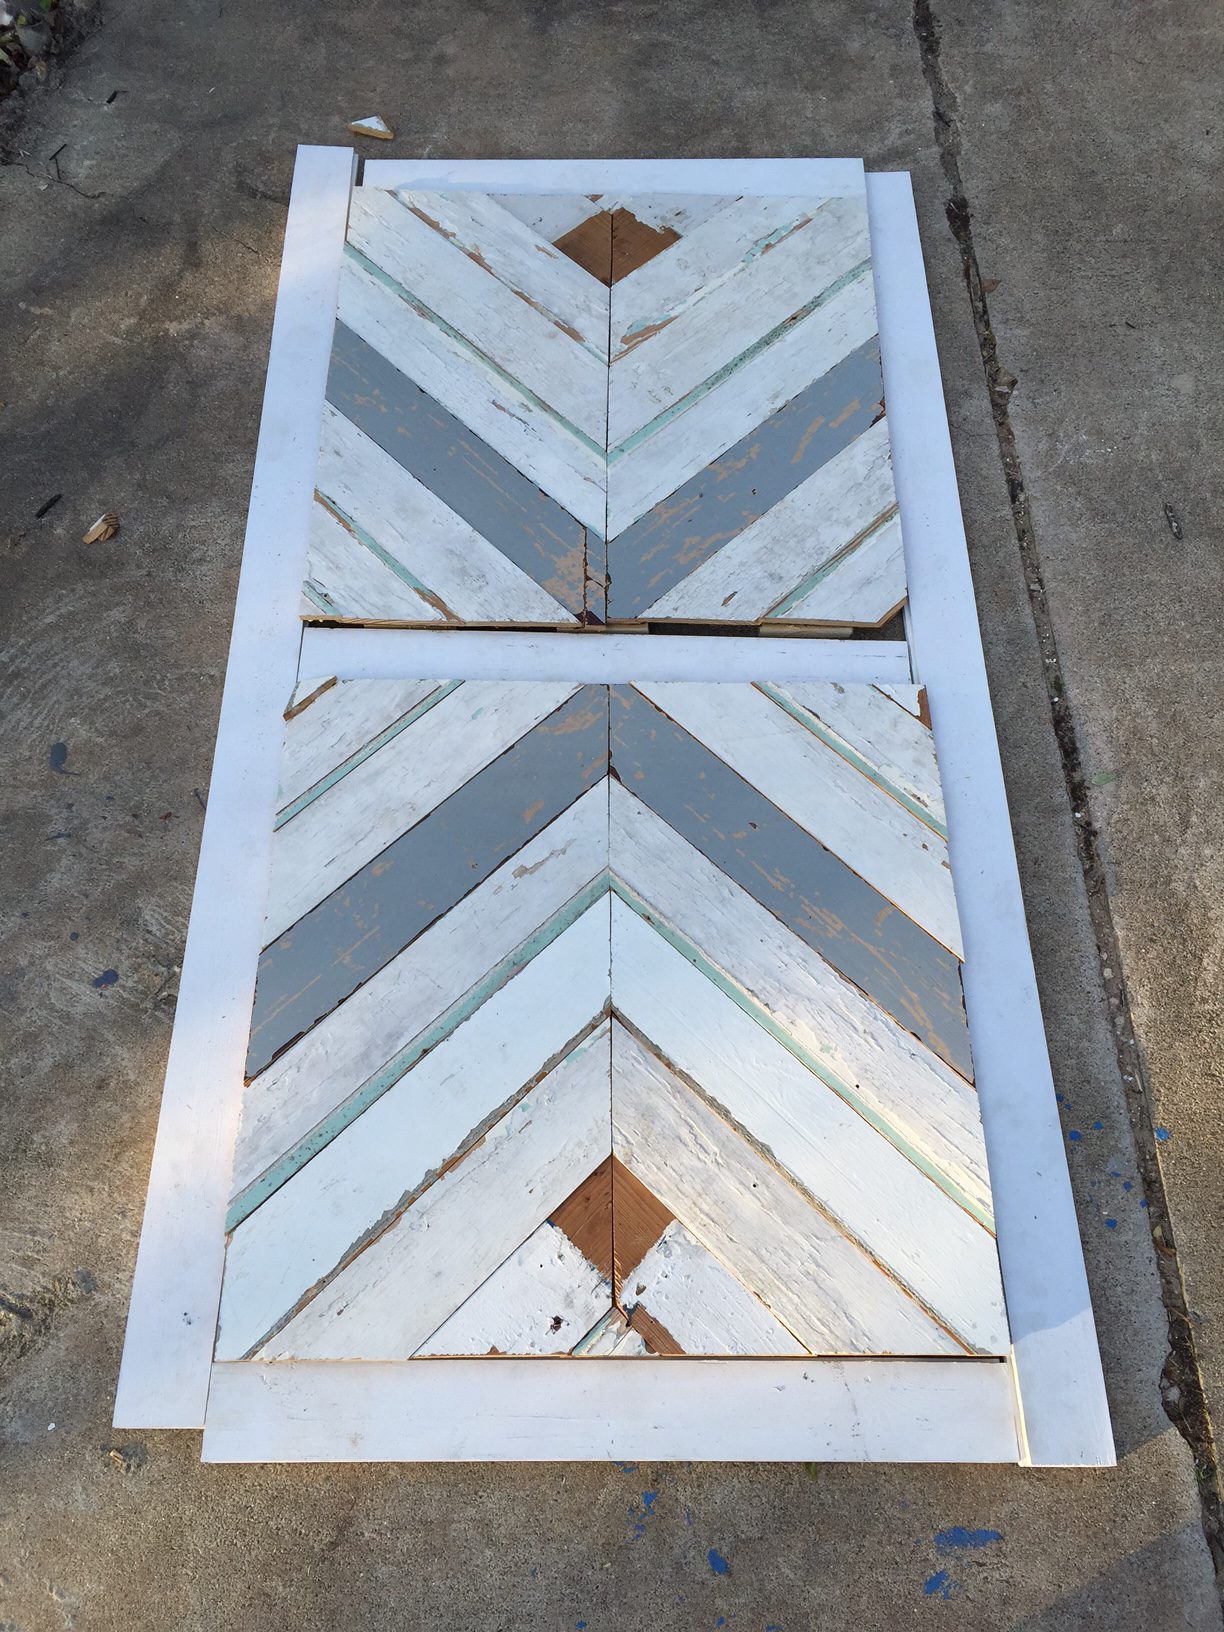
After I got all my pieces right, I screwed and glued them together from the under side. I did this to hide the screws. I hate seeing screw holes on top of furniture. I will go to the ends of the earth to avoid showing screw holes. Thus, all of the fasteners are on the under-side of the table. I also used a liberal amount of wood glue to hold everything together.
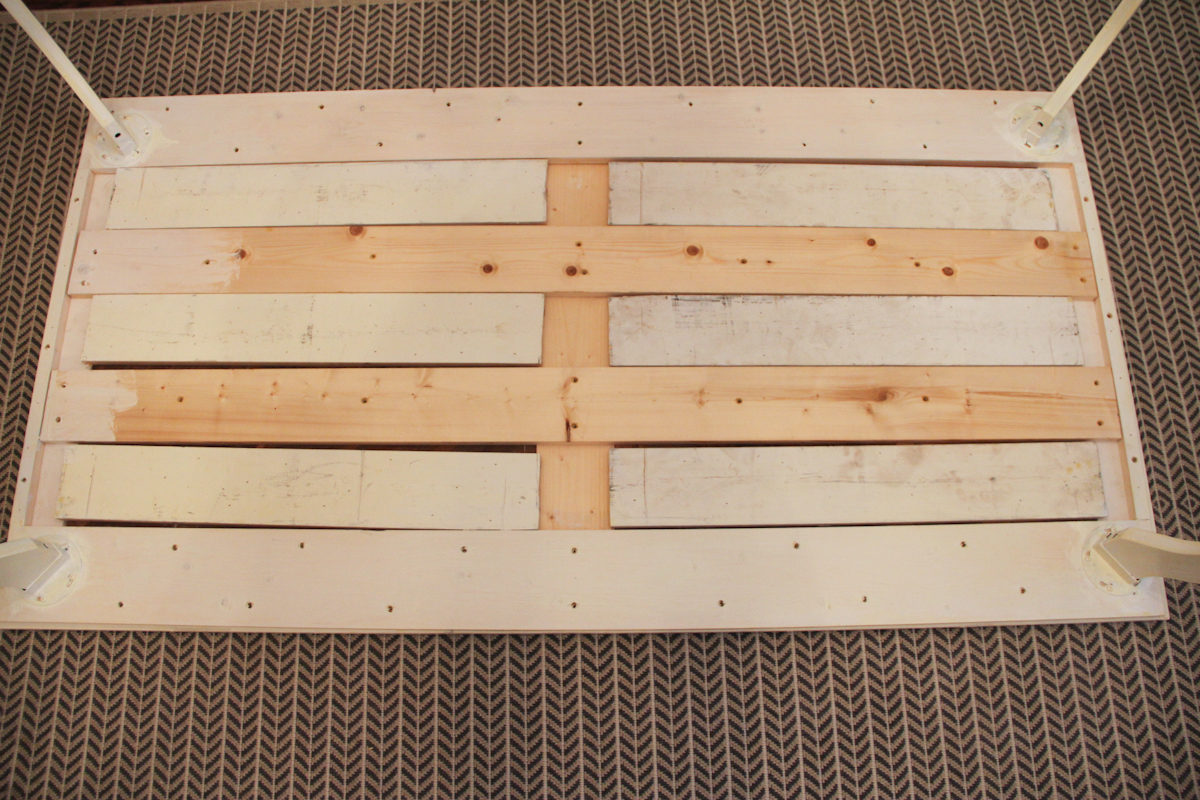
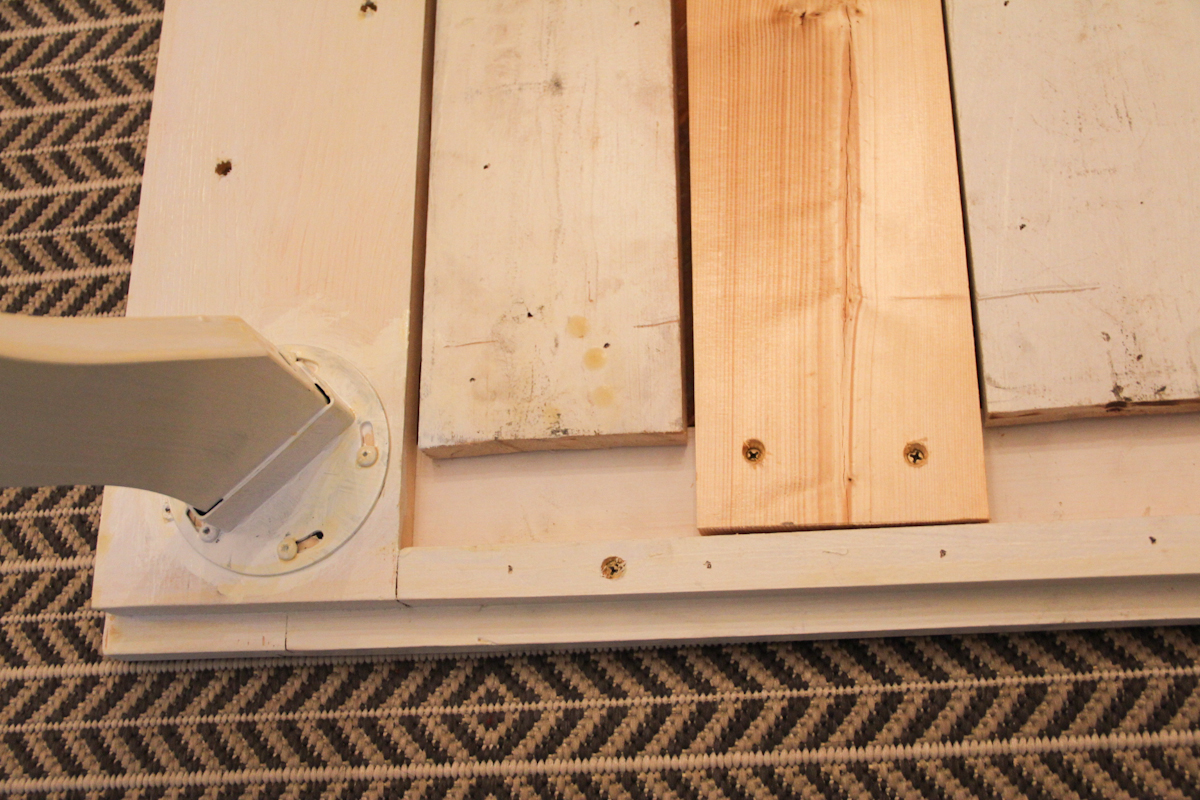
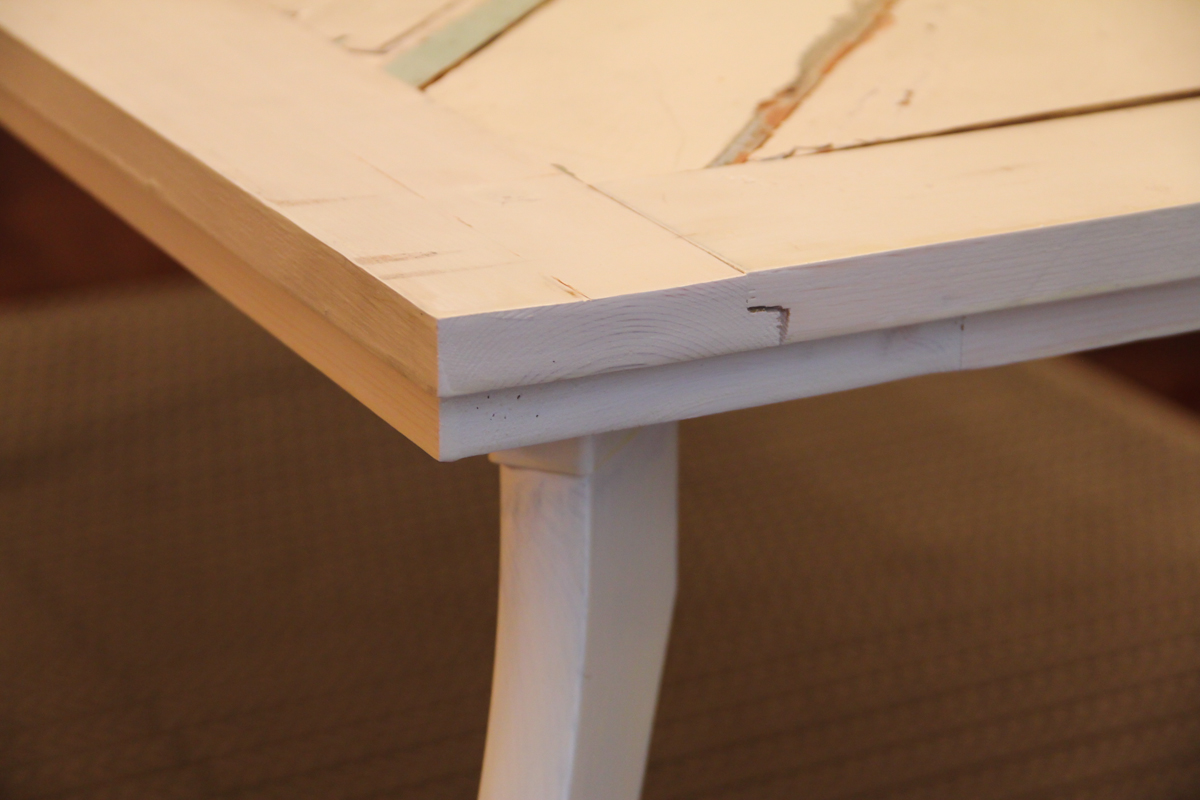
Since the whole house is a delicate balance of sleek modern and rustic charm, Dana decided that we should go with some legs that add a little clean modern flare. She settled on these from Ikea:
I painted the legs falling snow white, which is the same color as the trim and crown moldings in the dining room. I used oil based polyurethane to coat, protect, and seal in and dangerous stuff from the old wood (think lead paint). Quick note – while old based poly is really great for sealing and protecting, it odors have a slight yellowing effect on especially on white surfaces. Will probably explore alternatives next time – if you’ve got a good alternative, I’m looking for one. Holler at me. Seriously.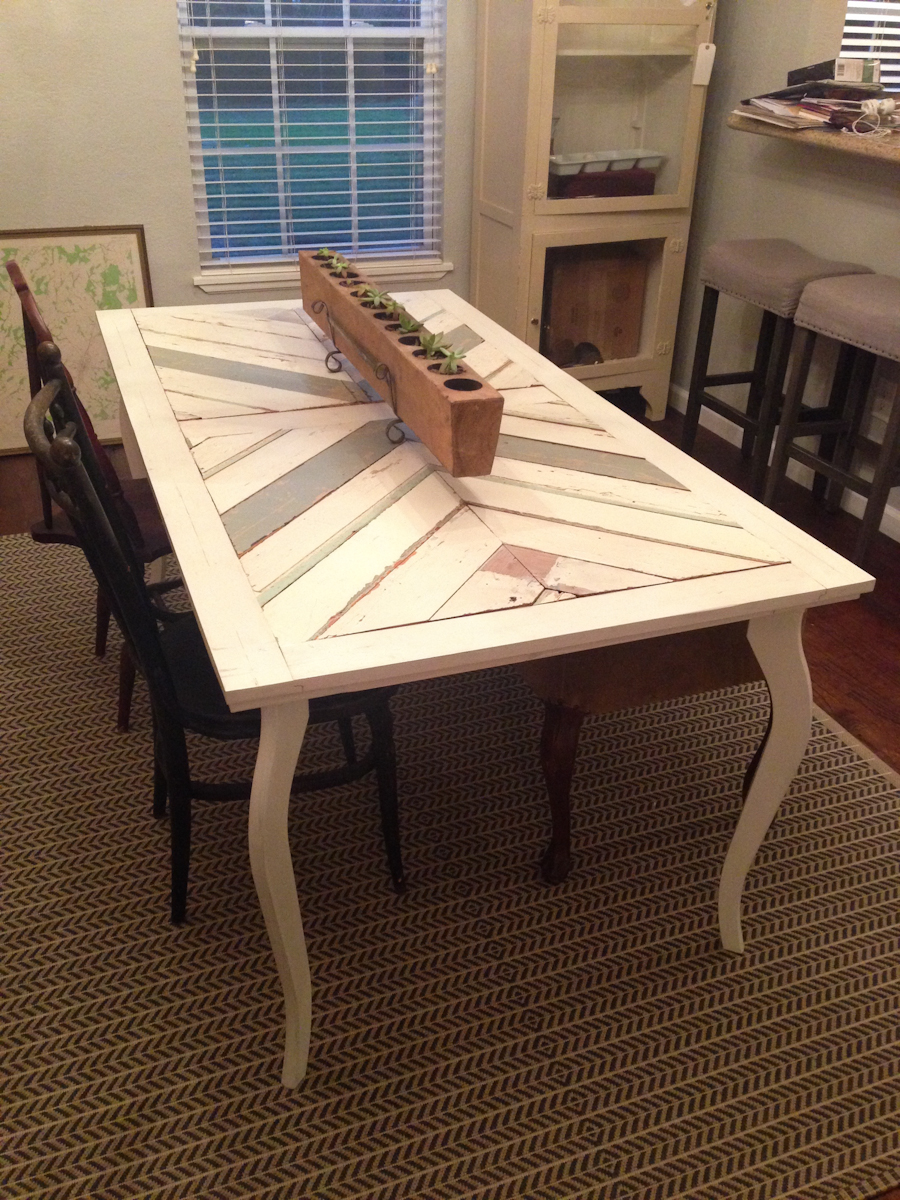
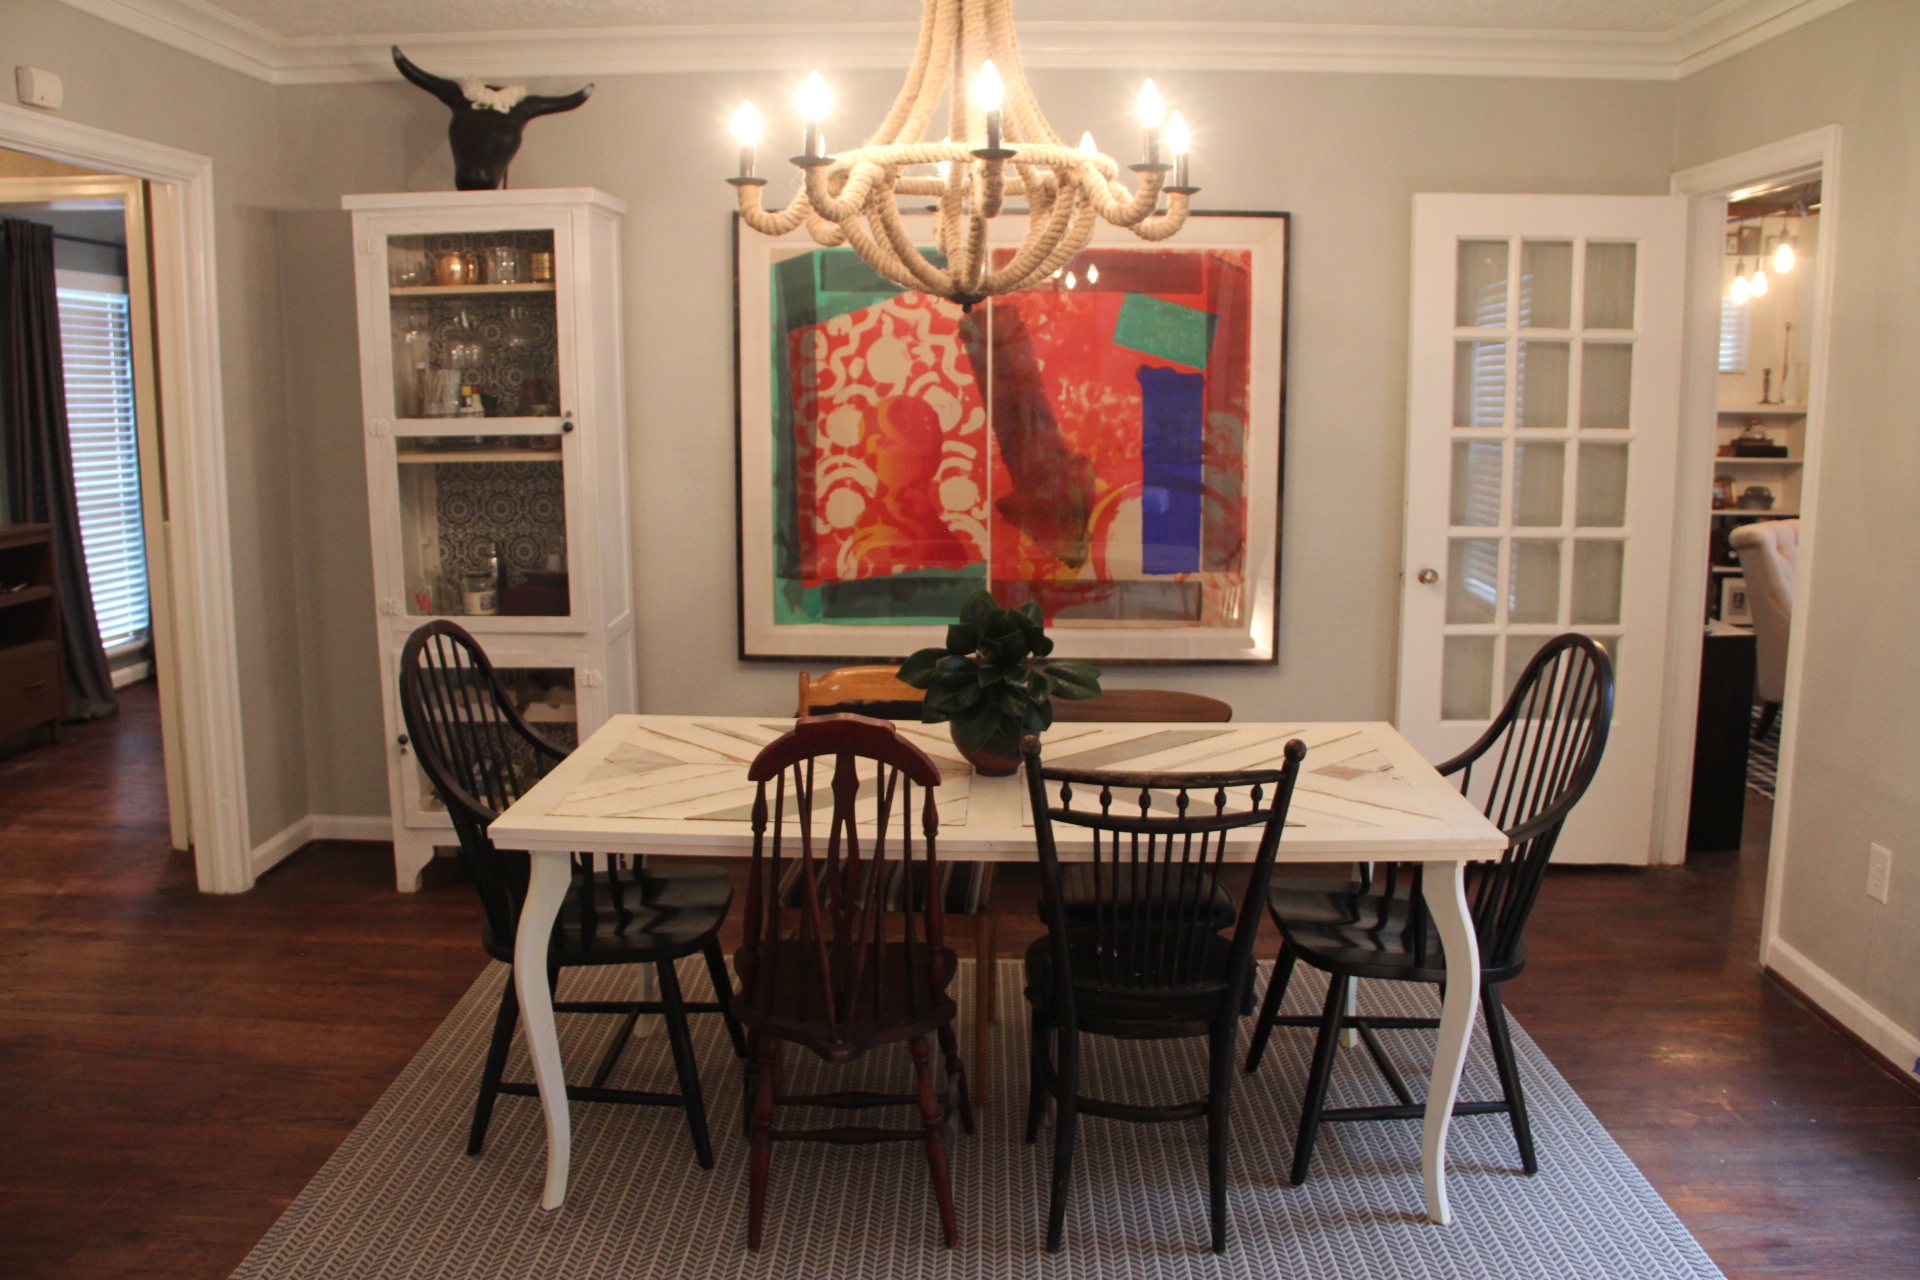
Dana accented the table with some final touches to make it at home. She added a chevron patterned indoor/outdoor rug (also from Ikea) to tie in to the table’s design and colors – and maybe my favorite part- a hand thrown vase that her dad made and then fired in his kiln back in the 90’s. She keeps it filled with little clippings off the magnolia tree from the front yard. Damn its adorable. Makes me smile every time I see it.
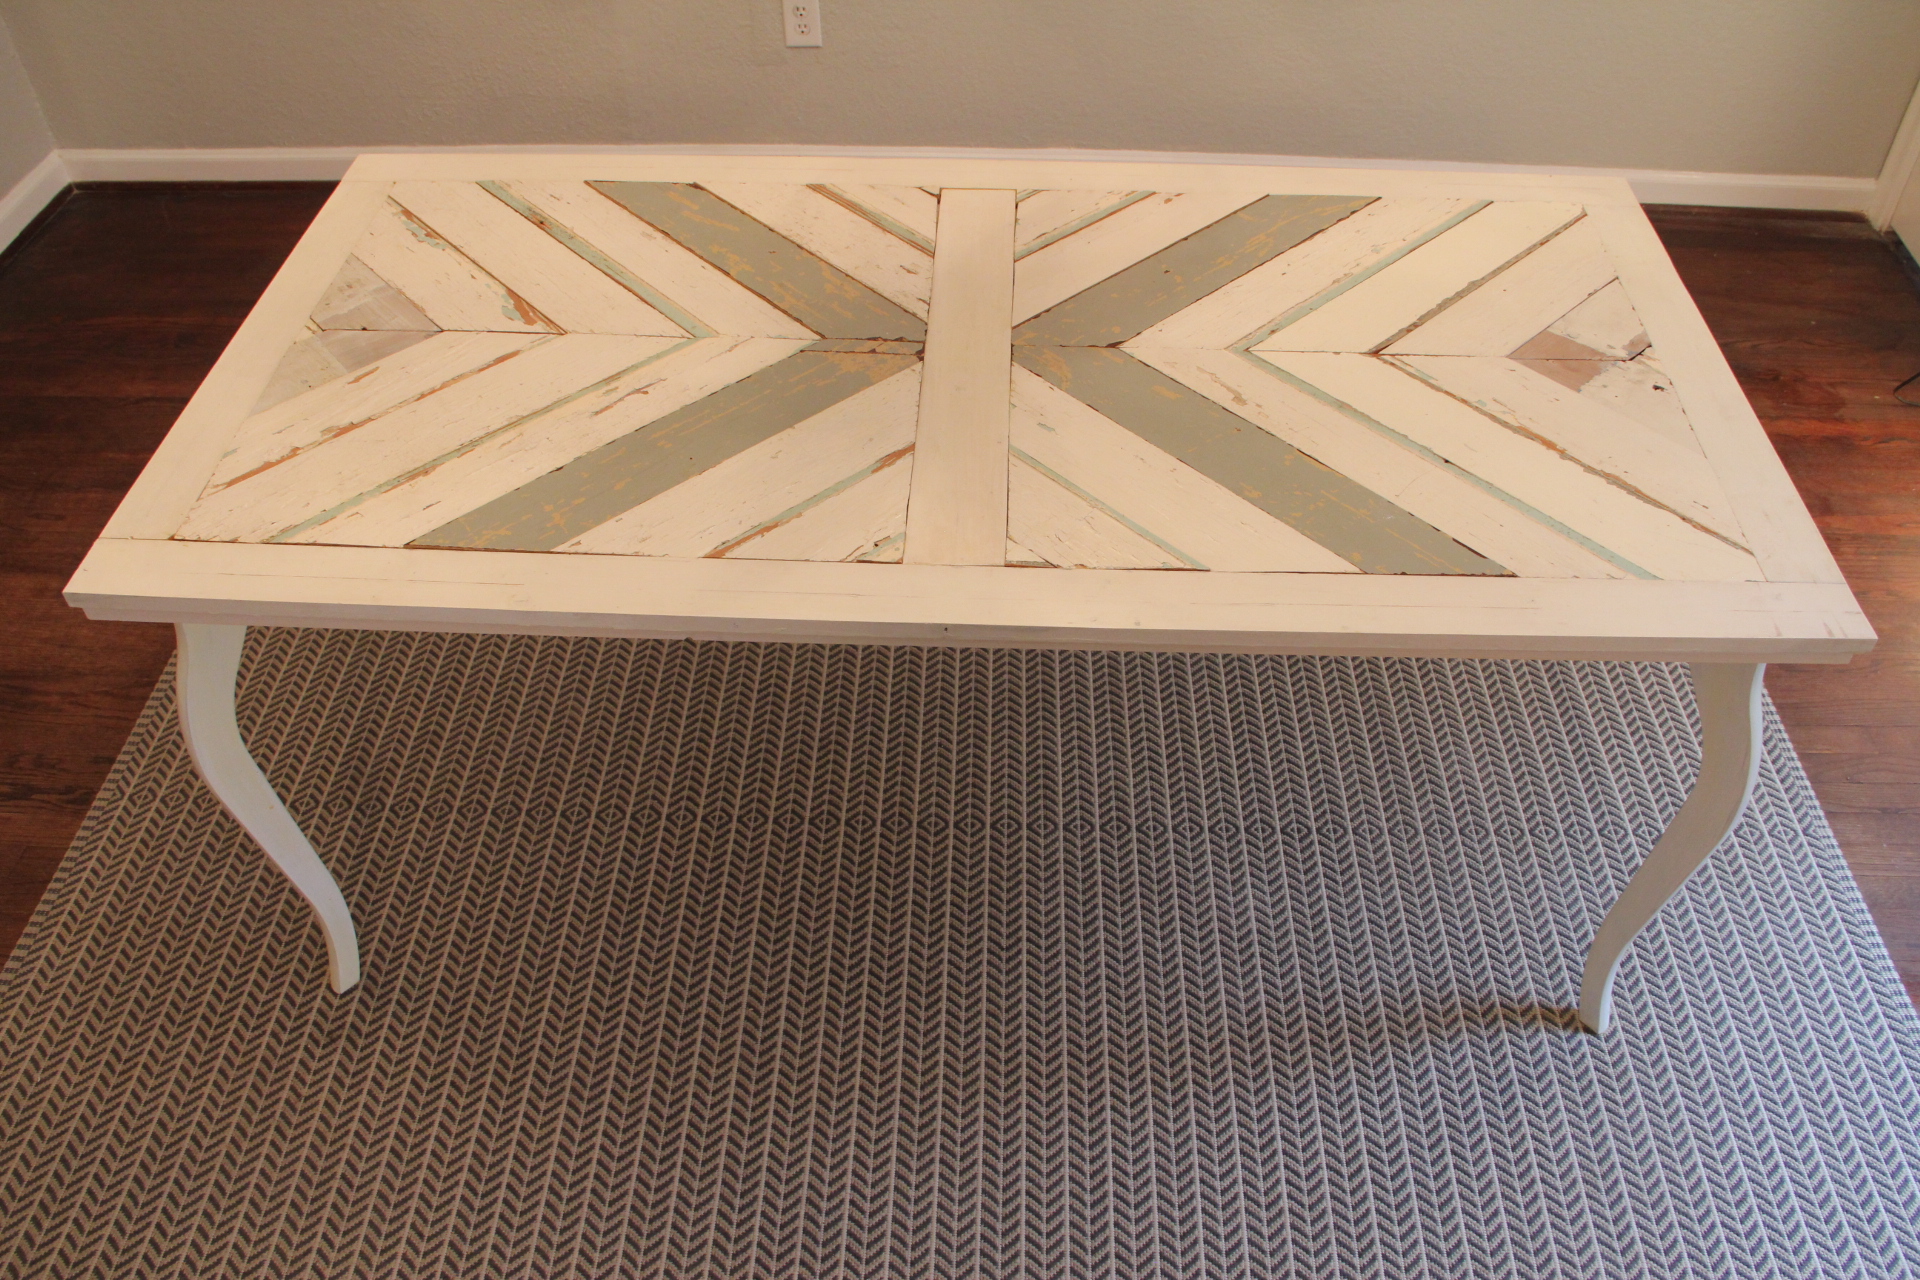
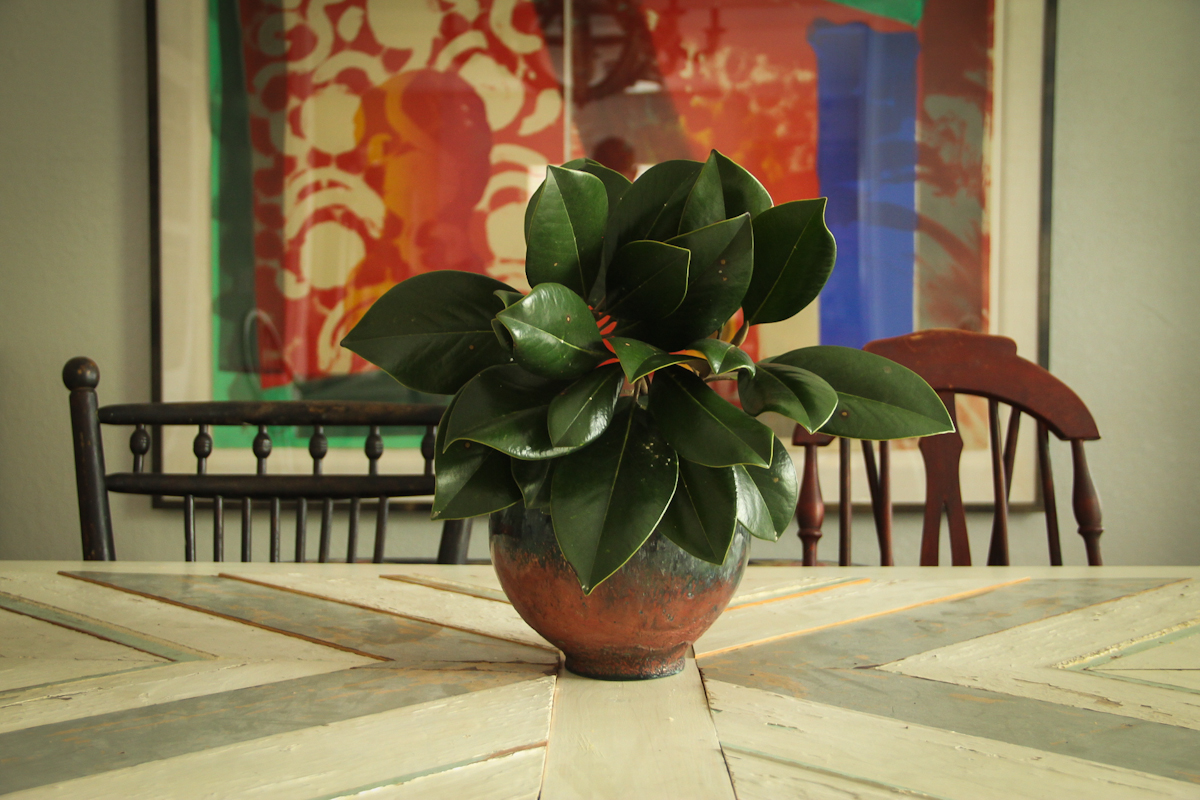 Completed table:
Completed room: