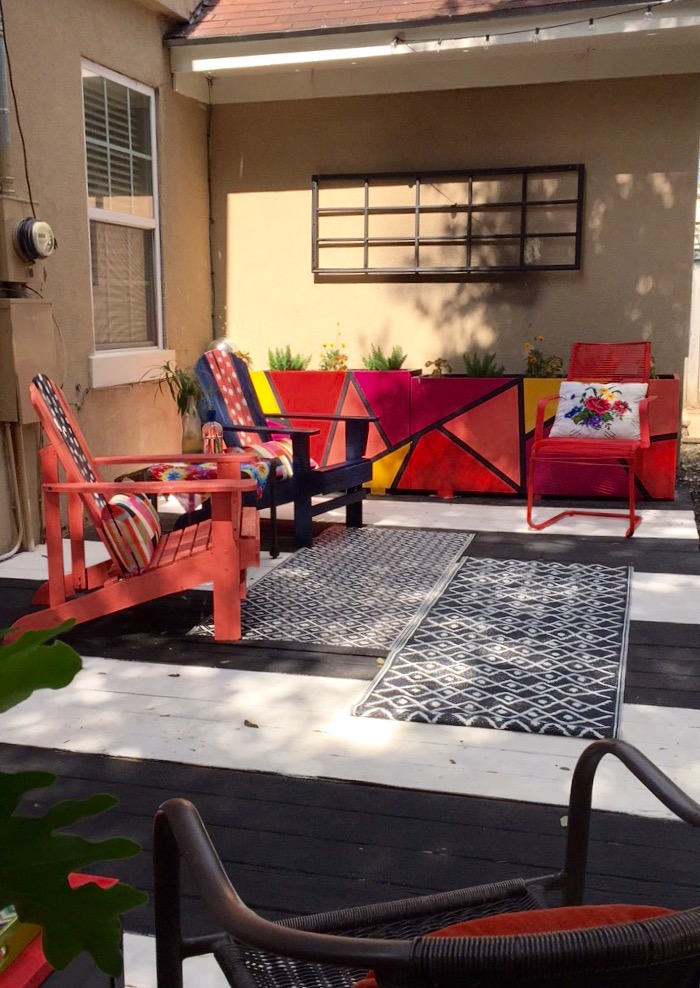
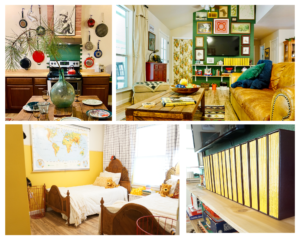
It’s officially spring here in Houston, and that means we will be spending a lot of time outdoors. However, our backyard is a little sad and unwelcoming. It’s not my favorite place to spend time. I’ve been on a mission to make our backyard space clean, inviting, and most of all- fun. I want people to step into the yard and feel like they’re in a cool, artsy, relaxed, party zone. I want it to be full of bright colors and prints and planties. I want it to be like Axelrad meets the spray paint murals of Eado meets cooky backyard:
In order to achieve that vibe, we needed to add some bold color into the space. We decided to do that by making bright funky planter boxes out of rusty old filing cabinets. Projected outcome: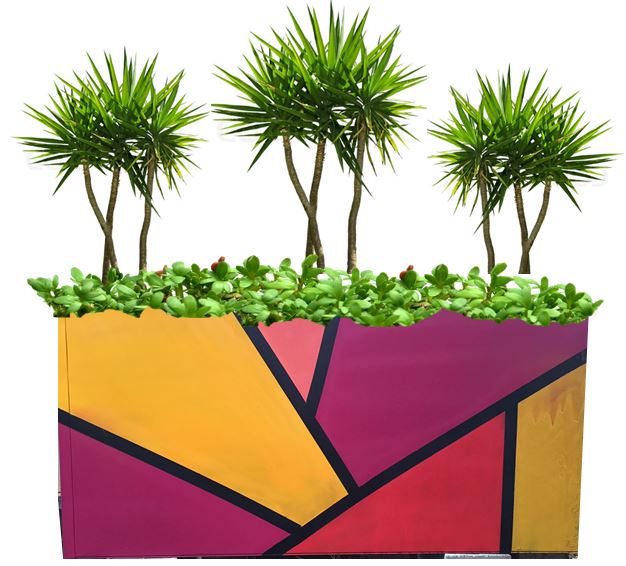
First, we purchased three filing cabinets from Texas Junk Company for $20 a piece when they were closing.

Side note- I also purchased these vintage boots from Texas Junk Company, and I wish I had purchased the rug:
We loaded up the cabinets and then stored them in our garage for about 6 months. You can skip the 6 month storage step. It’s not critical to the DIY process.
Then, we took all the drawers out, flipped the cabinets on their backs(?) and gave them a good cleaning and scraping with a wire brush to get all the large rust chunks off. Is it strange that I like the color of the rust though?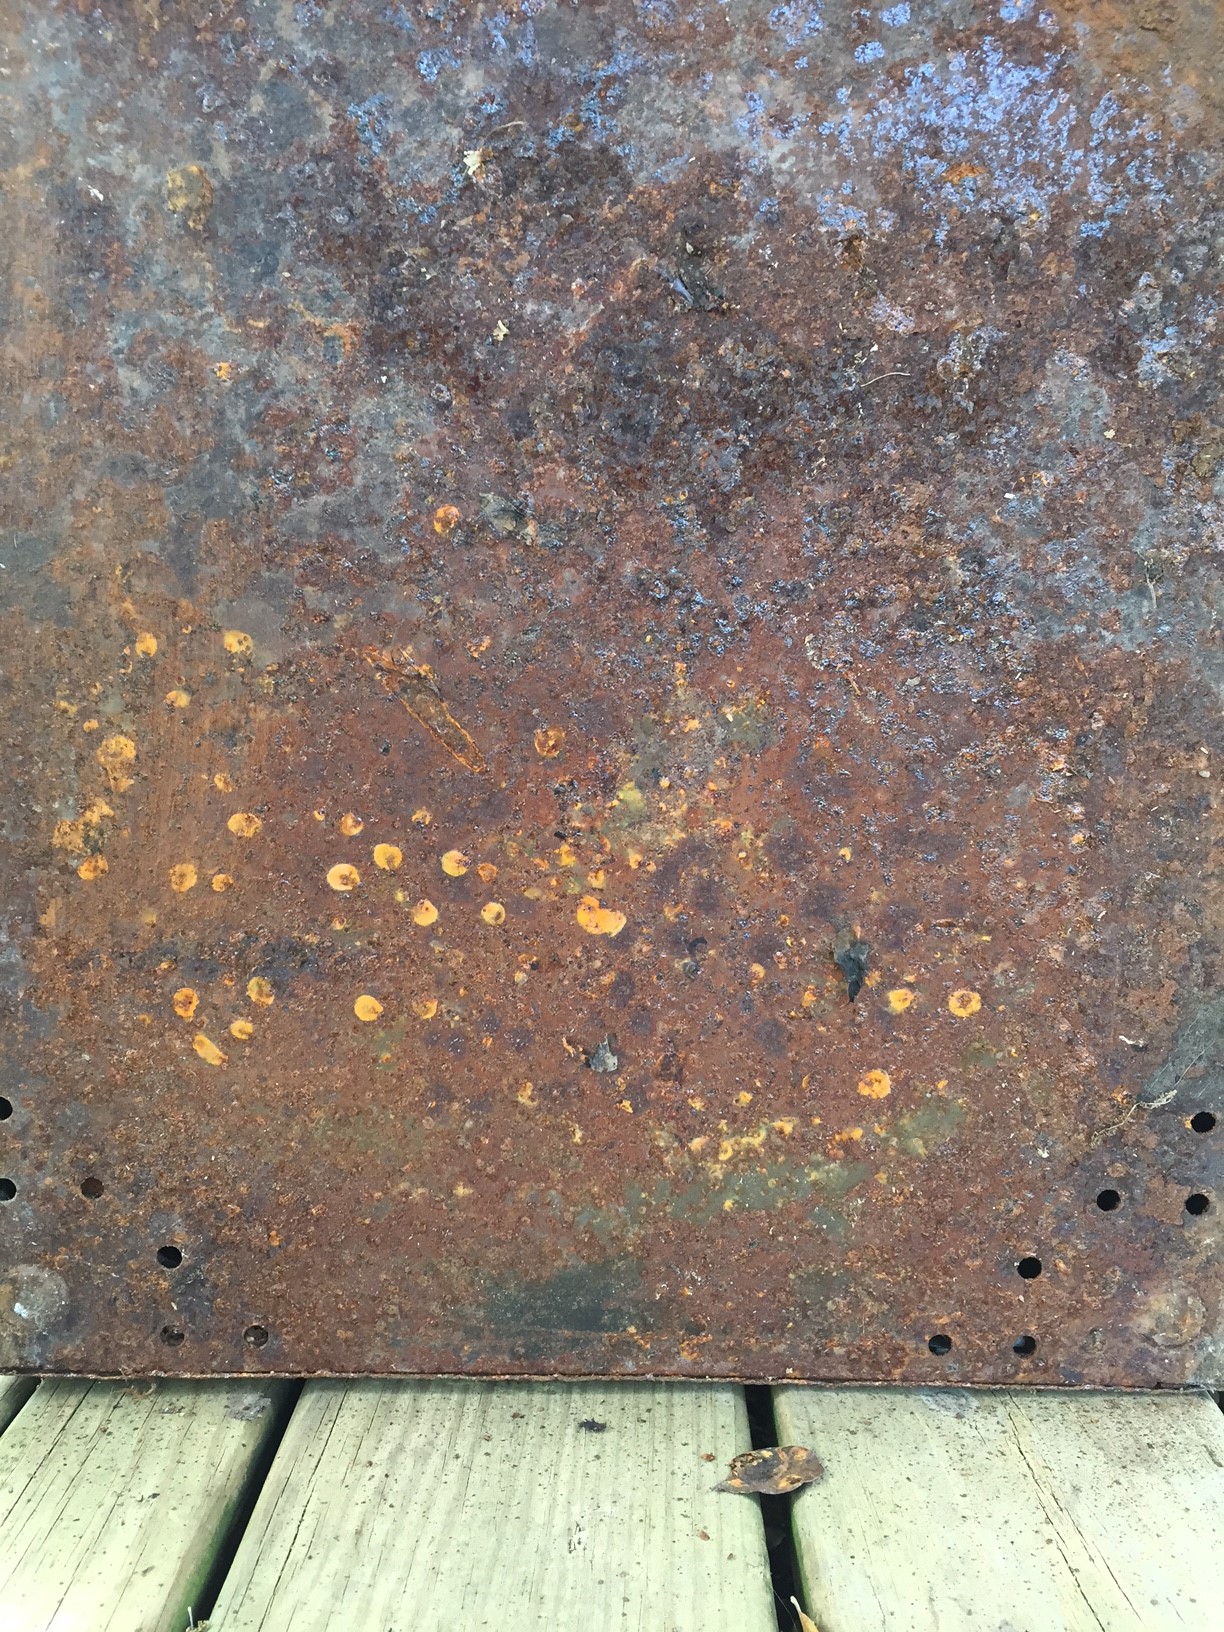
After we sanded the large rust pieces off, I sprayed the outside rusty sections with Rust-oleum’s Rust Reformer Spray. This made the rusty parts paintable and it prevents from further rusting. I used 2 cans for 3 cabinets. I think the cans run about $6 a pop at Home Depot. I sprayed the inside of the cabinets with Rust Inhibitor. The rust inhibitor spray was very oily. Don’t use it on surfaces you are going to paint. They cost around $6 a can, and I used 2 of them. 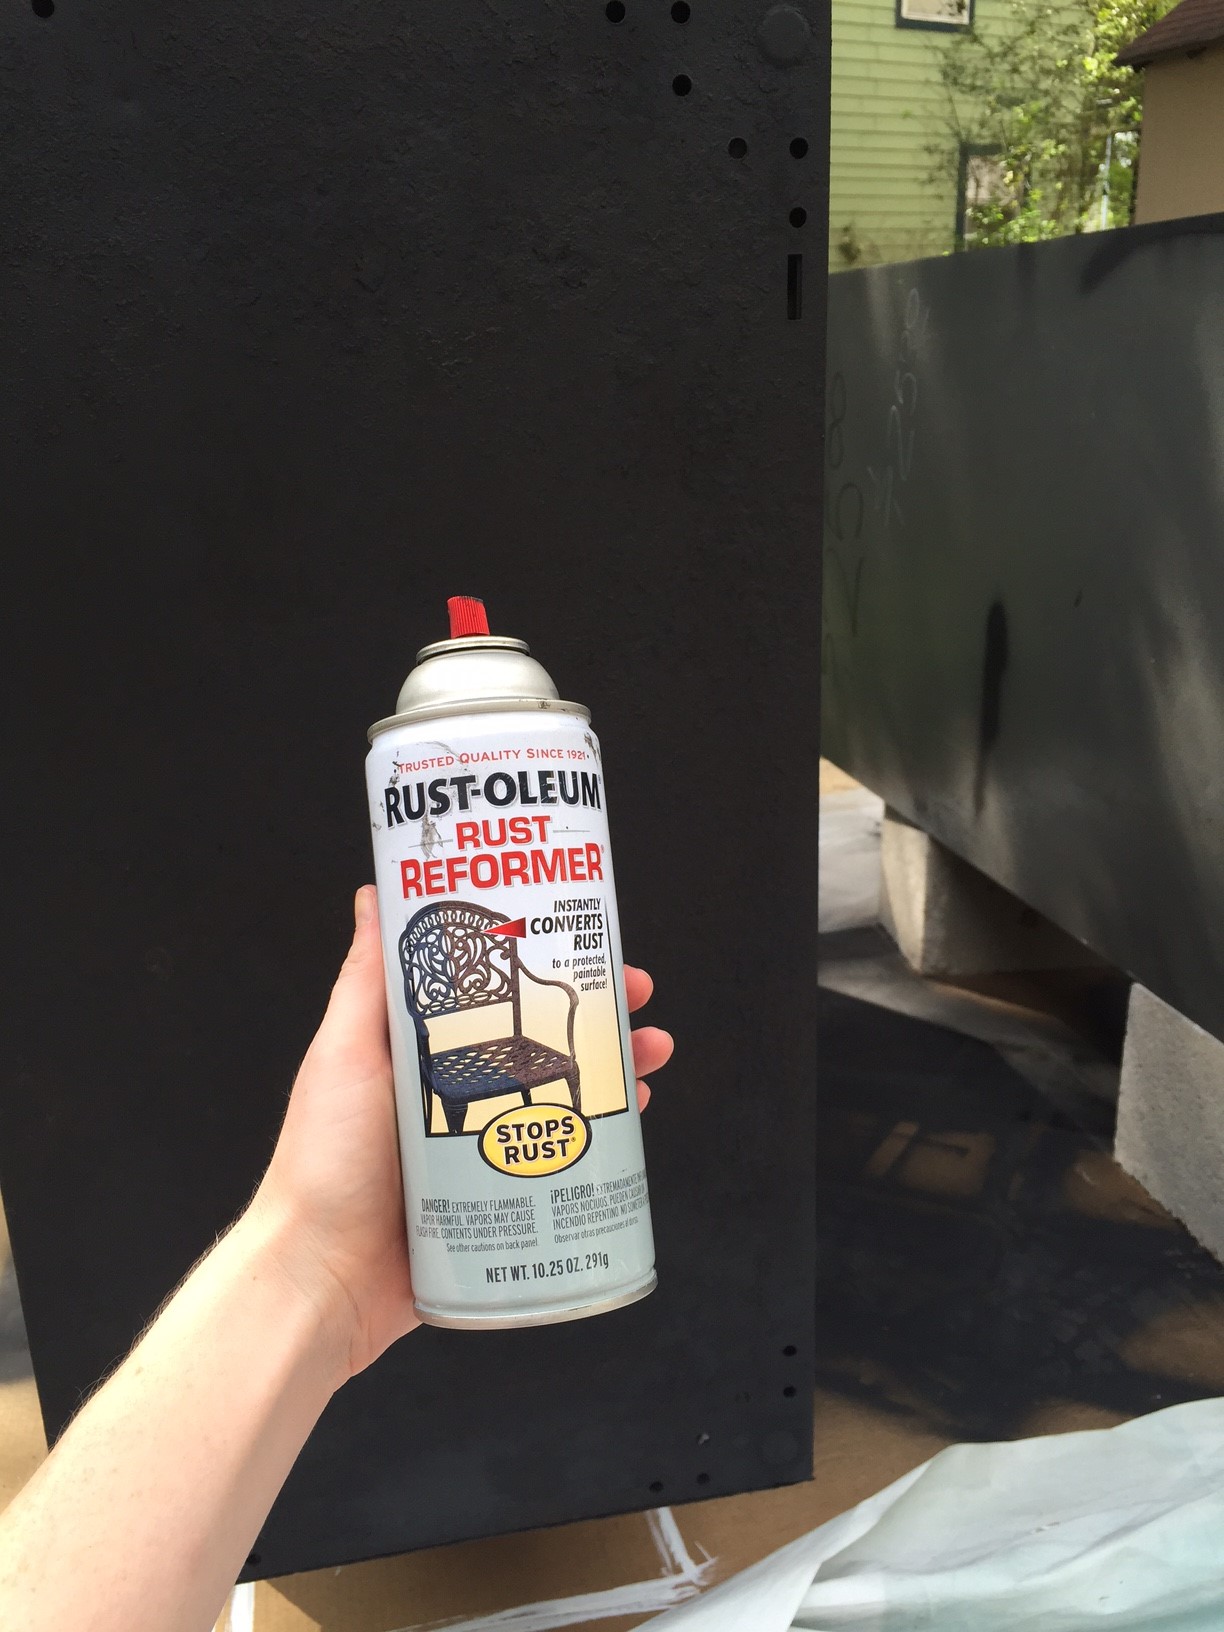
After I sprayed all the rusty parts and the insides down, we roughly outlined our geometric shapes with regular old black spray paint. You can skip this step if you start with black cabinets: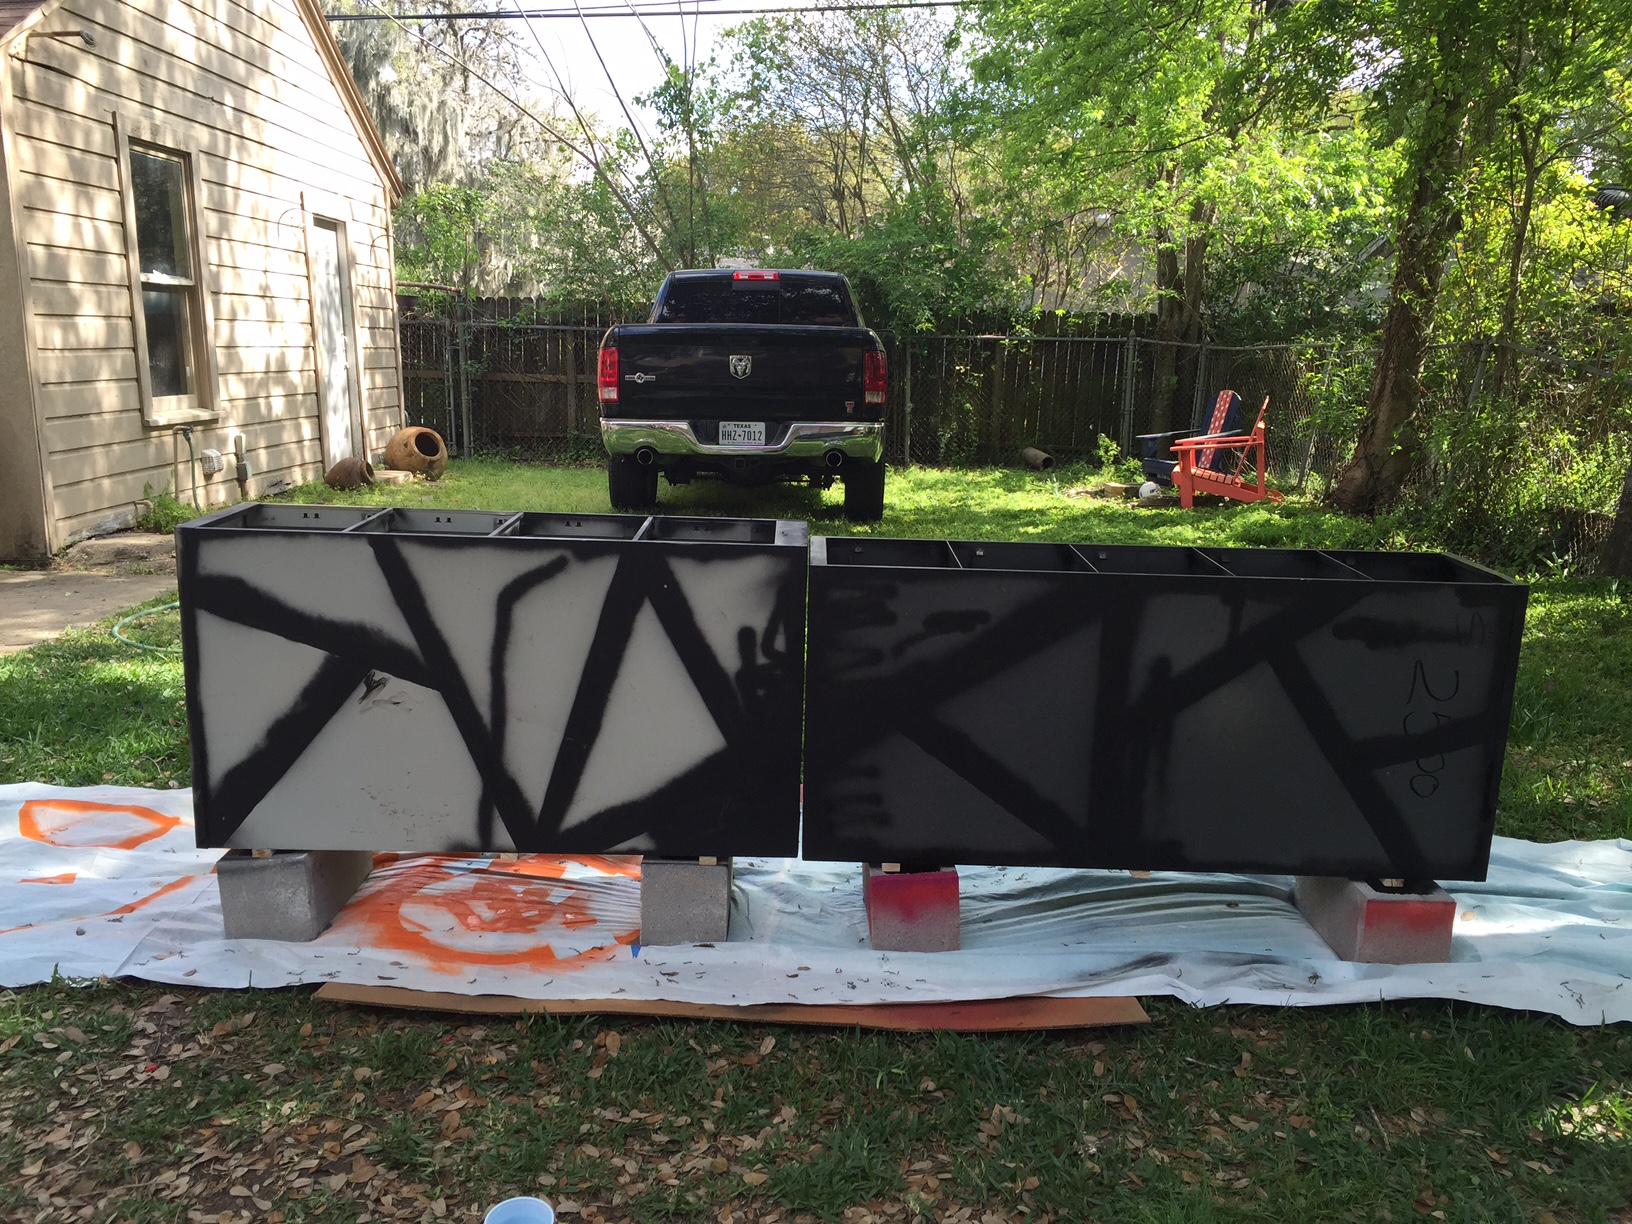
Then we covered the black lines with painter’s tape. I didn’t take a picture of that step- apologies.
After that, we filled in the outlined spaces with colorful spray paint. From left to right- Poppy Red, Magenta, Marigold, and Coral. 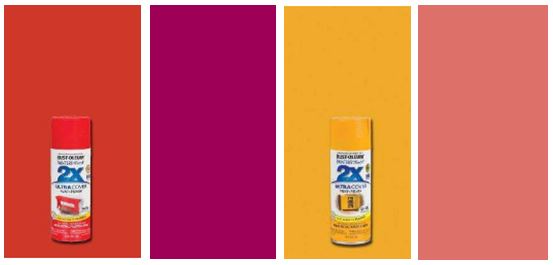
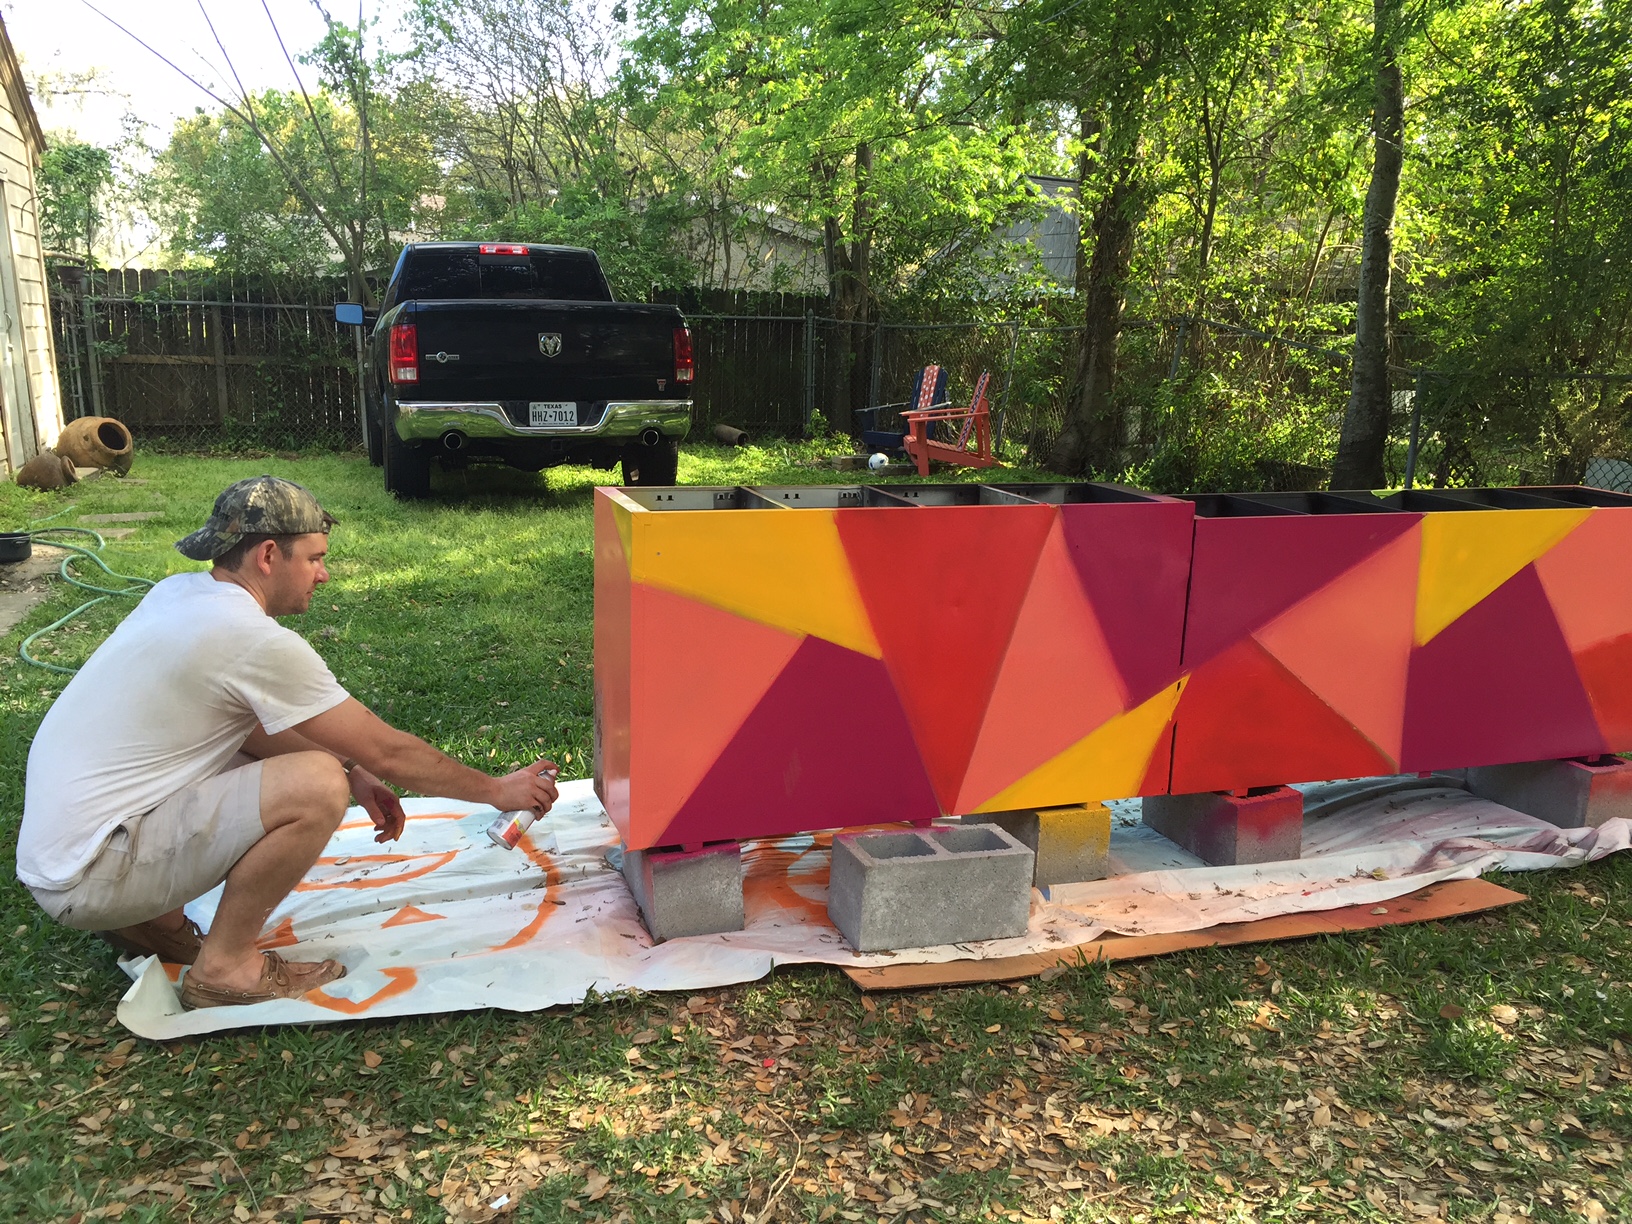
Warning: this much spray painting will tire-out your index finger. Text from the next day:
And lastly, we peeled off the tape, and we were left with this bright beautiful pattern: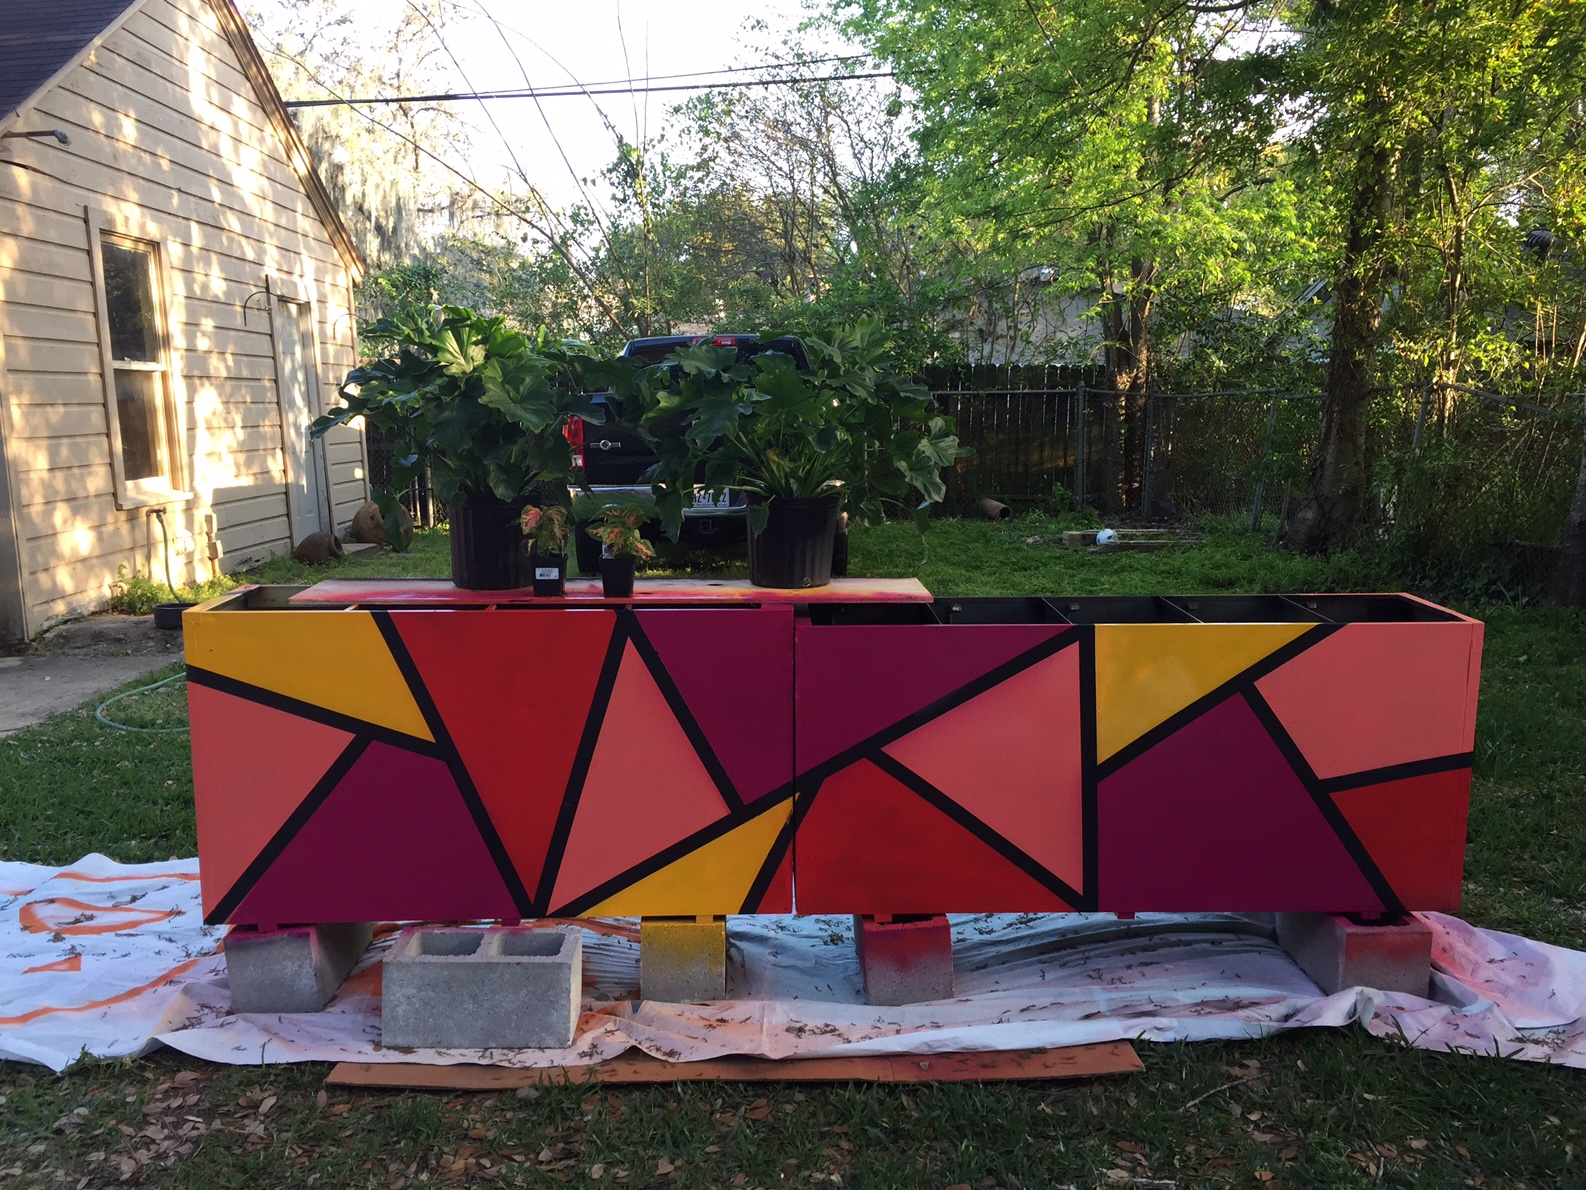
Next, we needed fill this baby with plants! I had already bought a few, but I needed to come up with a solid plan on how/what to fill them with! Here is me thinking about that plant plan: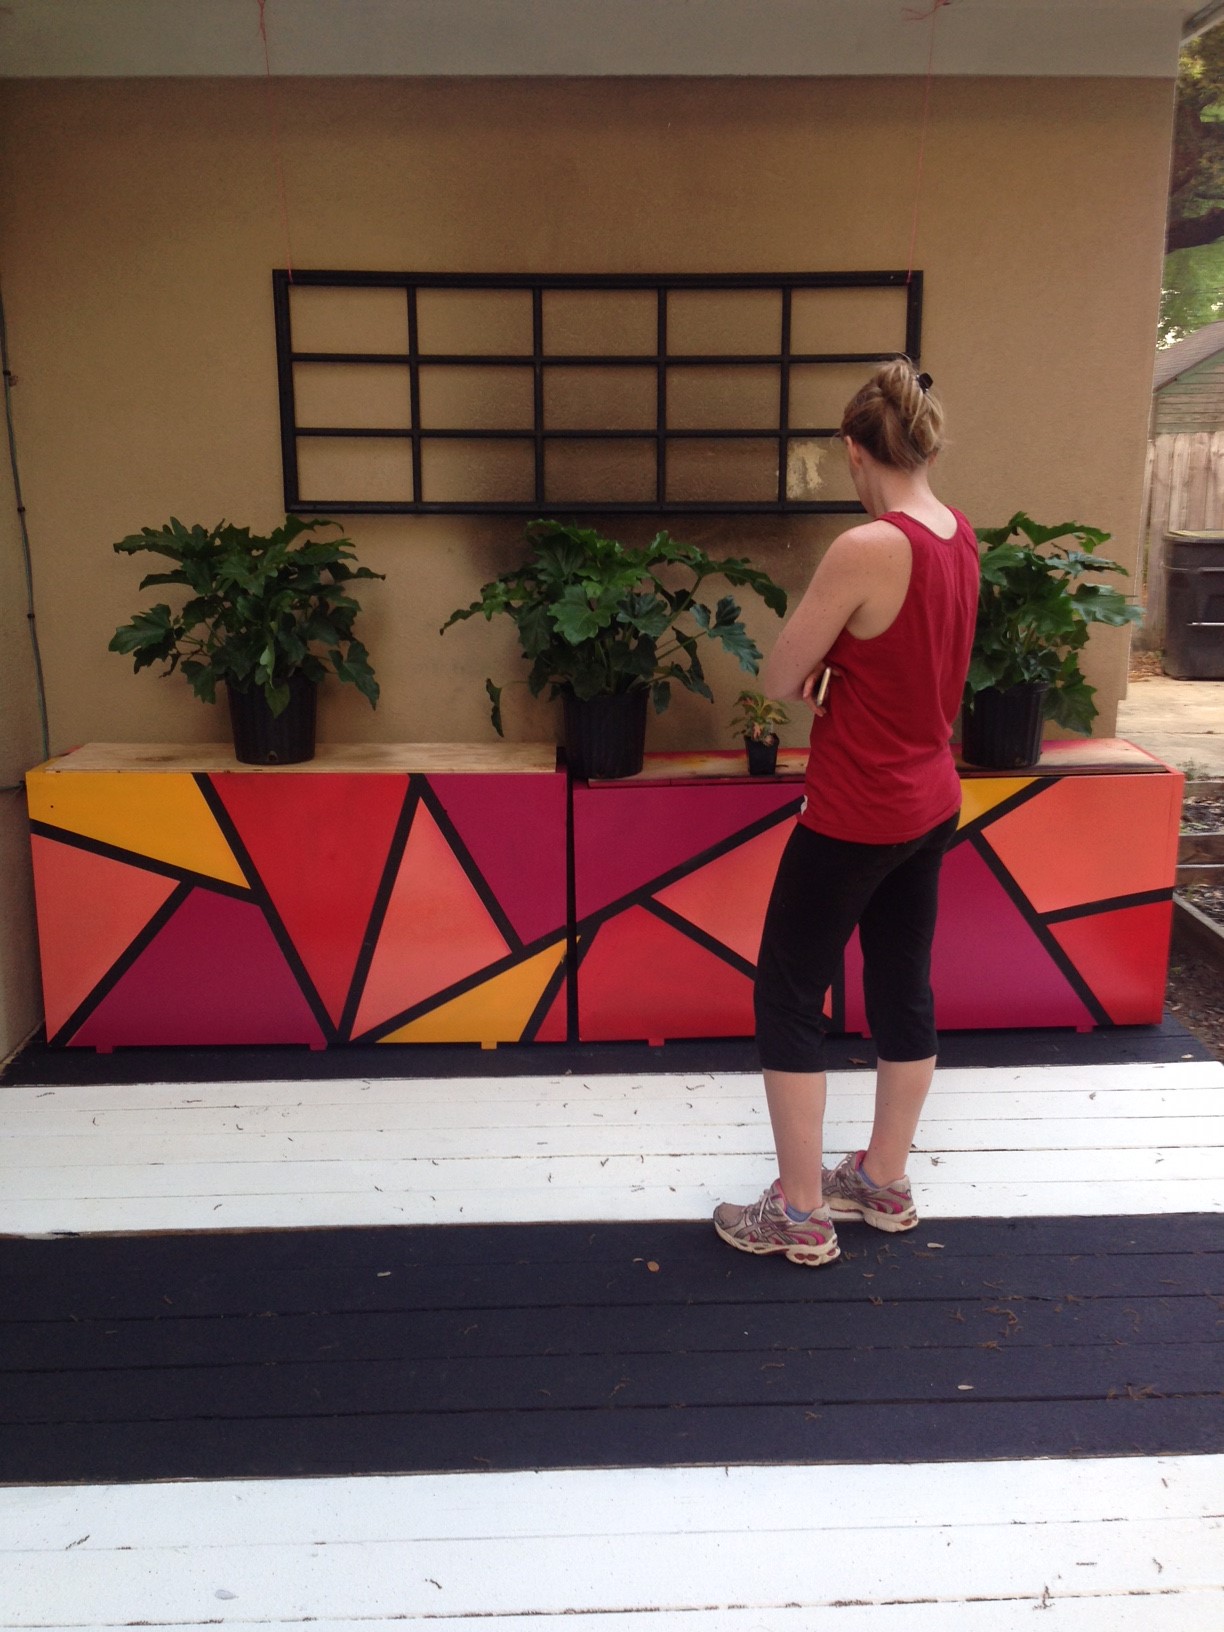
And here’s the daydream: Here’s how we filled ’em:
1. We put a few (3 per cabinet) cinder blocks in the bottom of the file cabinets.
2. David cut a board that was the length/width of the cabinets and placed on top of the cinder blocks.He also filled in the gaps with more pieces of wood.
3. We drilled a few small holes in the main bottom board, so plant water can escape.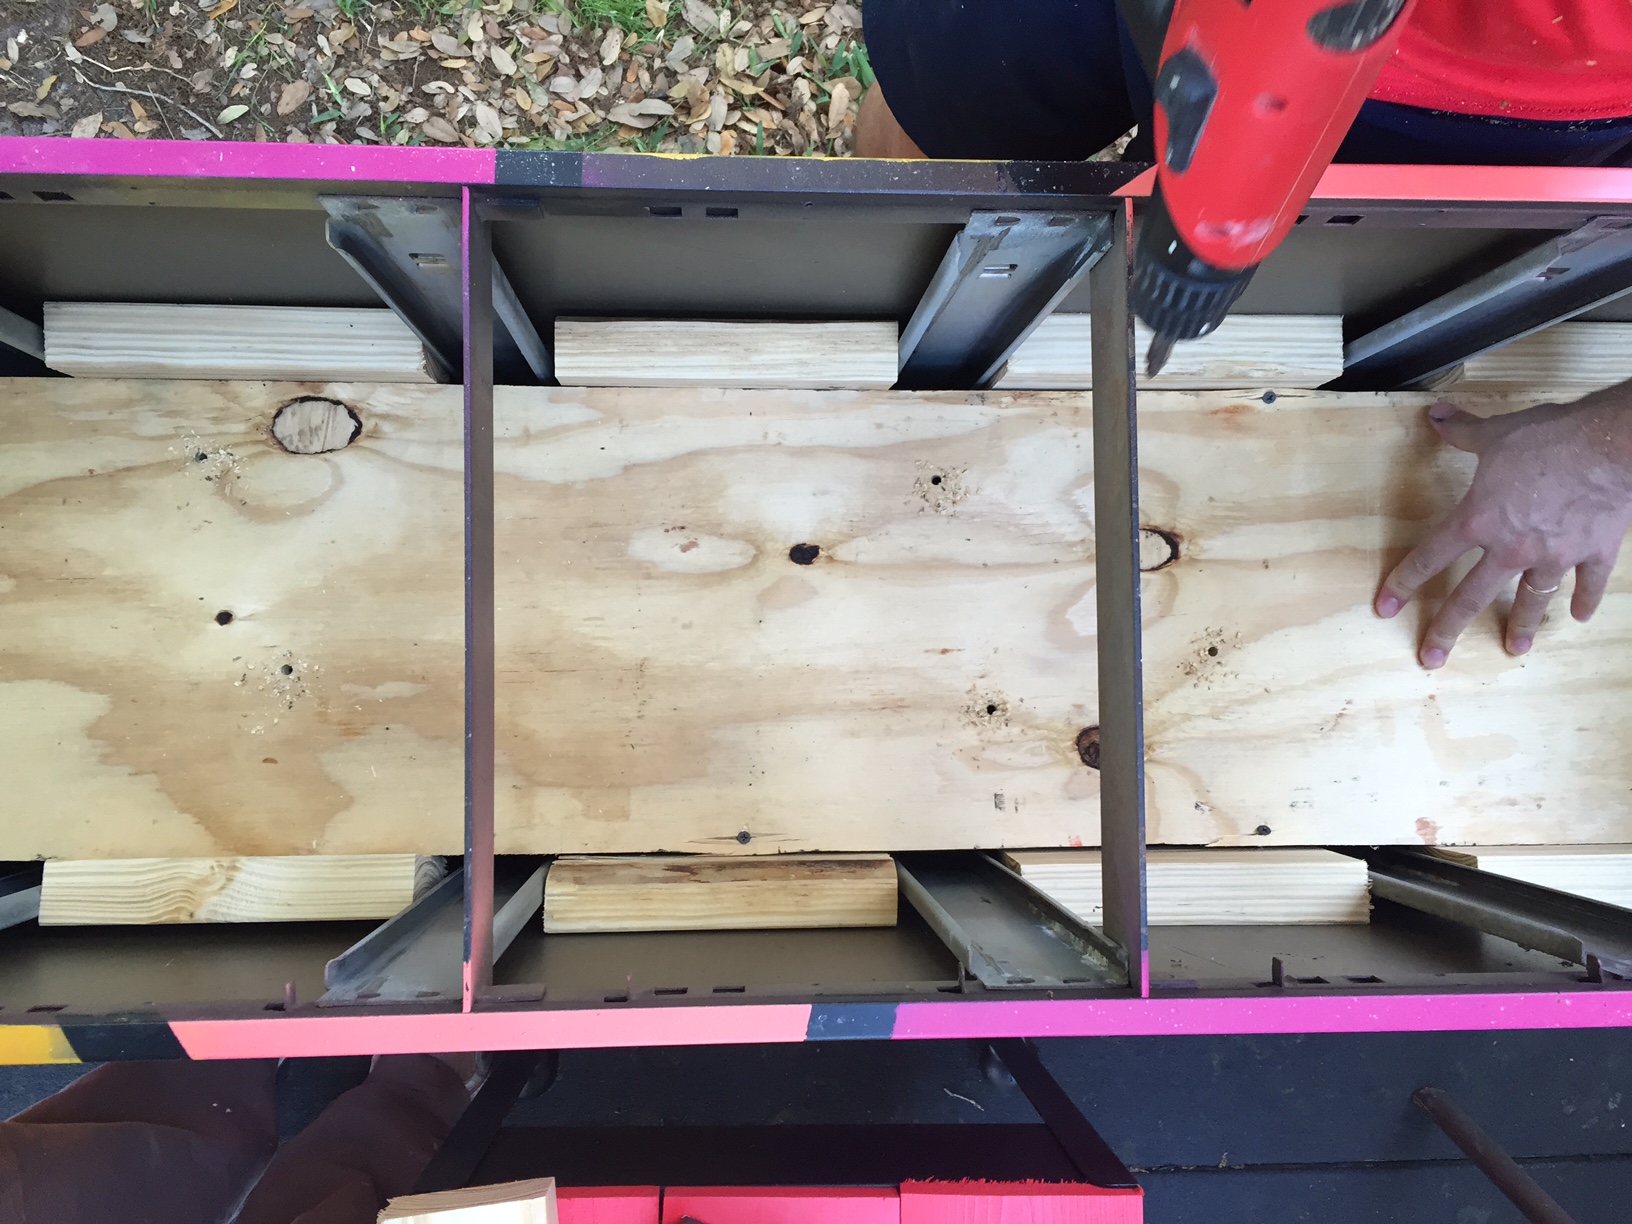
4. We put gorilla glue on the bottom board and inside the top ridge of the cabinet: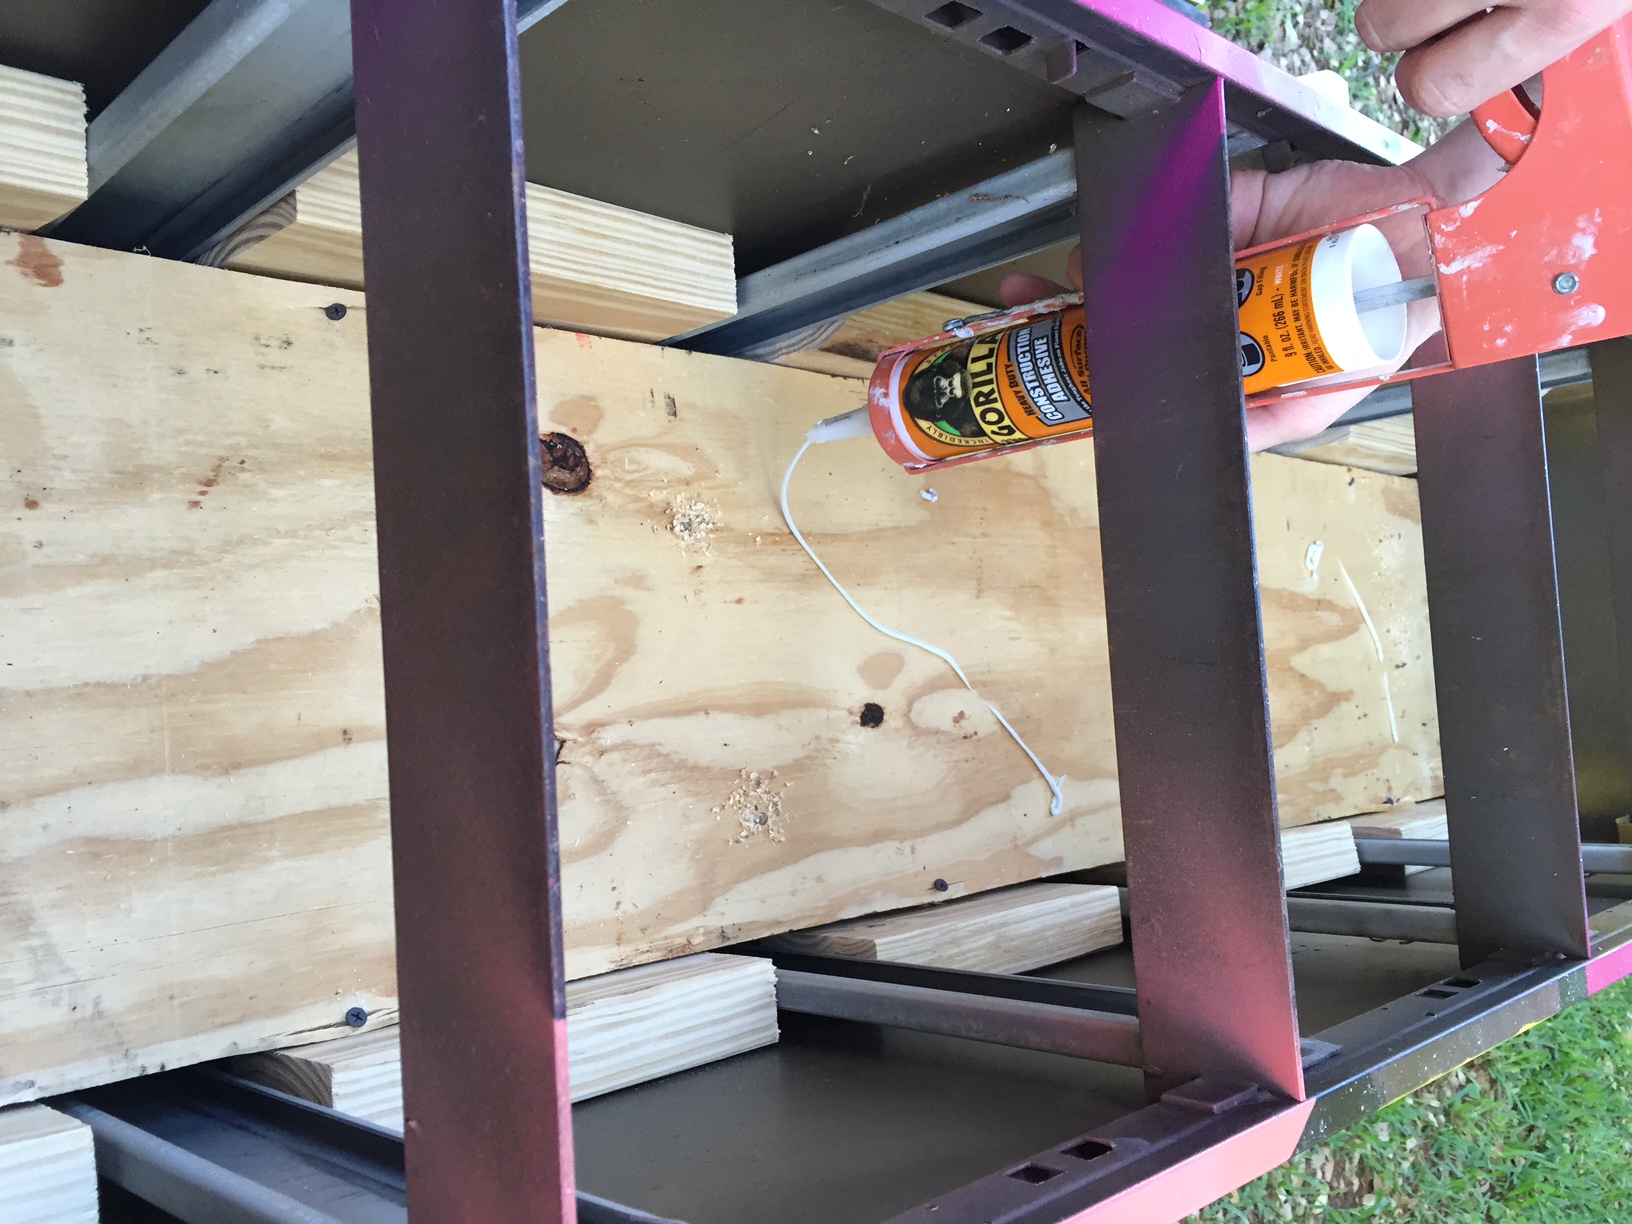
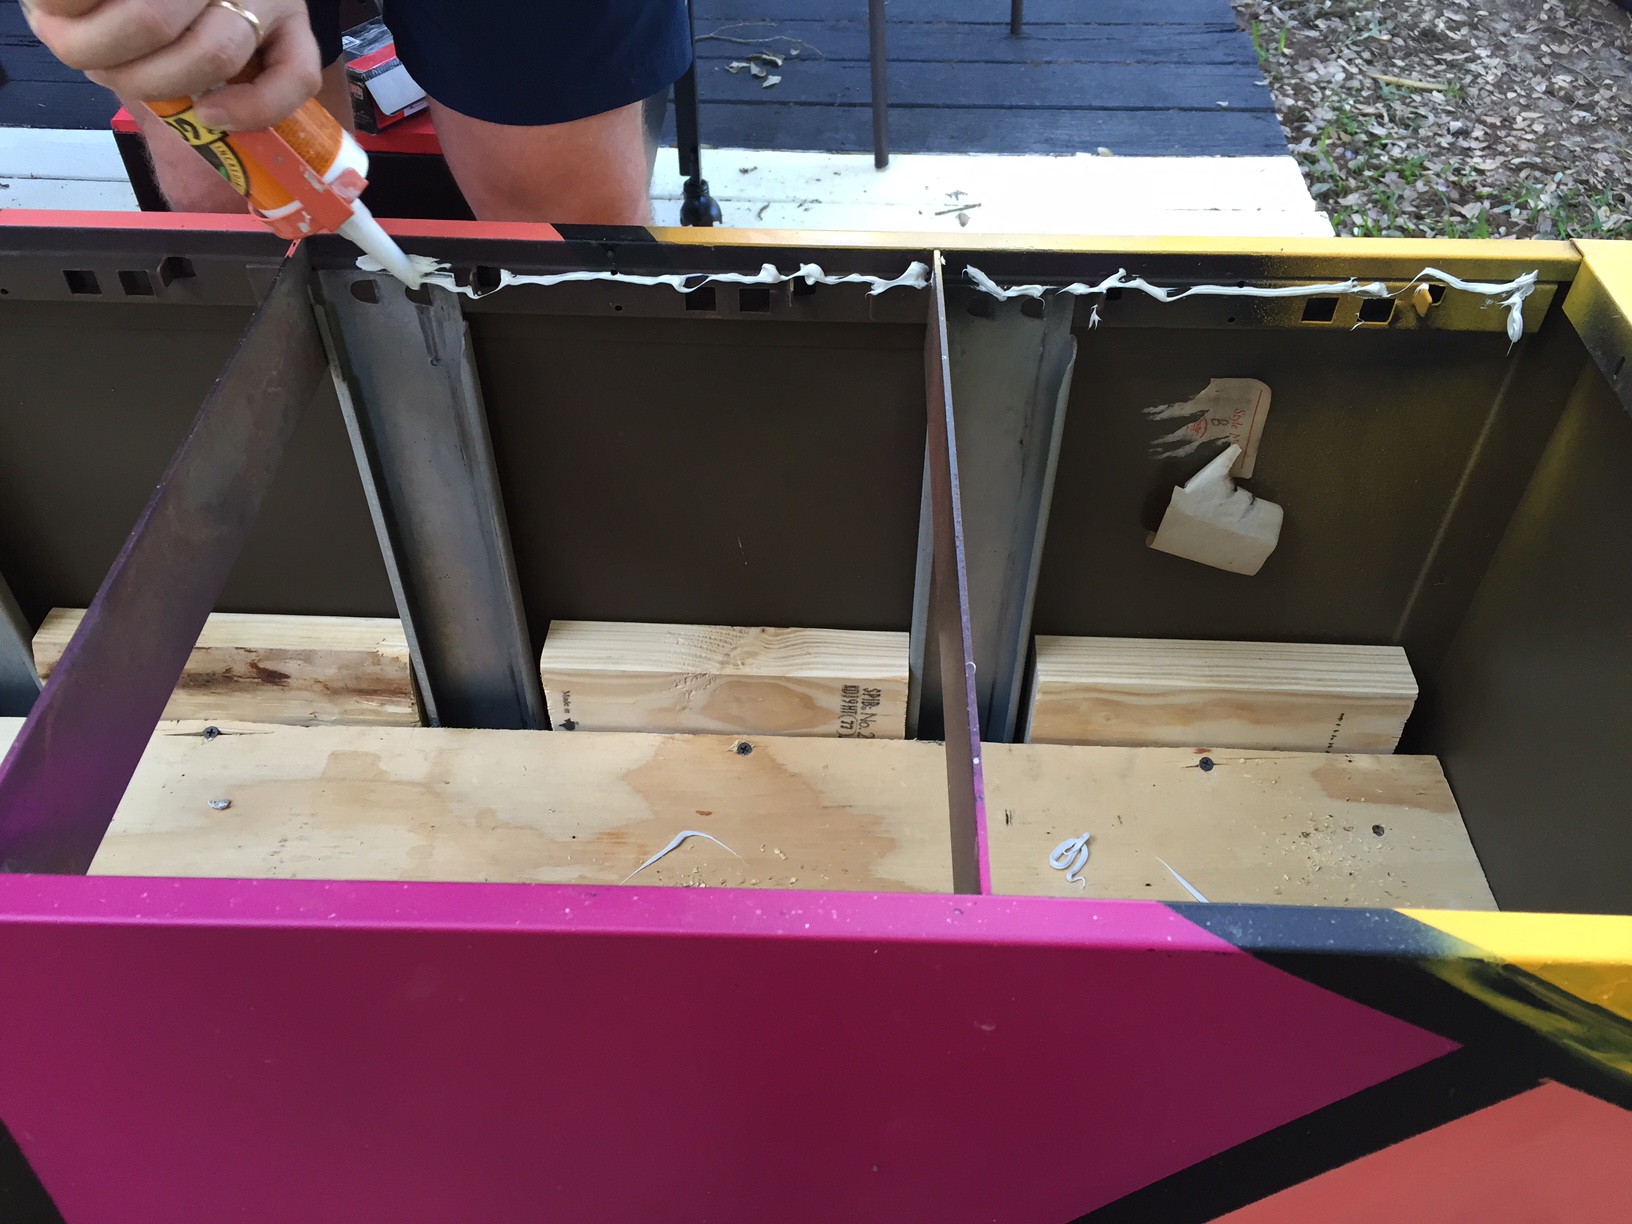
5. We ever-so-carefully lined the cabinets with planters plastic. Once we had it exactly like we wanted, we pressed it into the glue lines: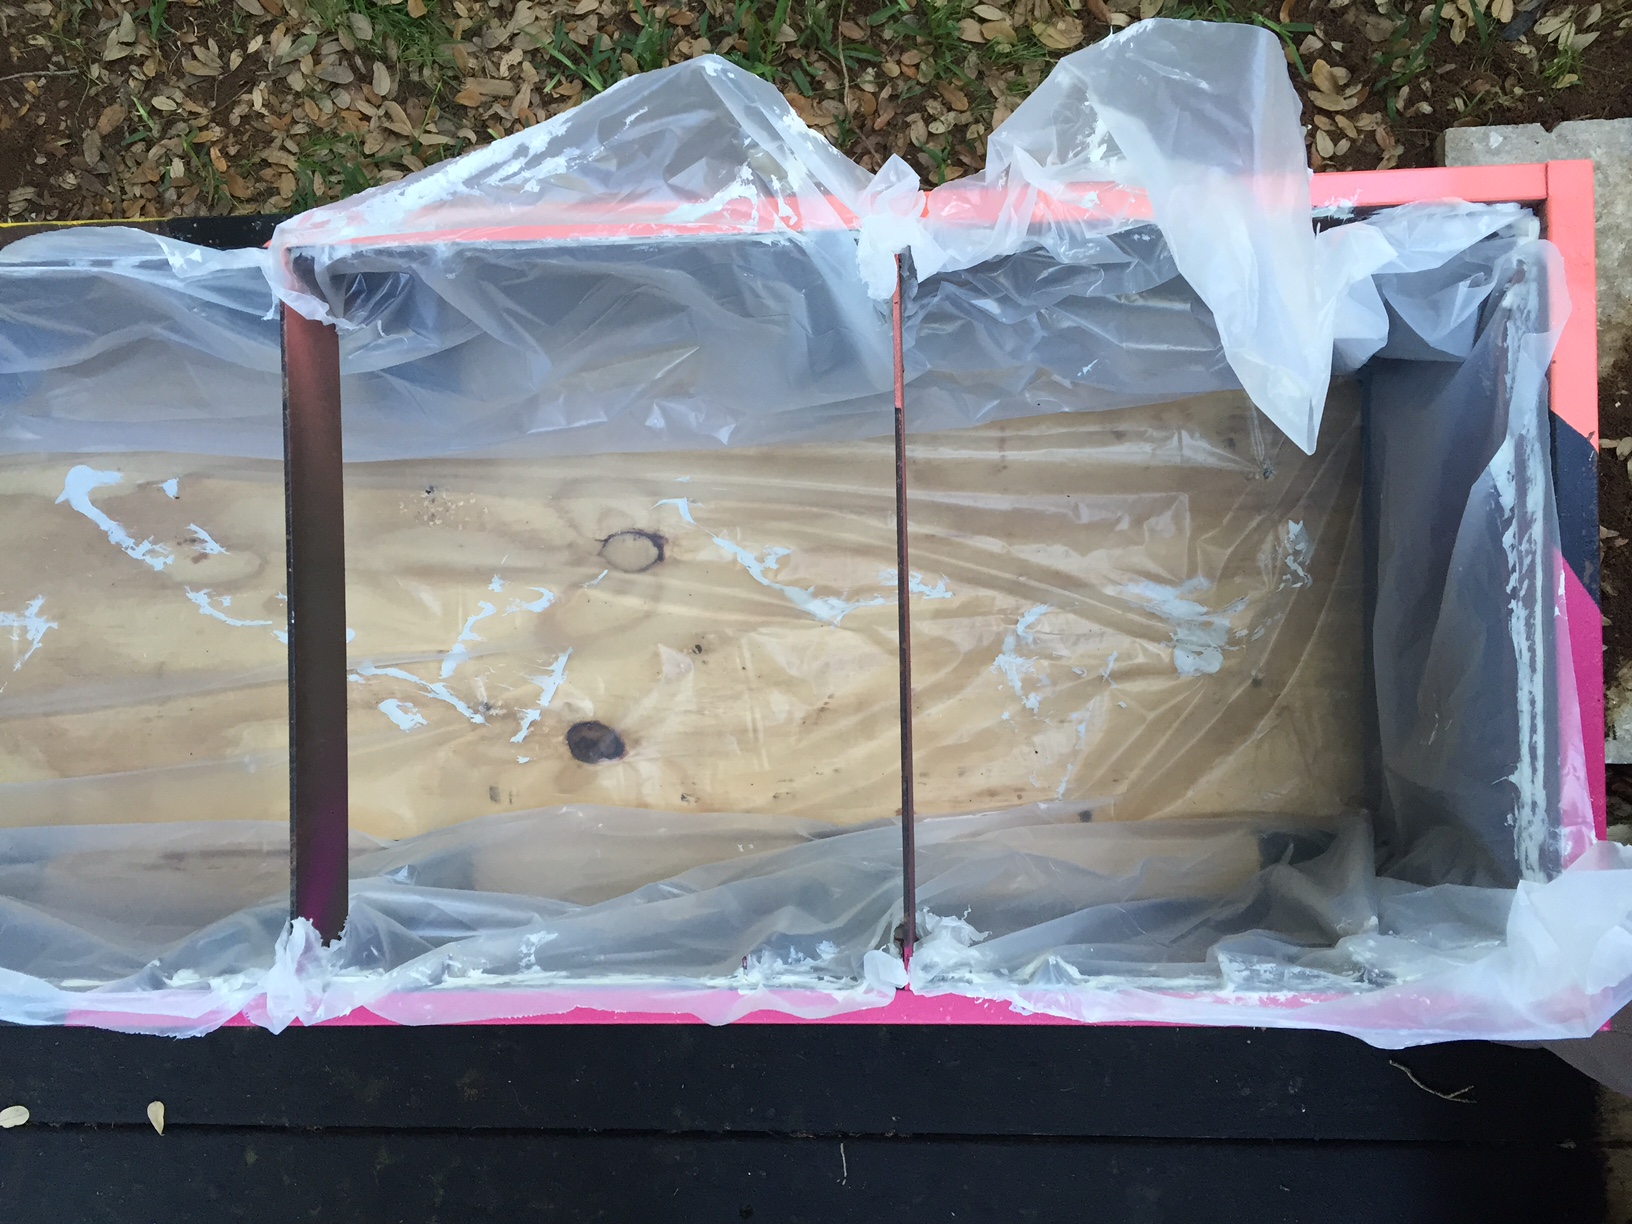
6. Once the glue was dry, we filled the cabinets with dirt. I think it look about 6 bags of dirt altogether.
7. Then we trimmed off the excess plastic around the top of the planters, and filled with these plants and some calladium bulbs! 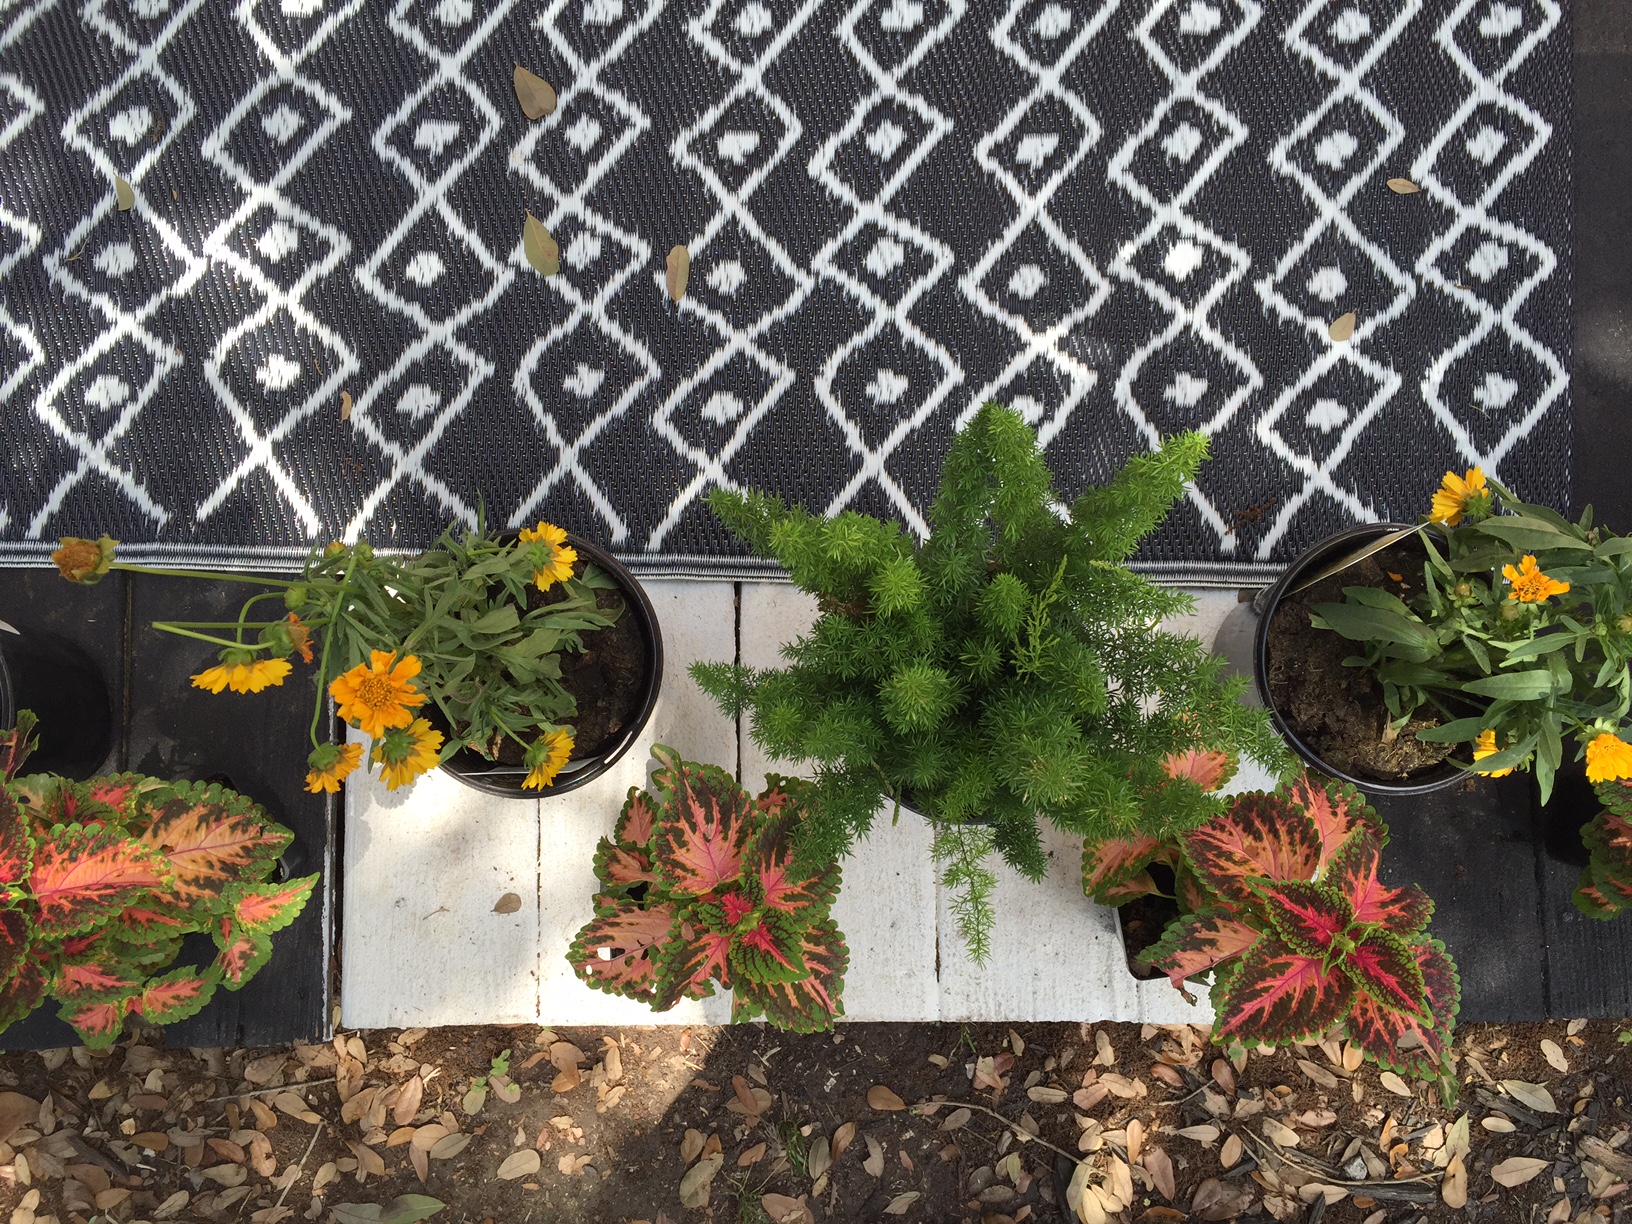
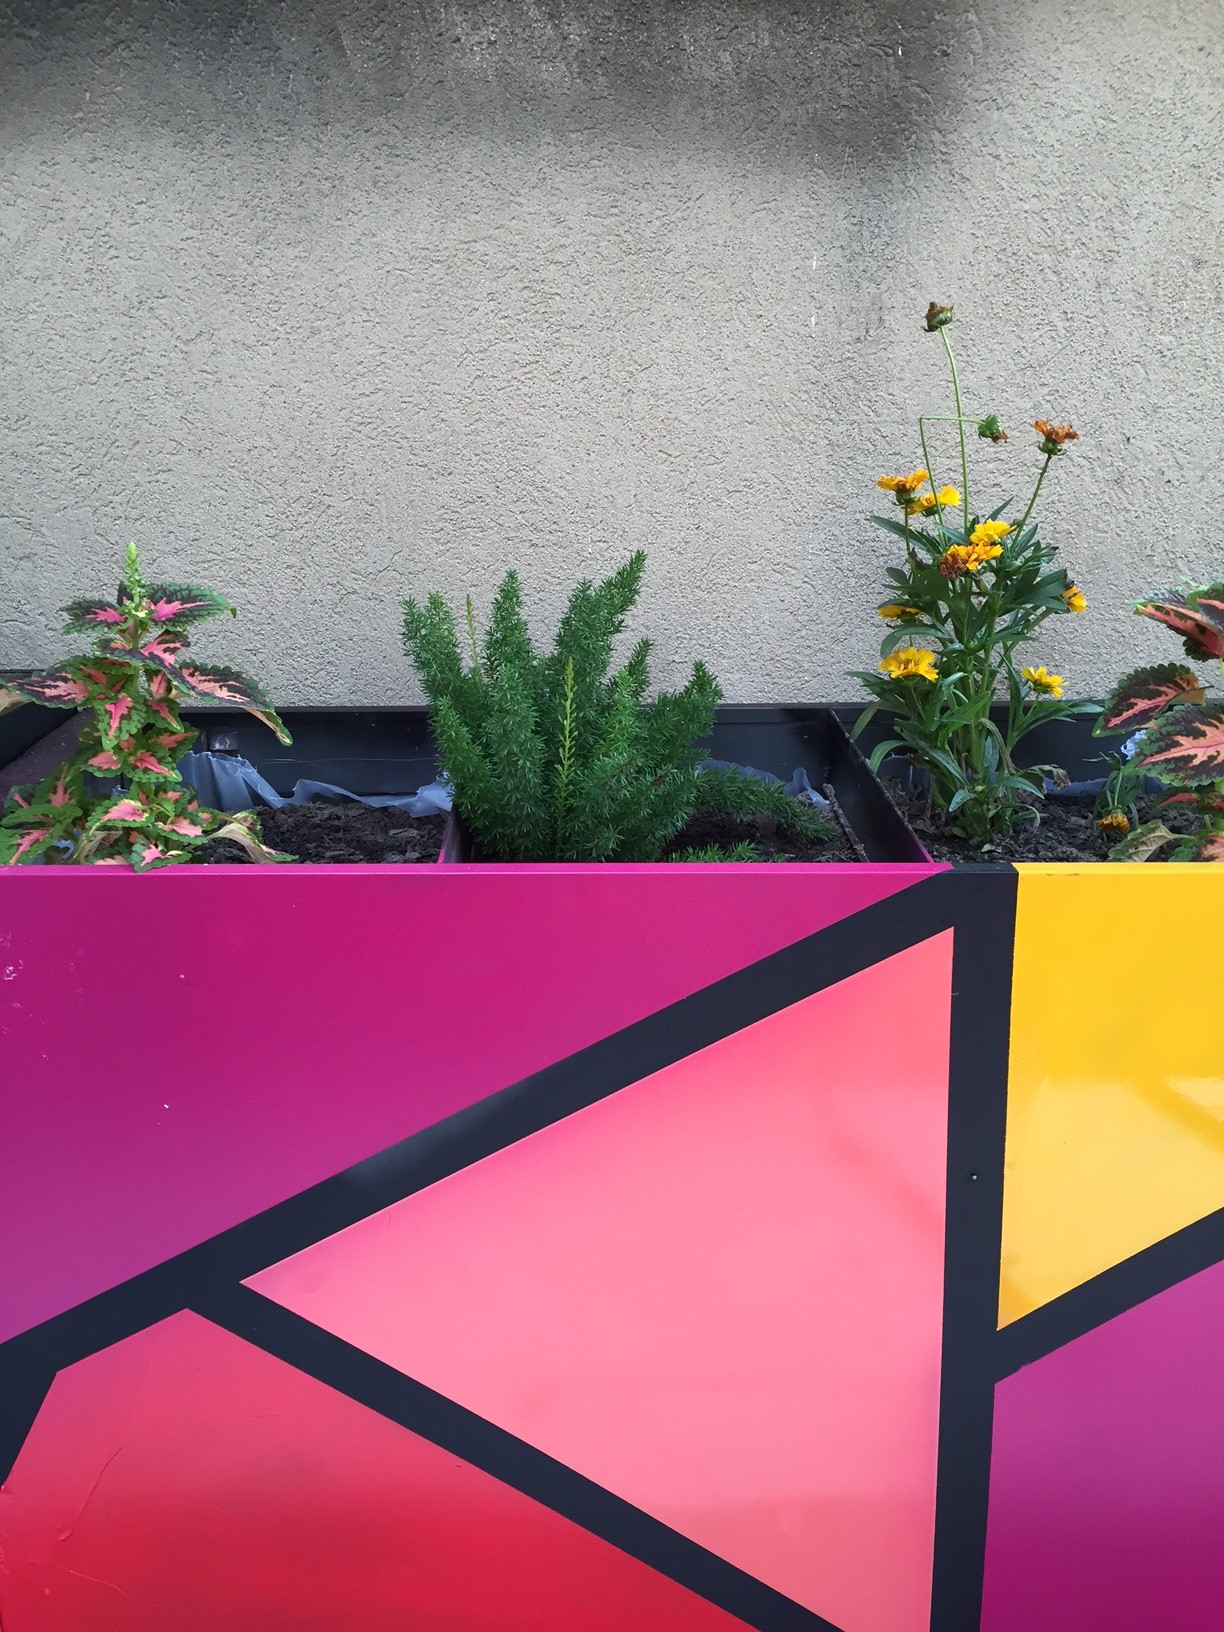
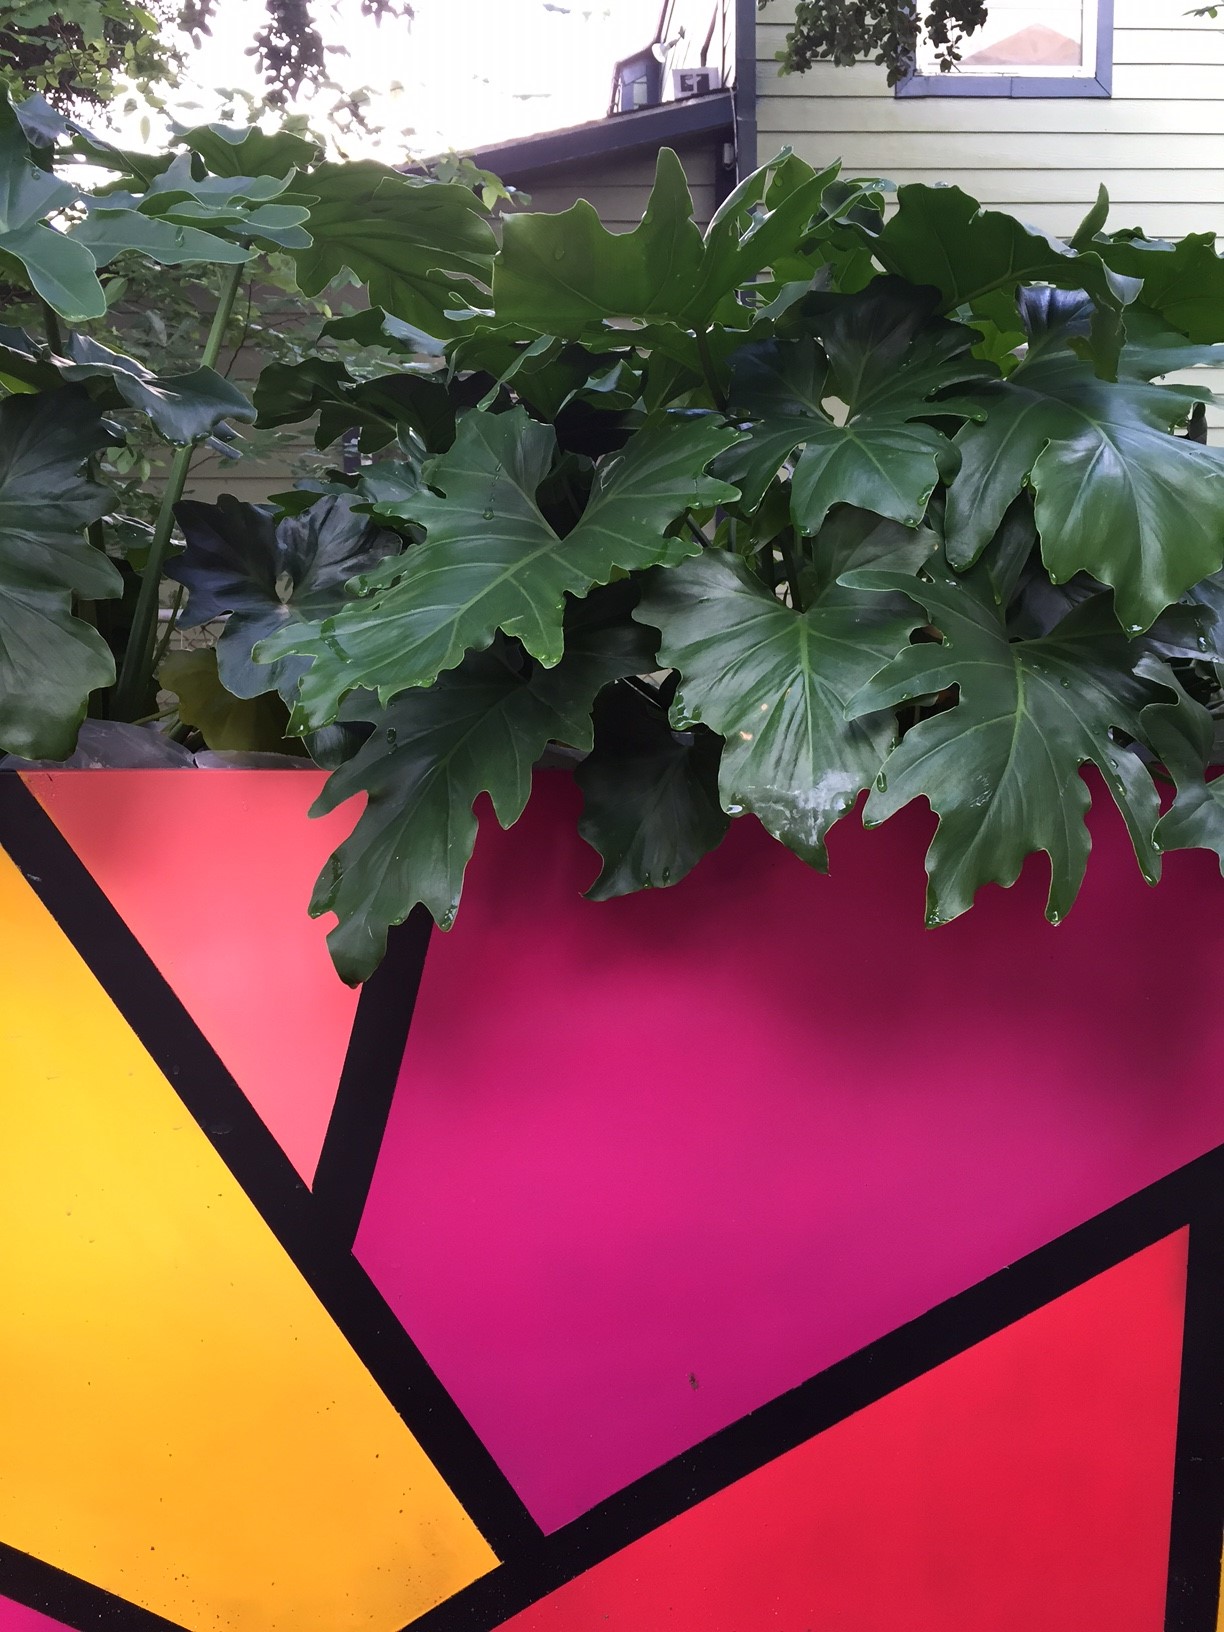
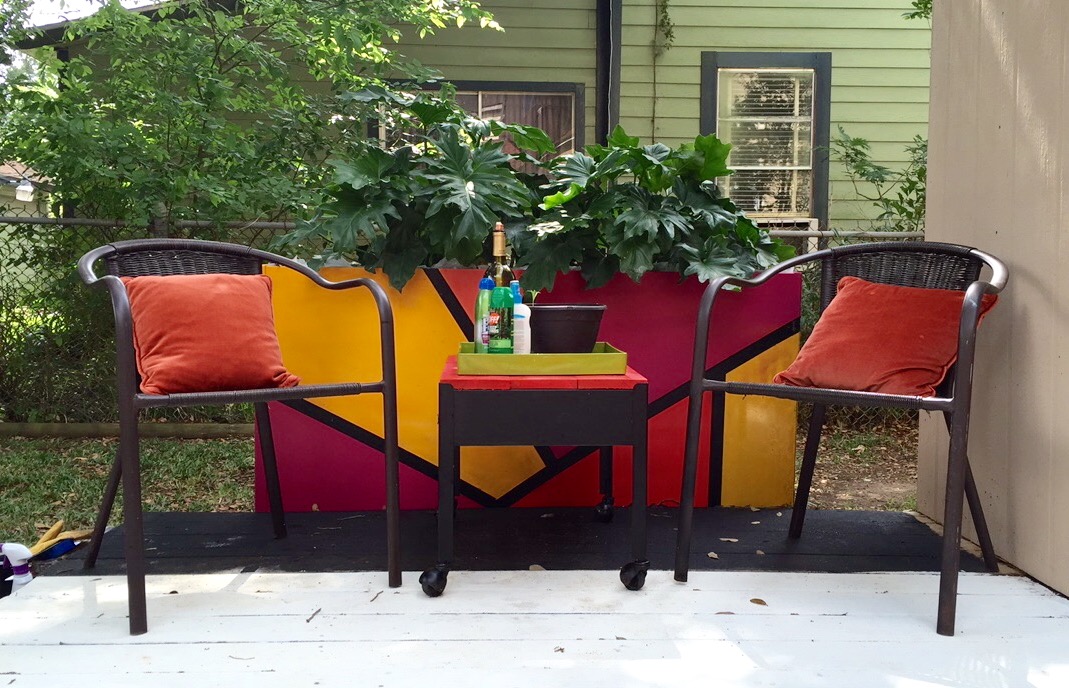
Some photos of the final product: