This is the kitchen we purchased with our house. Notice its meh floor:
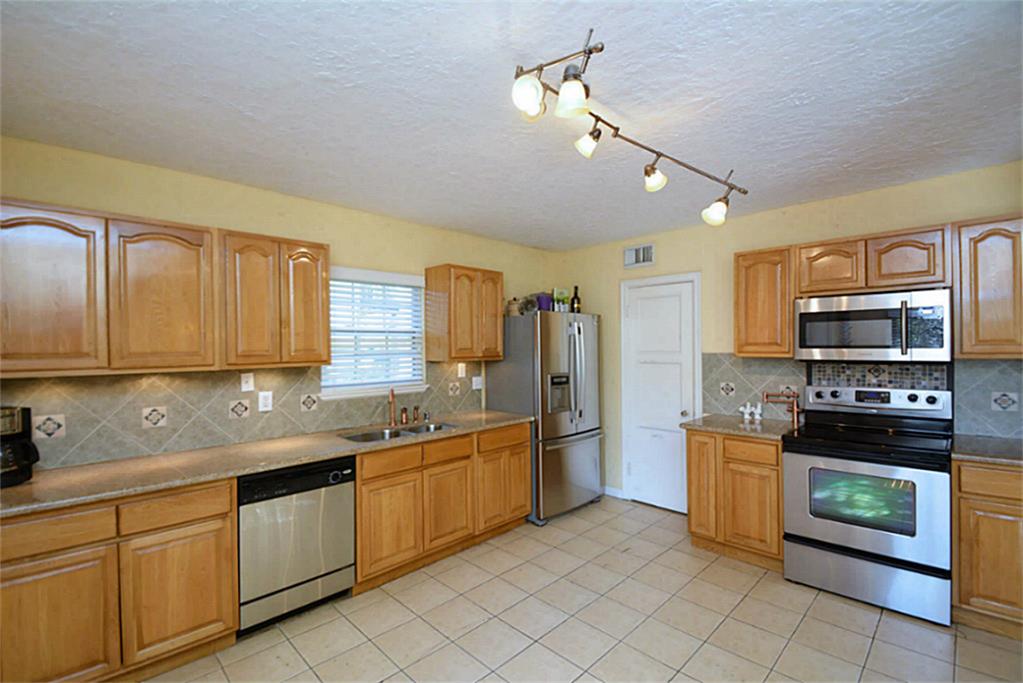
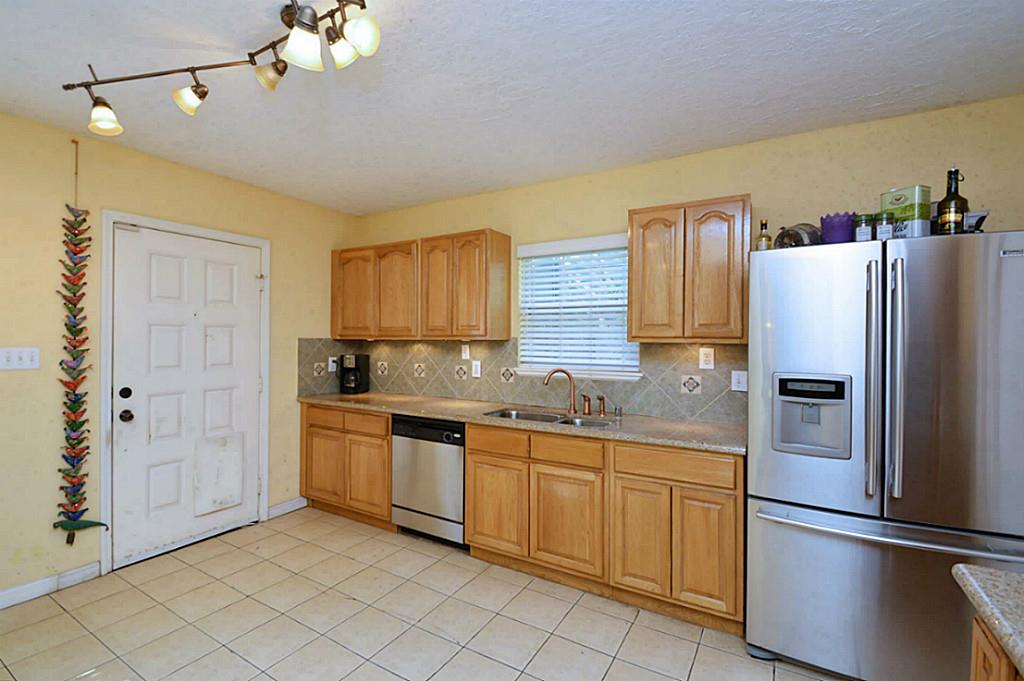

It’s not bad. But not good. We have been slowly renovating the kitchen one step at a time. We have torn out the wall between the kitchen and the dining room. We have also painted the cabinets white, replaced the backsplash, painted the walls, updated the lighting, and added trim to the cabinet uppers.
We are now onto the daunting task of ripping out the existing floor tile and replacing it. It needs to go because 1. it’s ooooug-layh and 2. it’s cracked all over from our bad foundation, and you can literally see the ground under our house in some spots- not good. I purchased black hexagon tiles from Wayfair a few months back. Disclaimer: the tile took forever to arrive, and I had to pay for shipping! However, Wayfair was cheaper (even with paying for their snail speed shipping) than other tile retailers. BUT I was upset because their annoying jingle boasts “everything is better, when it ships freeeee,” but in fact, not everything ships free. If you read the fine print, tile does not ship free on Wayfair. I think it’s totally misleading. Okay. Dismounting my soapbox now.
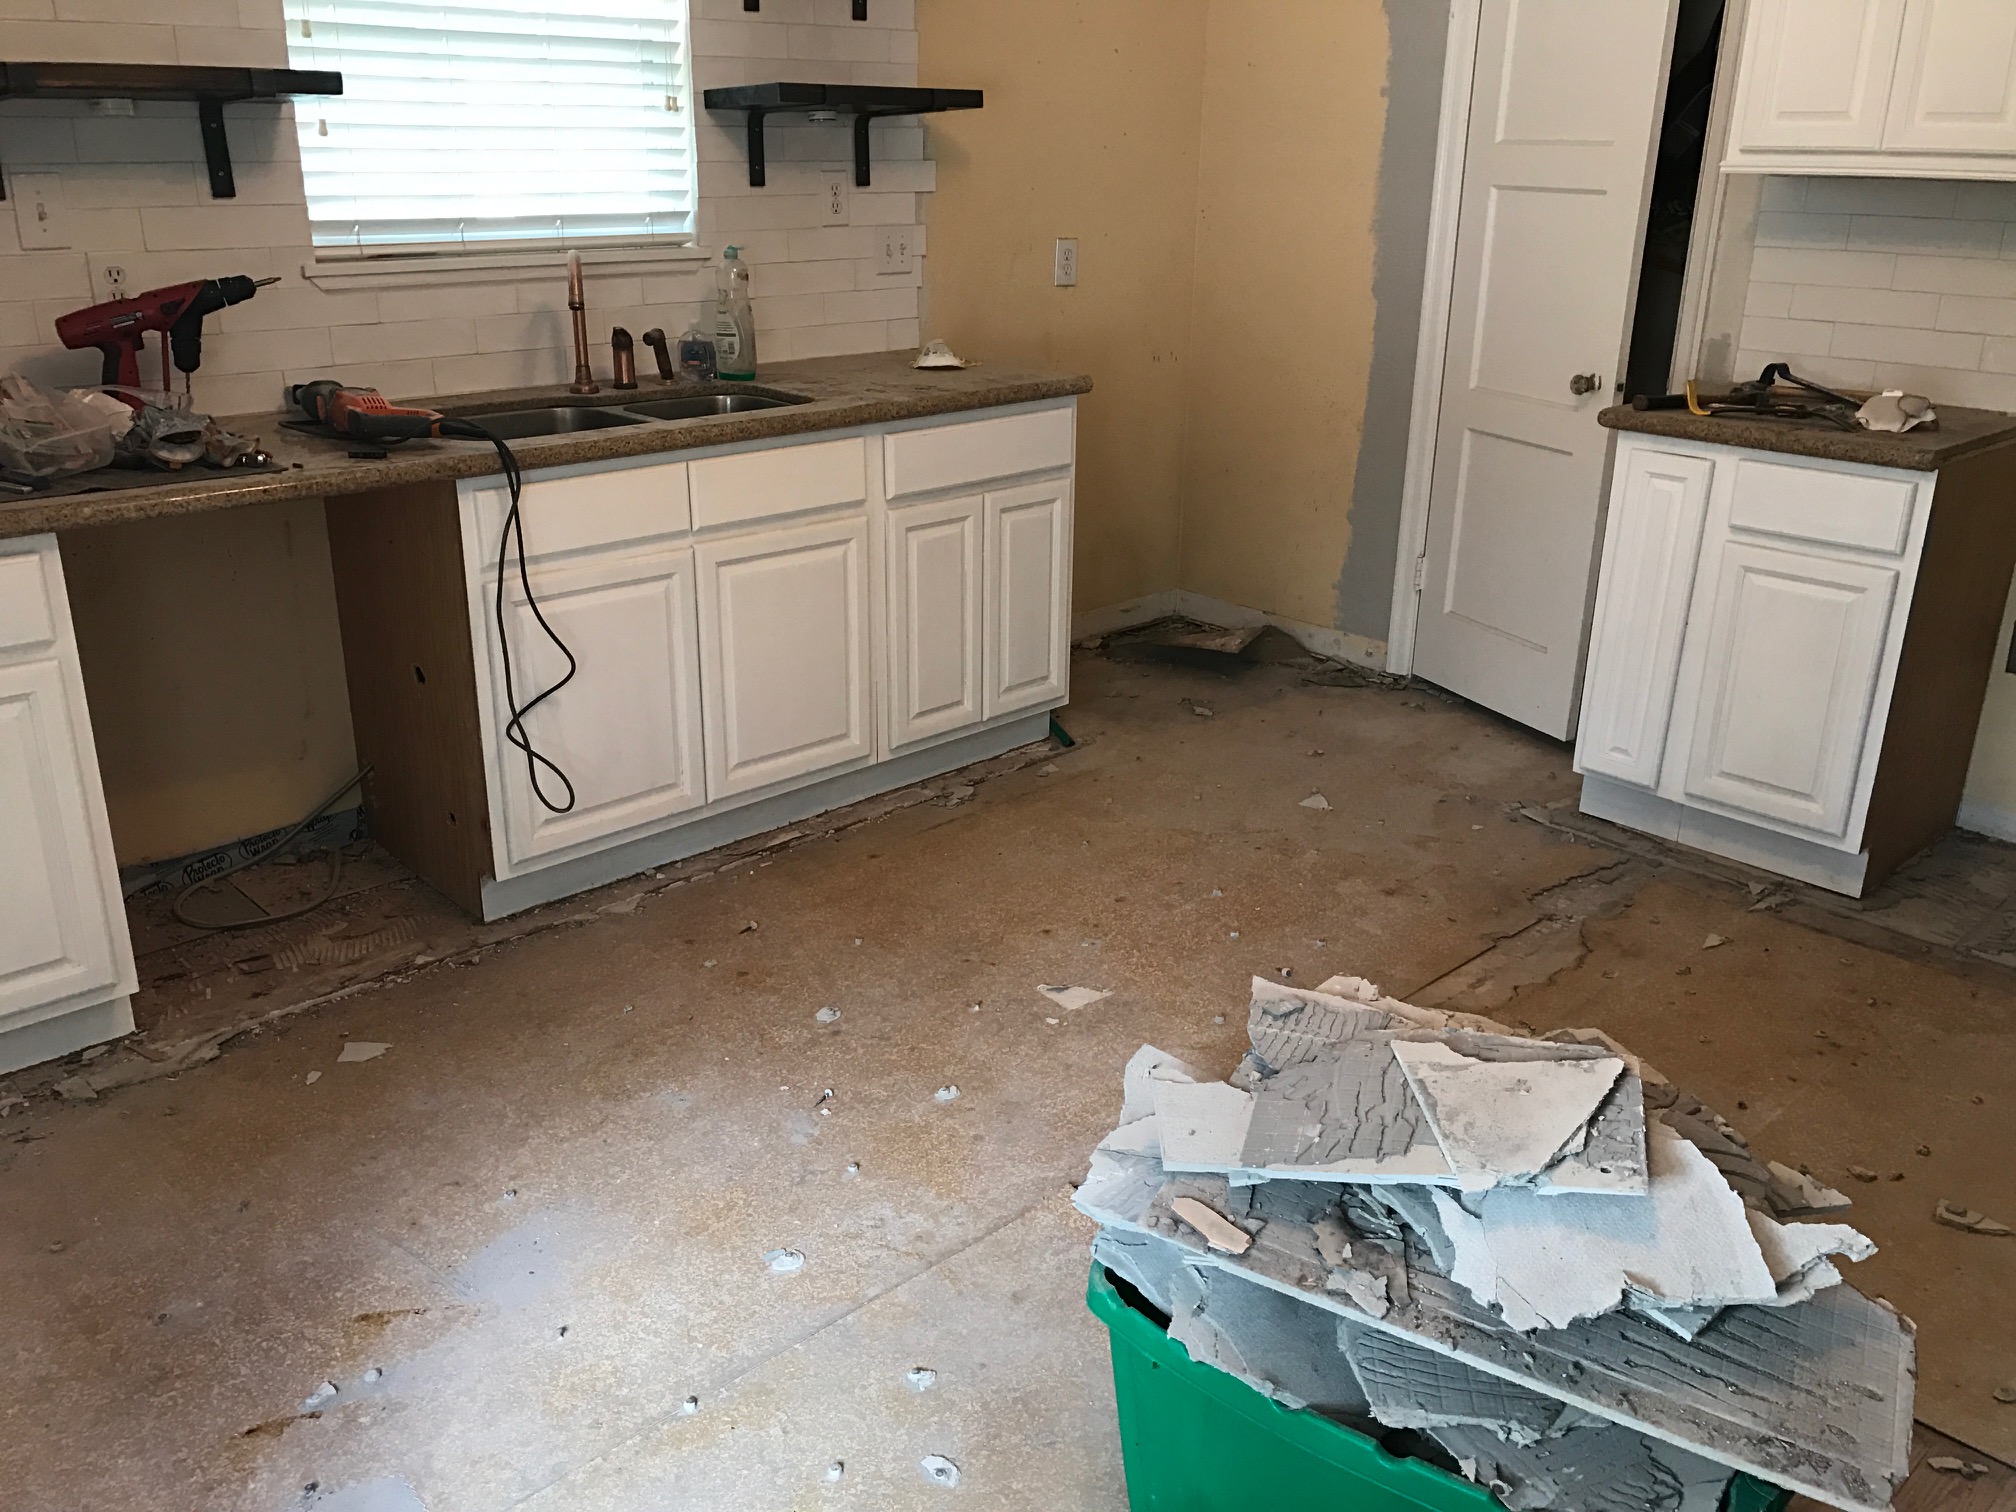
So back to the kitchen flooring process. David first removed the kitchen appliances and then the baseboards.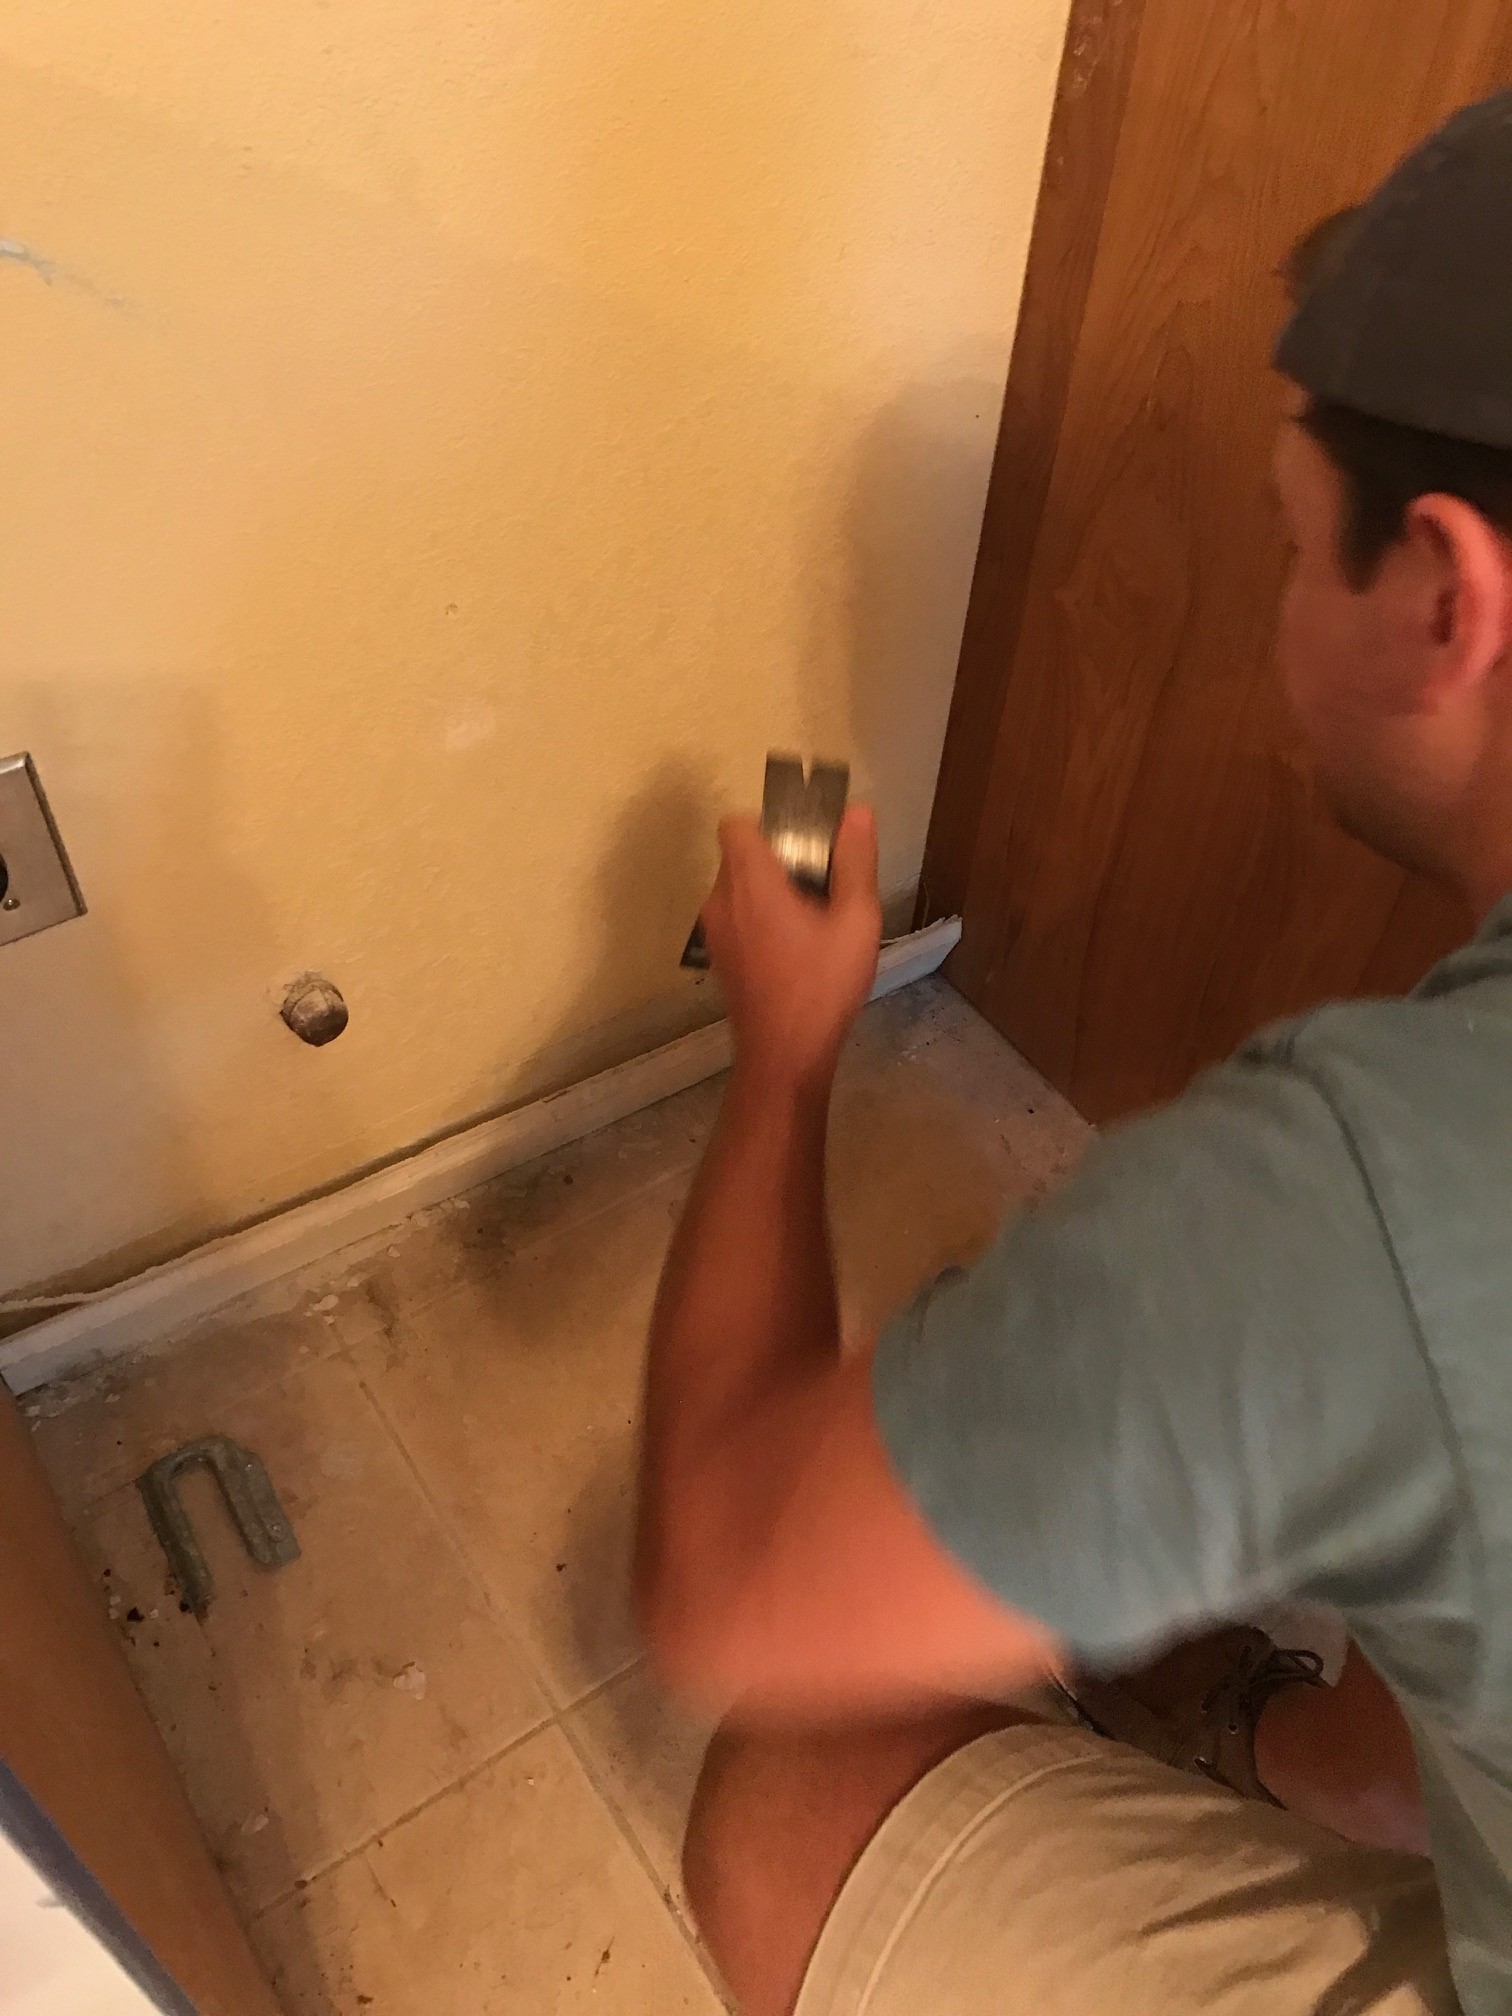
Then we started chiseling away at the floor tile.
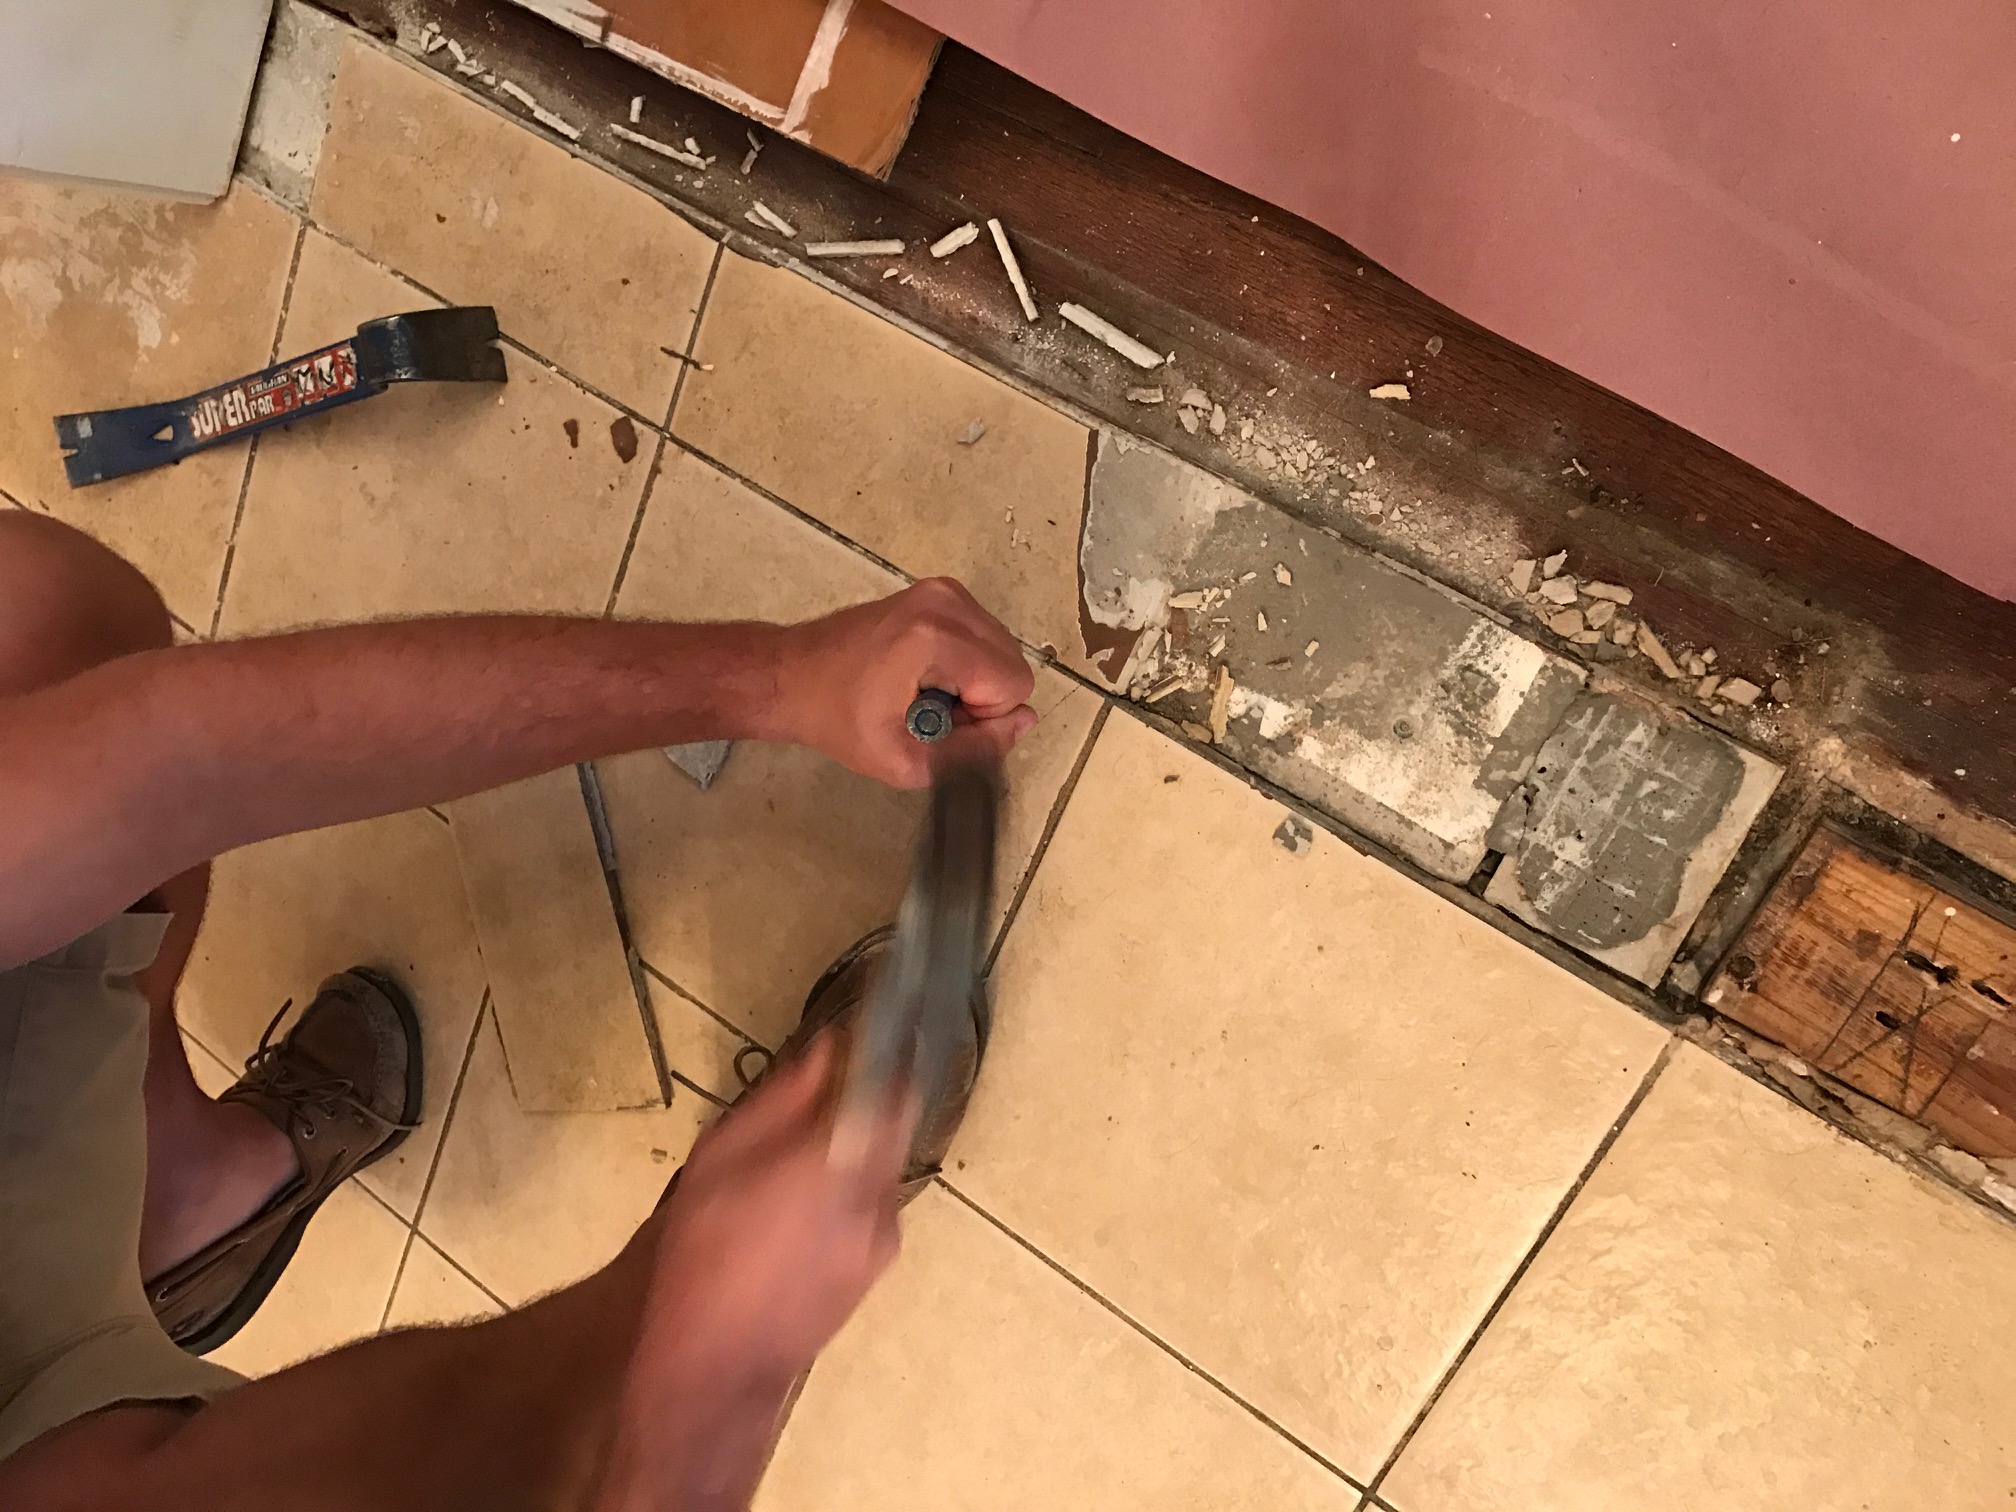
After about five minute of chiseling with the tiny tool by hand, we decided we needed to bring in the big guns AKA the saw zaw. Thanks mom!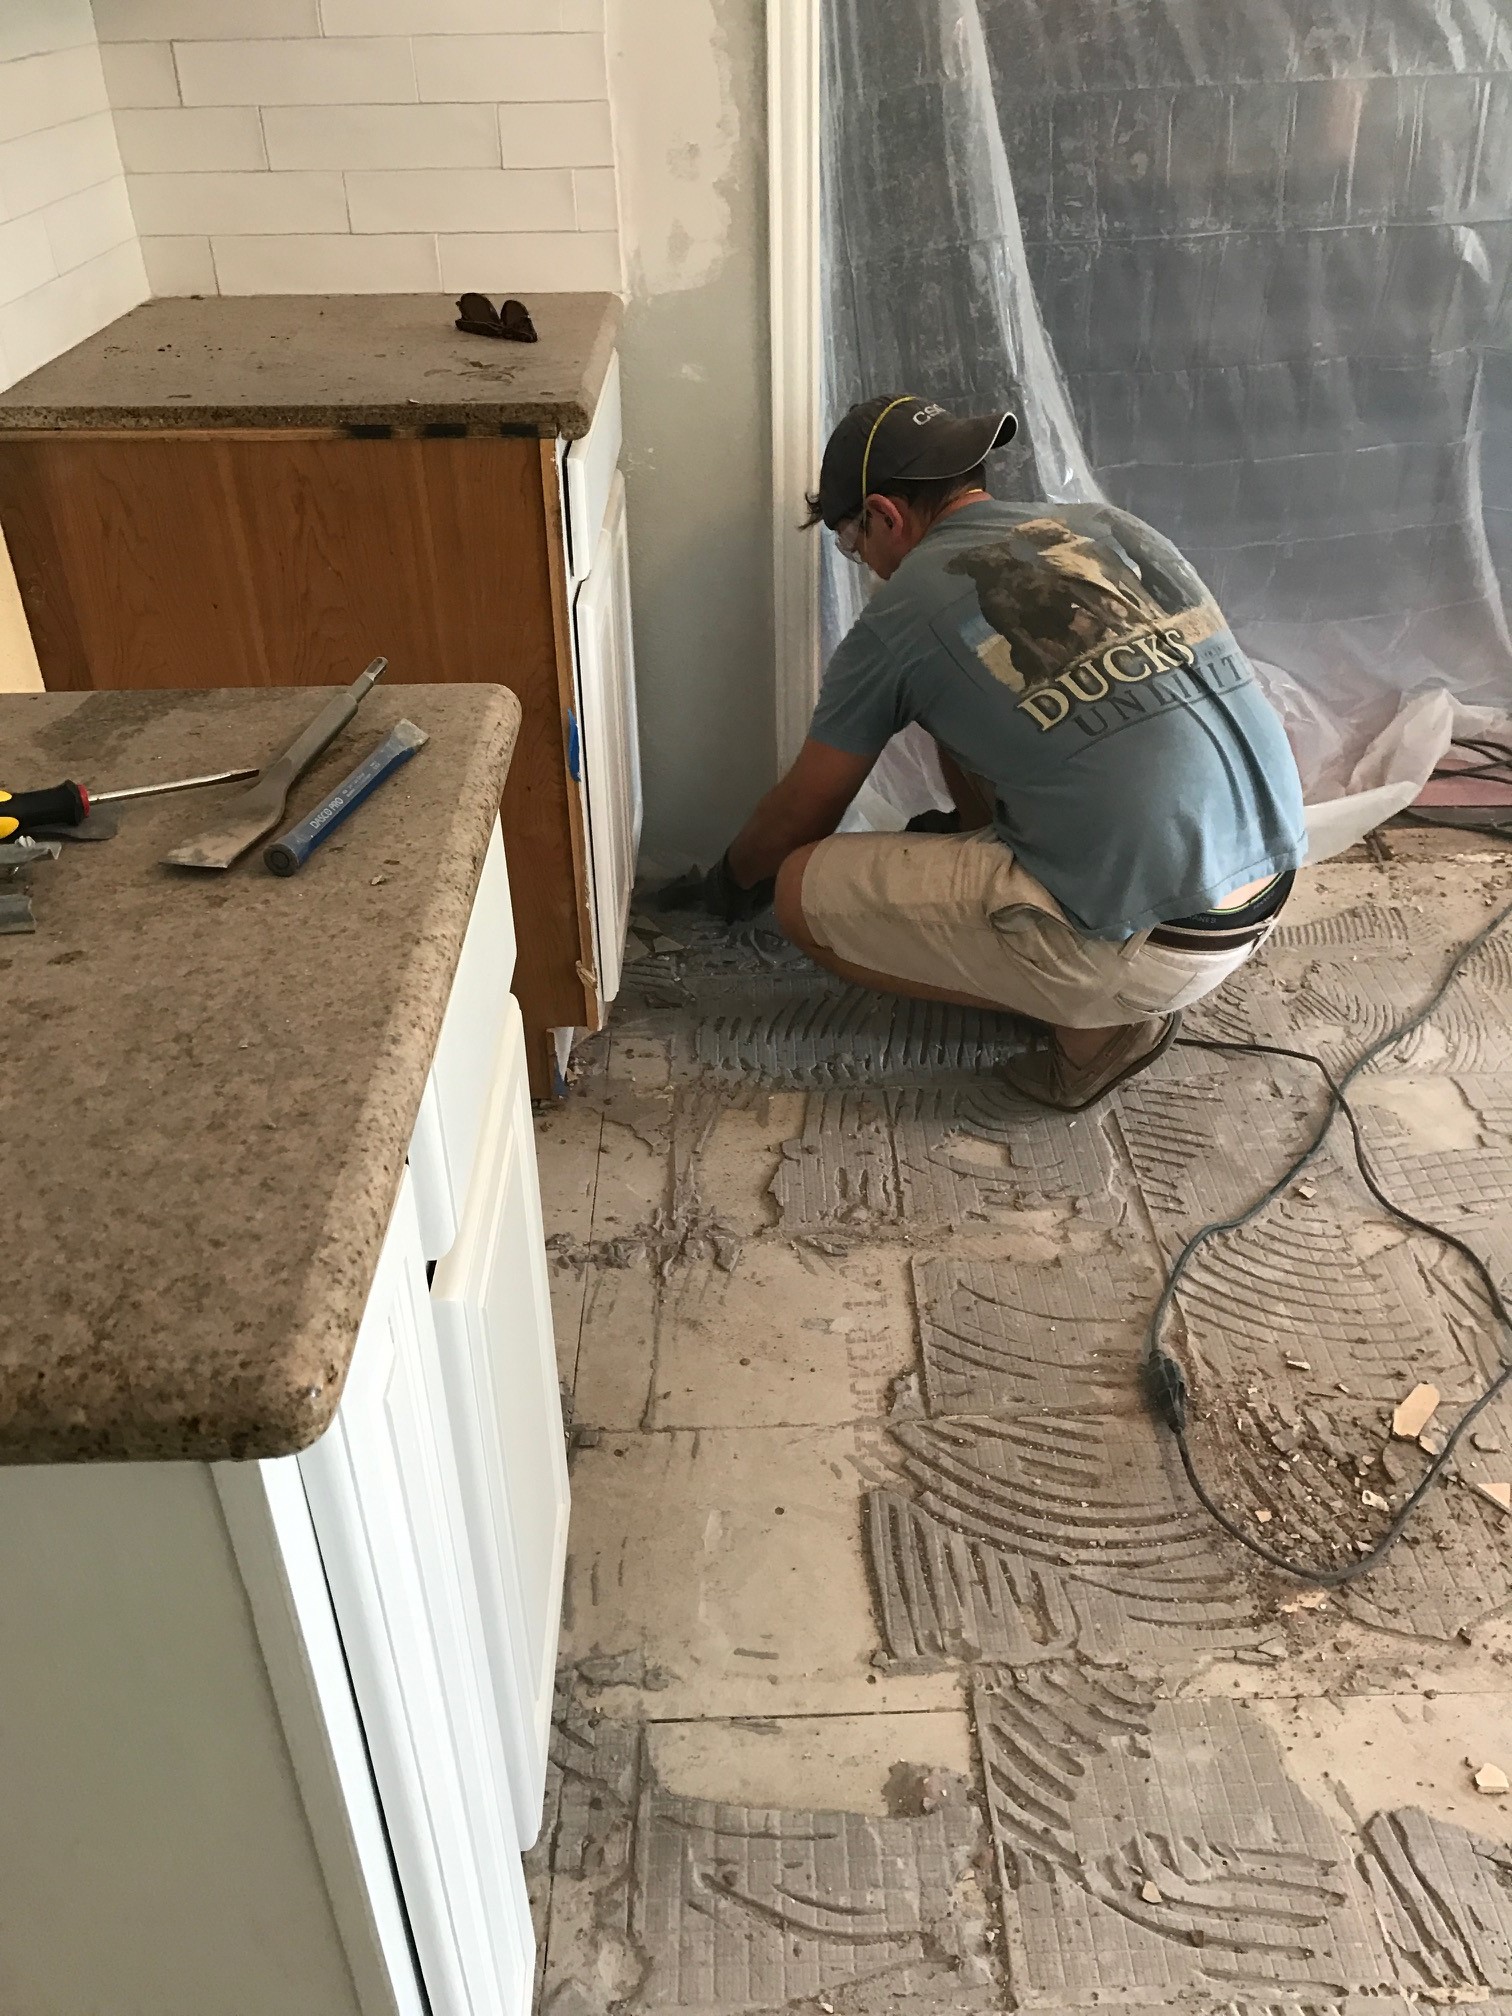 The job moved much faster after that.
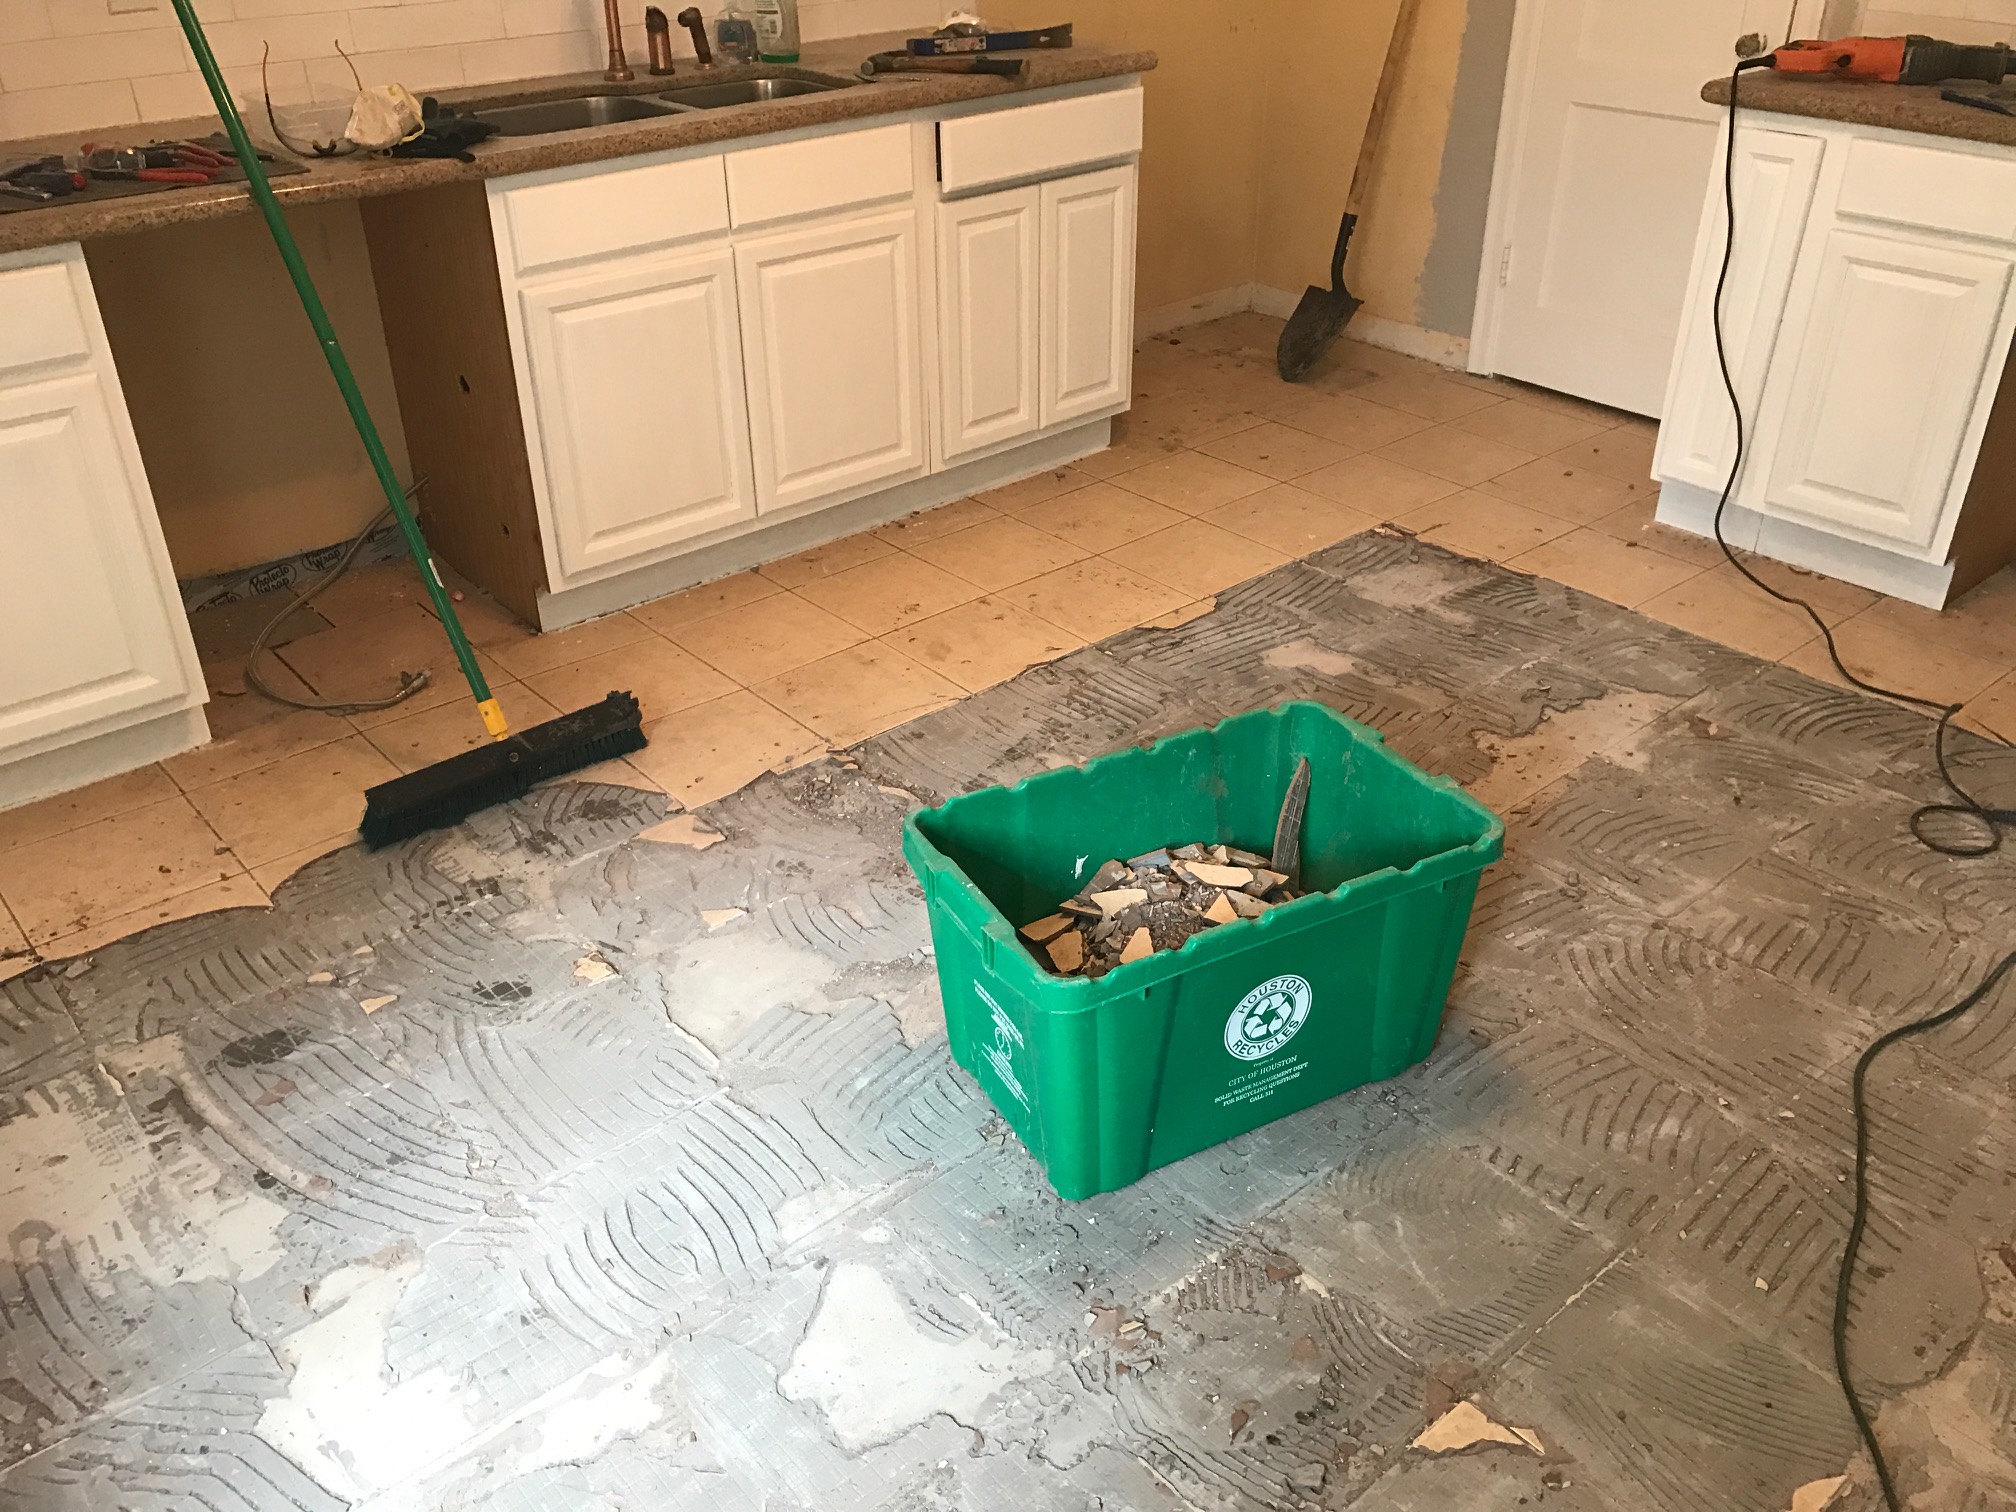

We discovered that it was easier to chip-up the tiles if you hit them with a hammer a few times. We also discovered that buying multiple saw chisel blade attachments before you start is a good idea. We ultimately destroyed two blades in the tile removal process.
See all that gray stuff left on the floor? That’s backerboard. It was severely screwed in to the floorboards below, and it had to go.
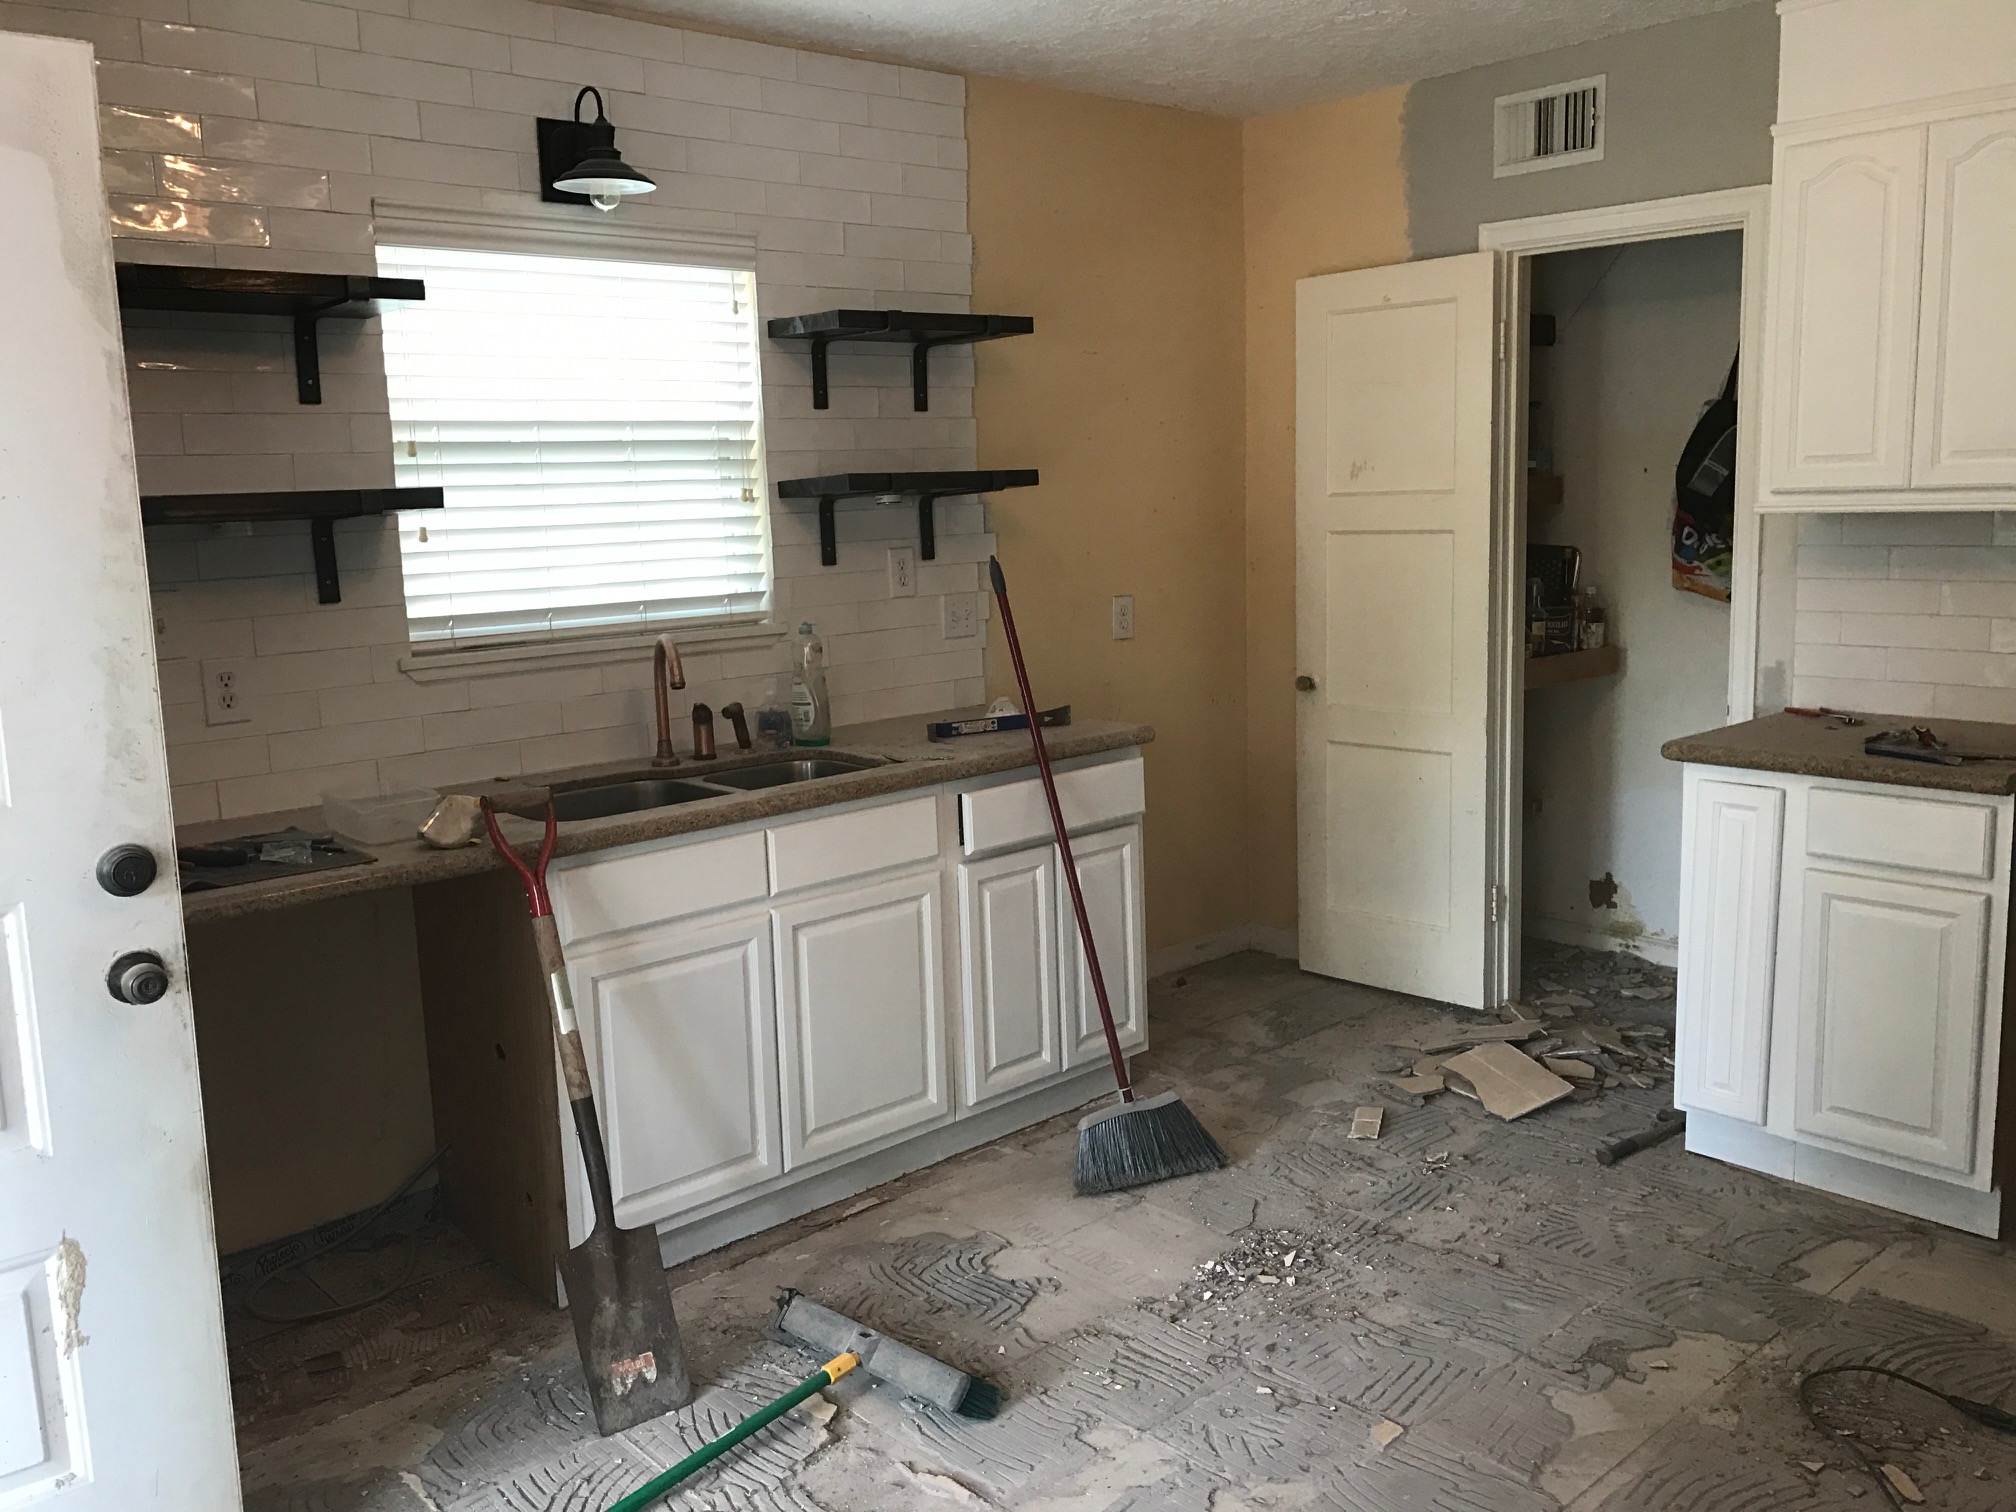
Thank goodness the backerboard wasn’t too difficult to uproot. It came-off in bug hunks with a pry-bar and a hammer. If we hit tough spots, we took the saw zaw to it. This is the first layer that we saw under the backerboard. Yellowgold linoleum! Yay!
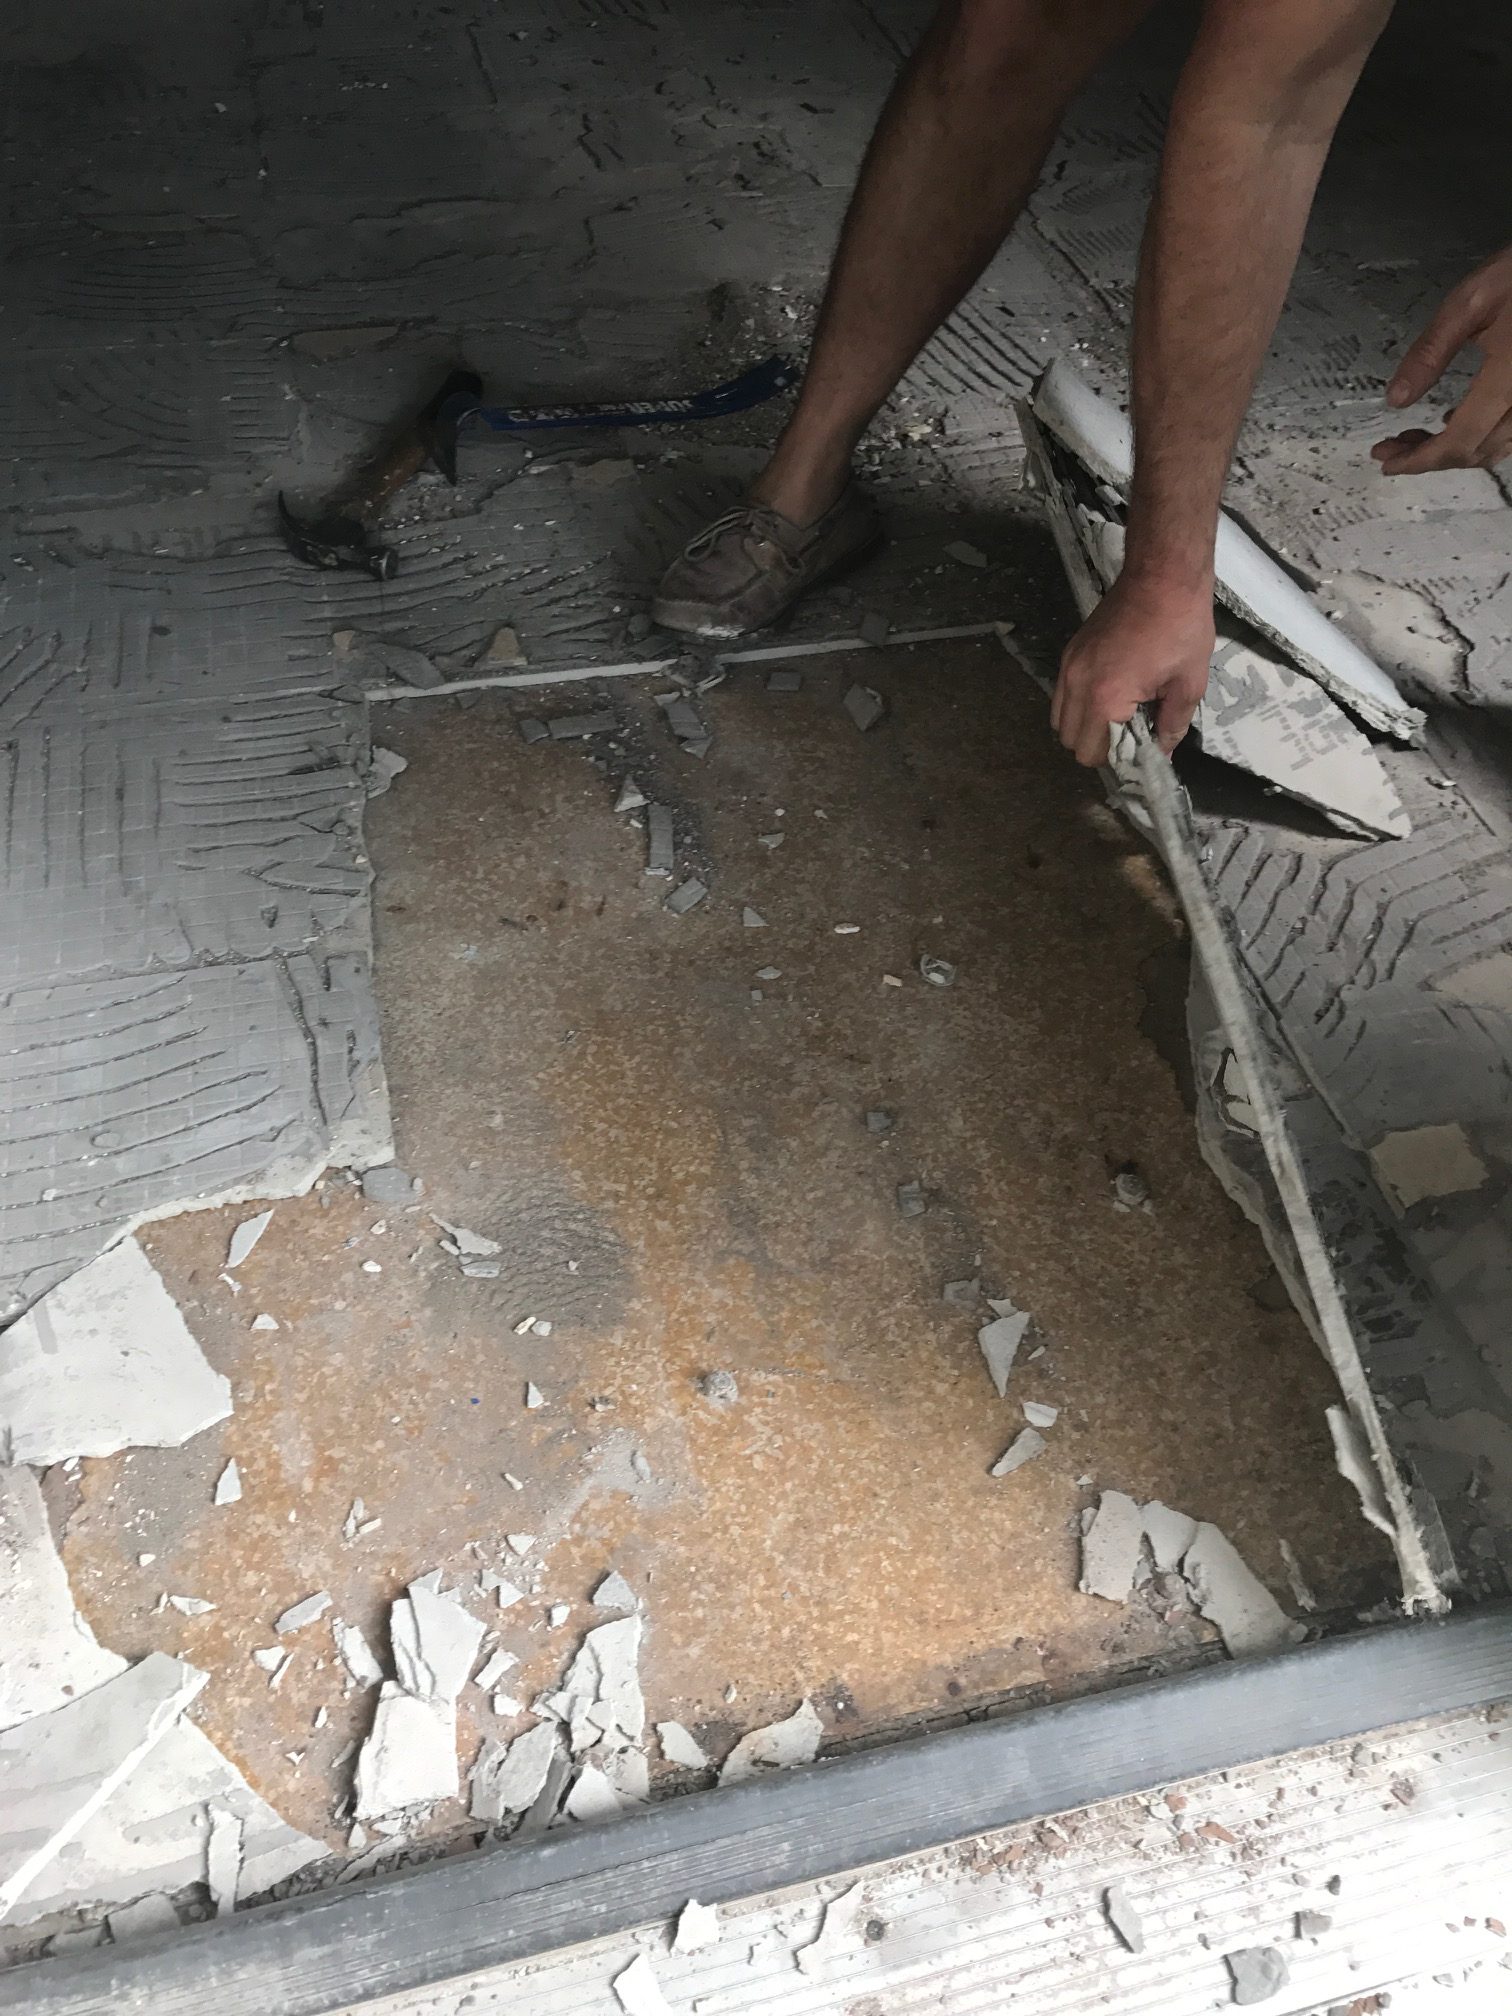
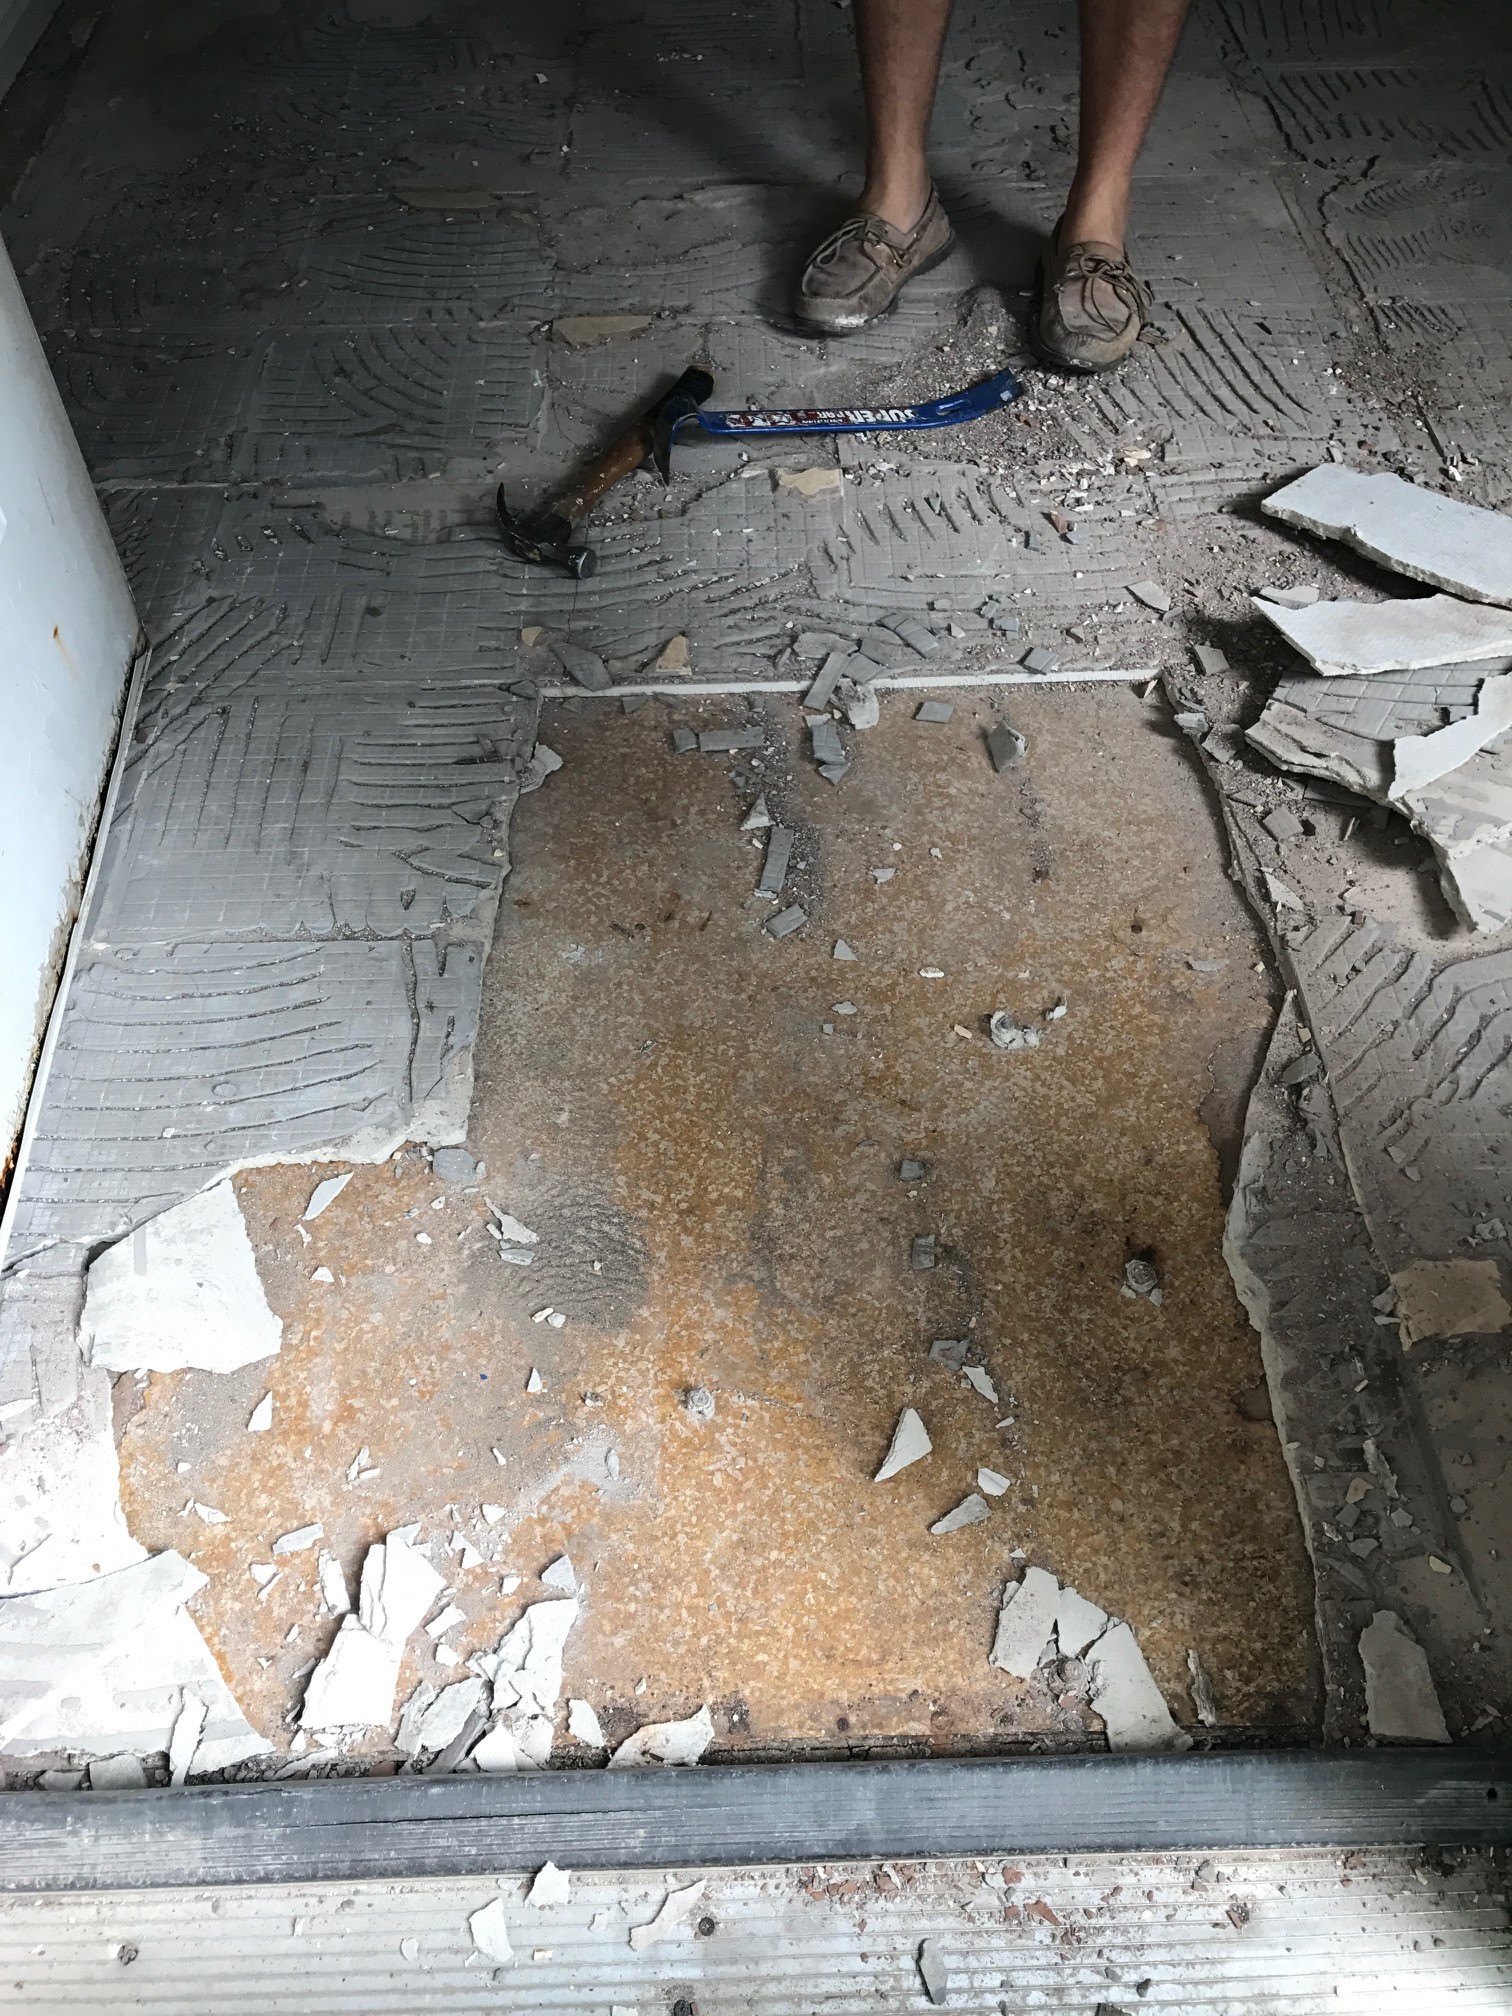
Seriously!?!?! Was this house 100% yellow back in the day? Yellow cabinets, yellow walls and now YELLOW FLOORS?!
And under the yellow flooring was…..GREEN FLOORING!!! DOUBLE YAY!
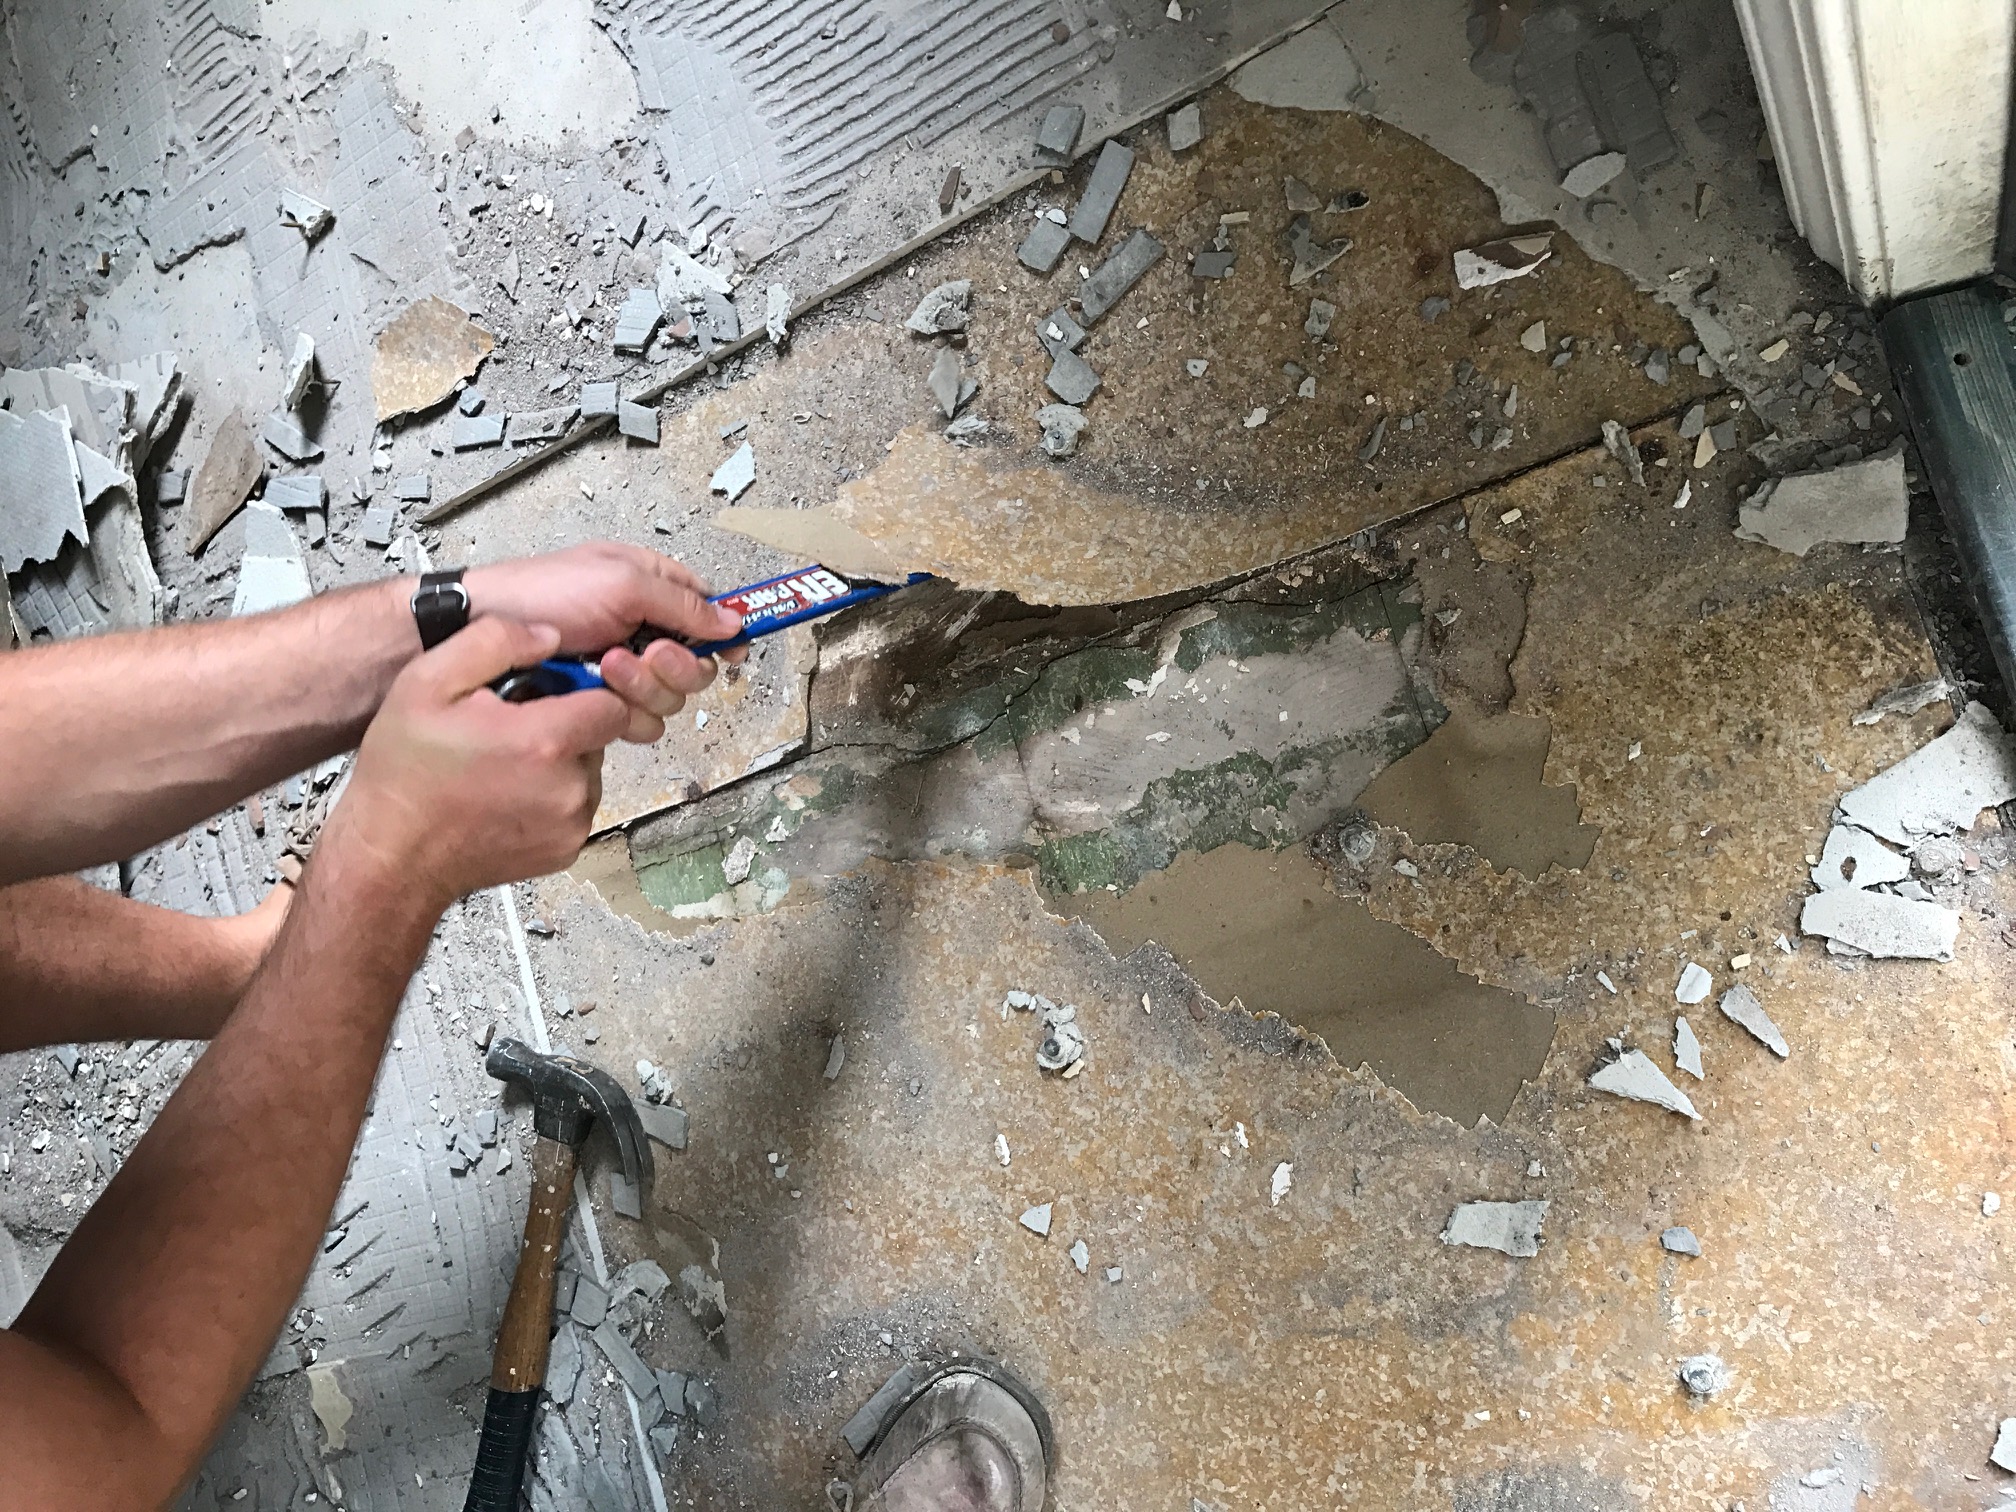
And then a layer of green flooring was….. beadboard (?)
and then….. our sub-floor boards!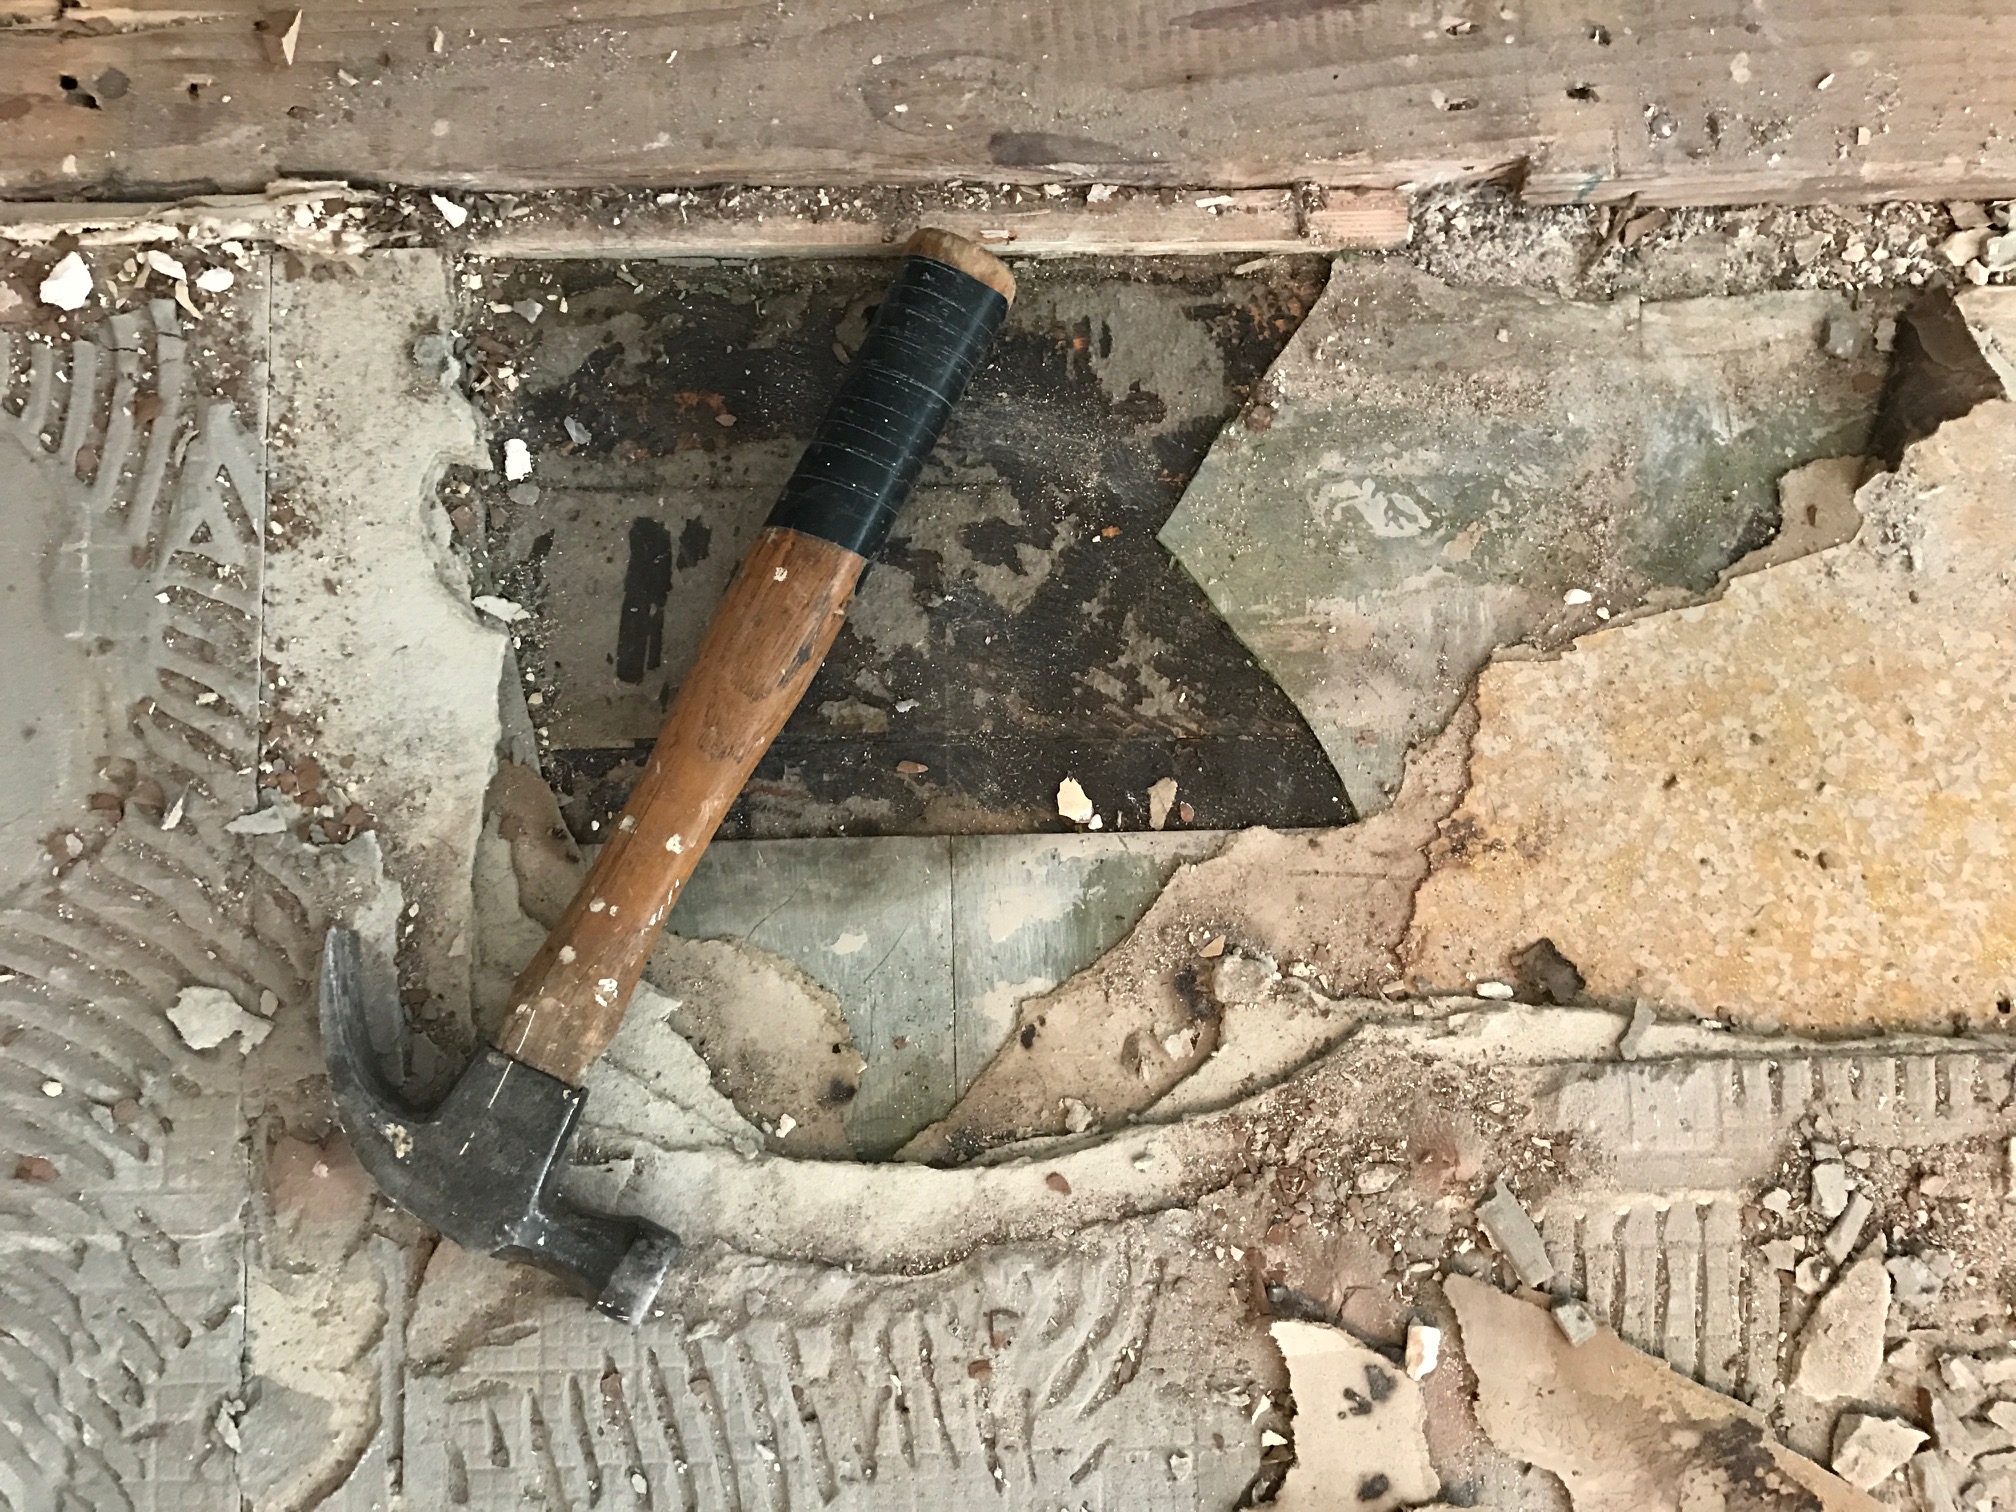
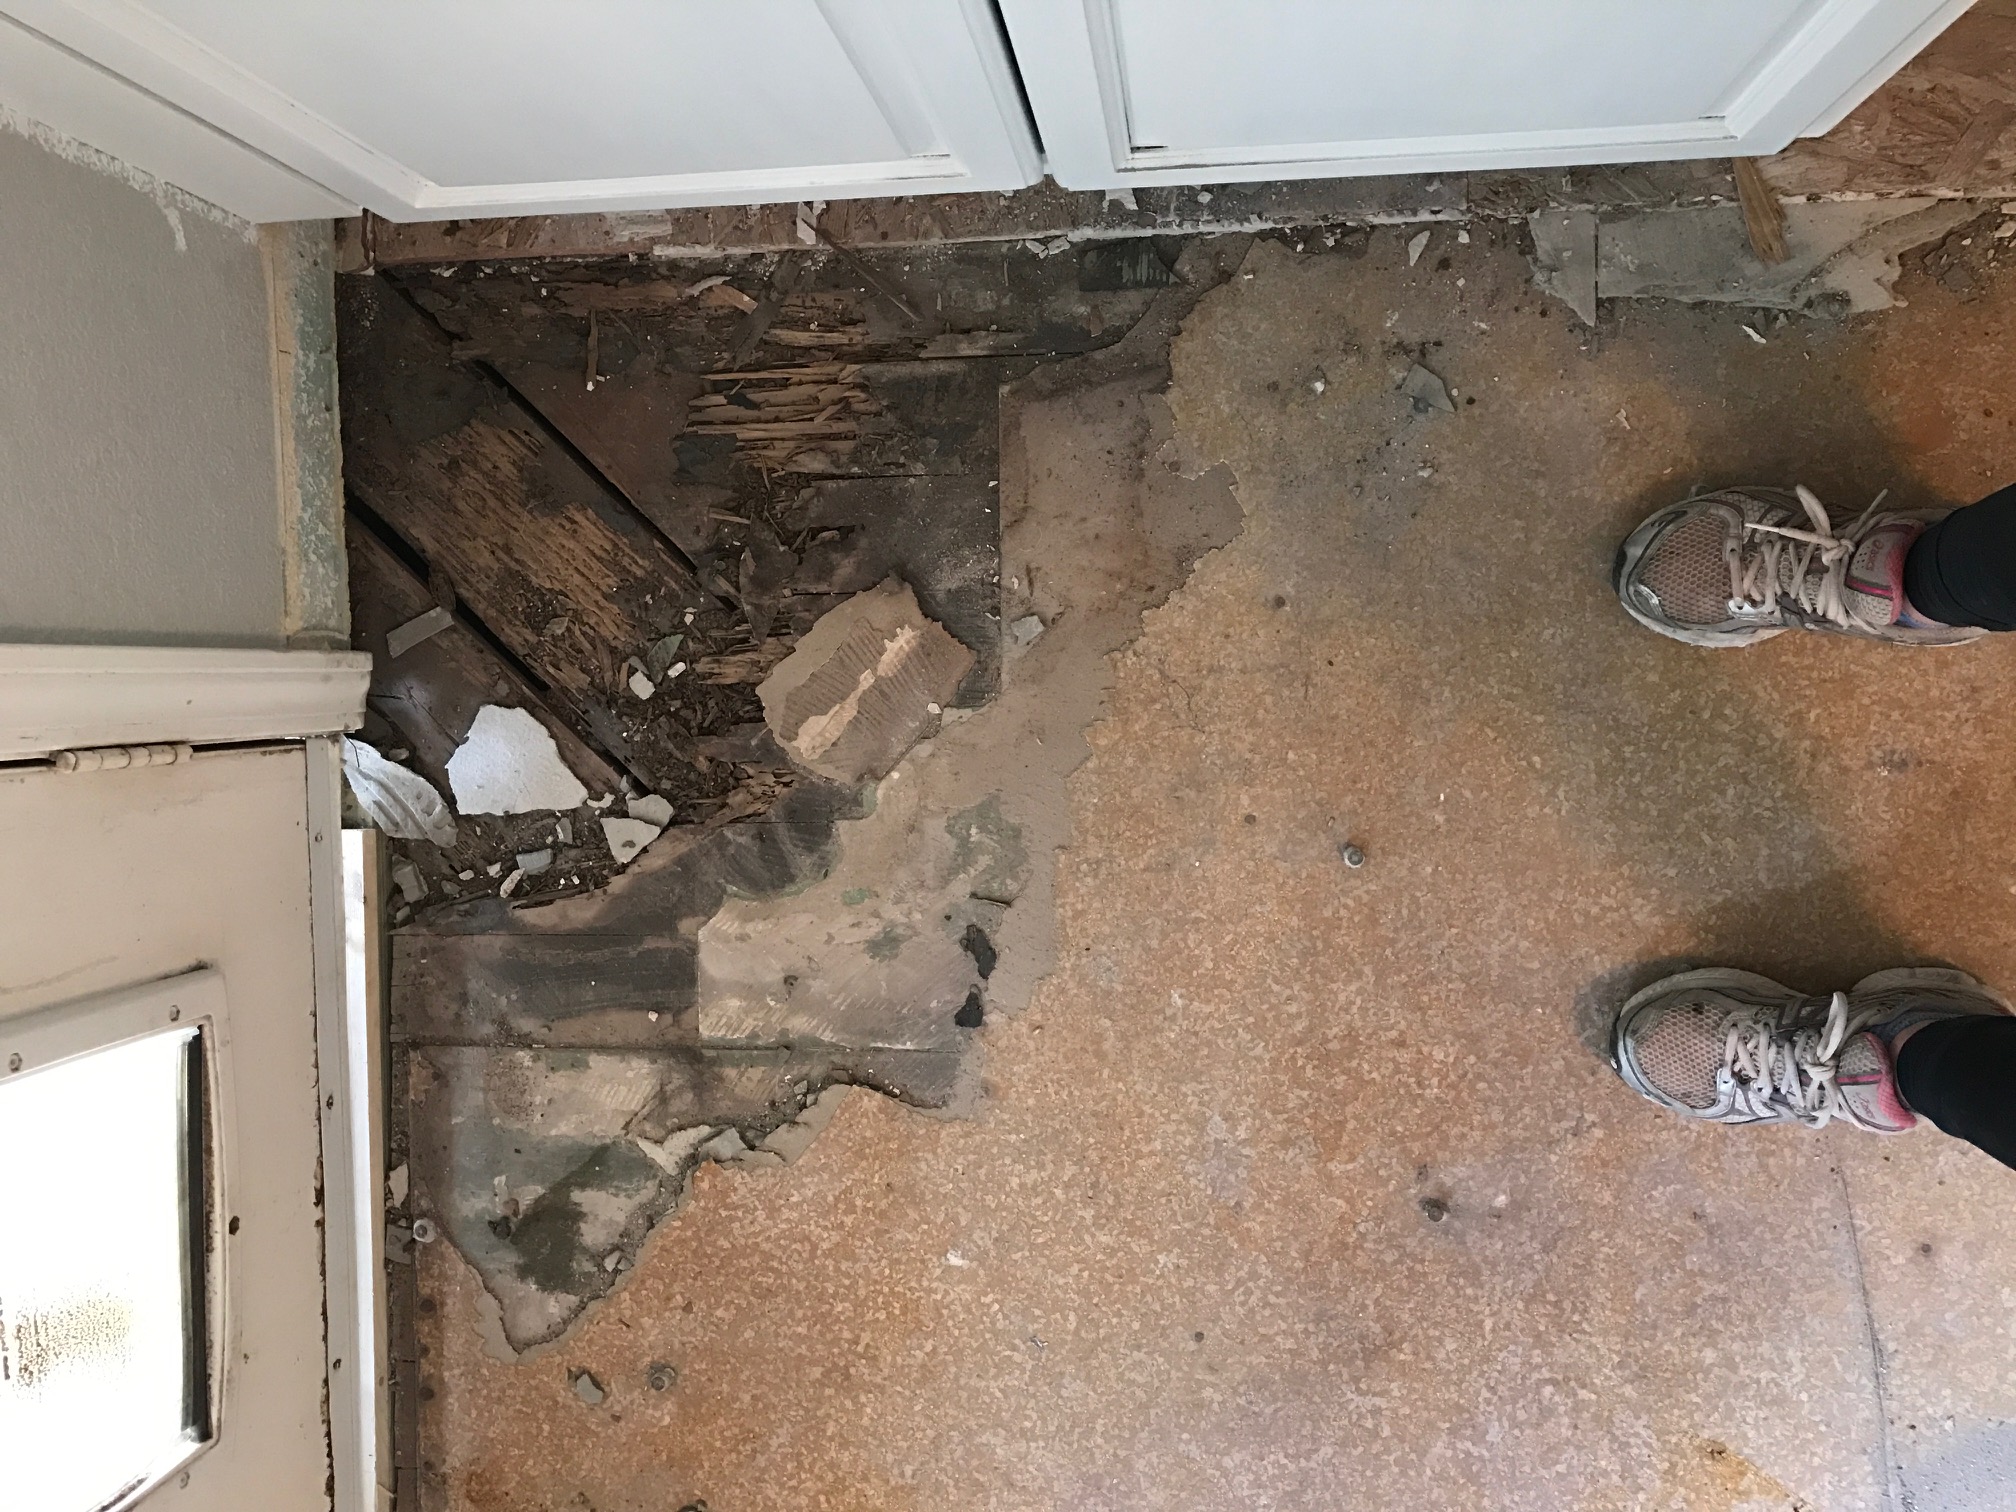
We even discovered a lovely spot of termite damage under it all! No wonder the original tile was cracked all over! I thought it was cracked because of our bad foundation, but really it was cracked because this section of sub-floor was soft from past termite damage. It made me sick to my stomach:
I needed a selfie break after discovering that patch of bad news. Not every woman can rock no make-up, a dust mask, earplugs, and a safety goggles headband like I can.

Next, we went for lunch beers and randomly ran into one of David’s friends who was also doing construction on his house. We told him about our project, and he told us about his. He cautioned us to watch out for asbestos because he just ran into that during his renno, and it costed him a pretty penny. We went home and started nervously googling asbestos flooring and O.M.G! The green linoleum we discovered on our floors looked just like the bad 40’s asbestos linoleum that appeared in the search results!!! Maybe that’s why the previous owners just covered it up!?!?!
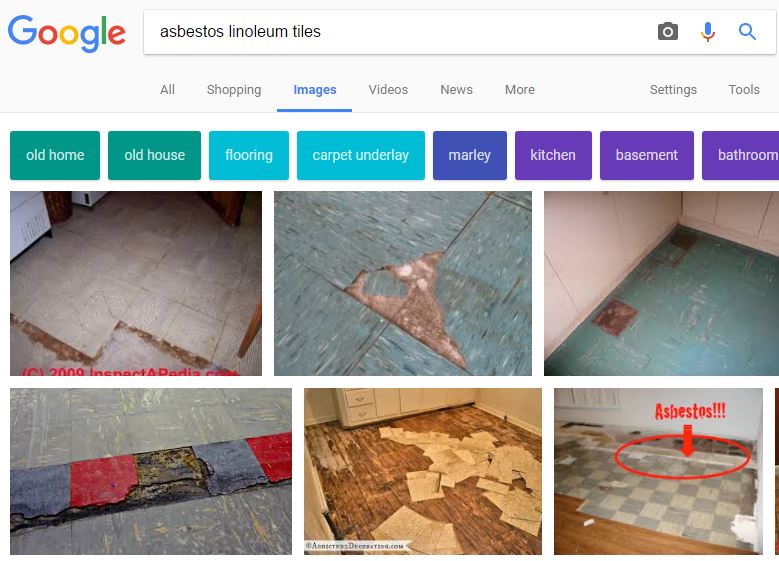
S.H.*.T
David and I were all.up.in.that.tile dust! We had literally been chipping away at it all day. So we stopped working. We wet down the floor, and washed everything we were wearing. Then we argued about our next steps. Half of the internet said, “leave it alone and cover it up- asbestos is no big deal!” The other half said, “YOU’RE GOING TO DIE. CALL AN EXPENSIVE ASBESTOS REMOVER IMMEDIATELY!!!”
We ultimately decided that before we jump off the deep end, we should have a sample of the flooring tested to confirm or deny if we even had asbestos. David went to ACE hardware for a test. They didn’t have any. So he went to Lowe’s. They also didn’t have any.
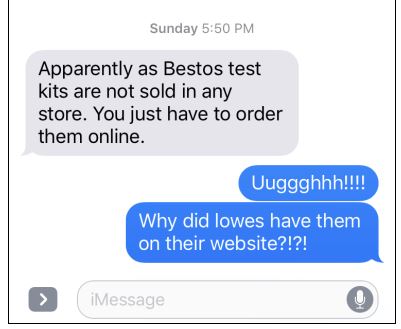
Lesson learned.
So he returned home empty handed and we drank and worried heavily.
On Monday….
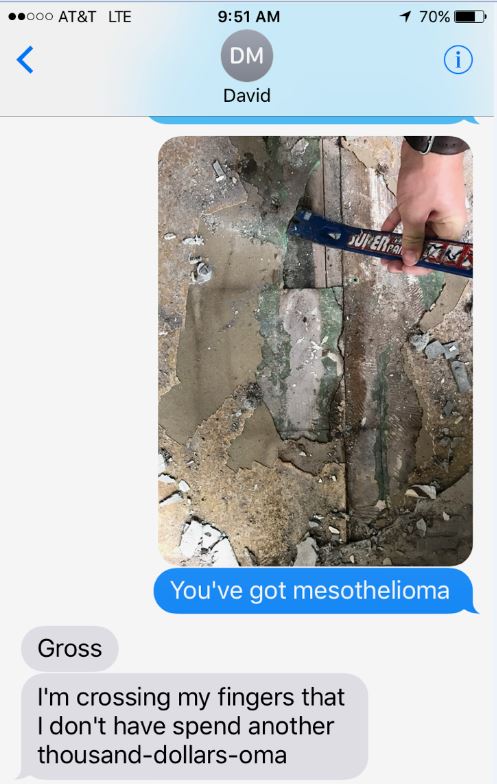
BUT THEN!
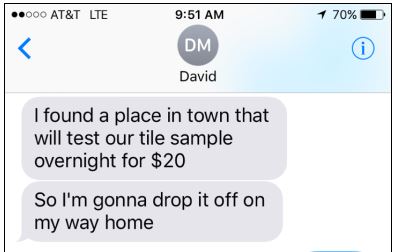
MIRACLE.
So David took our green tile sample to Loflin Environmental Services and 24 hours later we received this report:
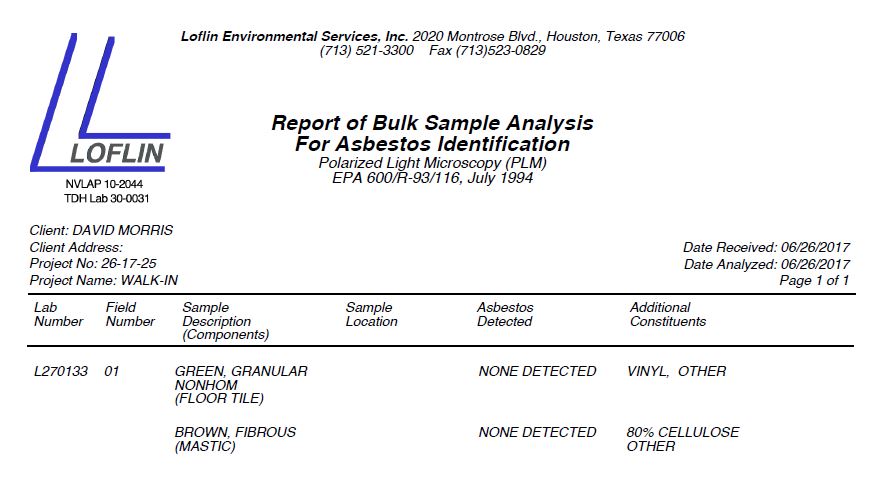
Which made me:

Praise hands!!!
Part two of our kitchen floor is up next! Keep reading to see how it all turned out.

