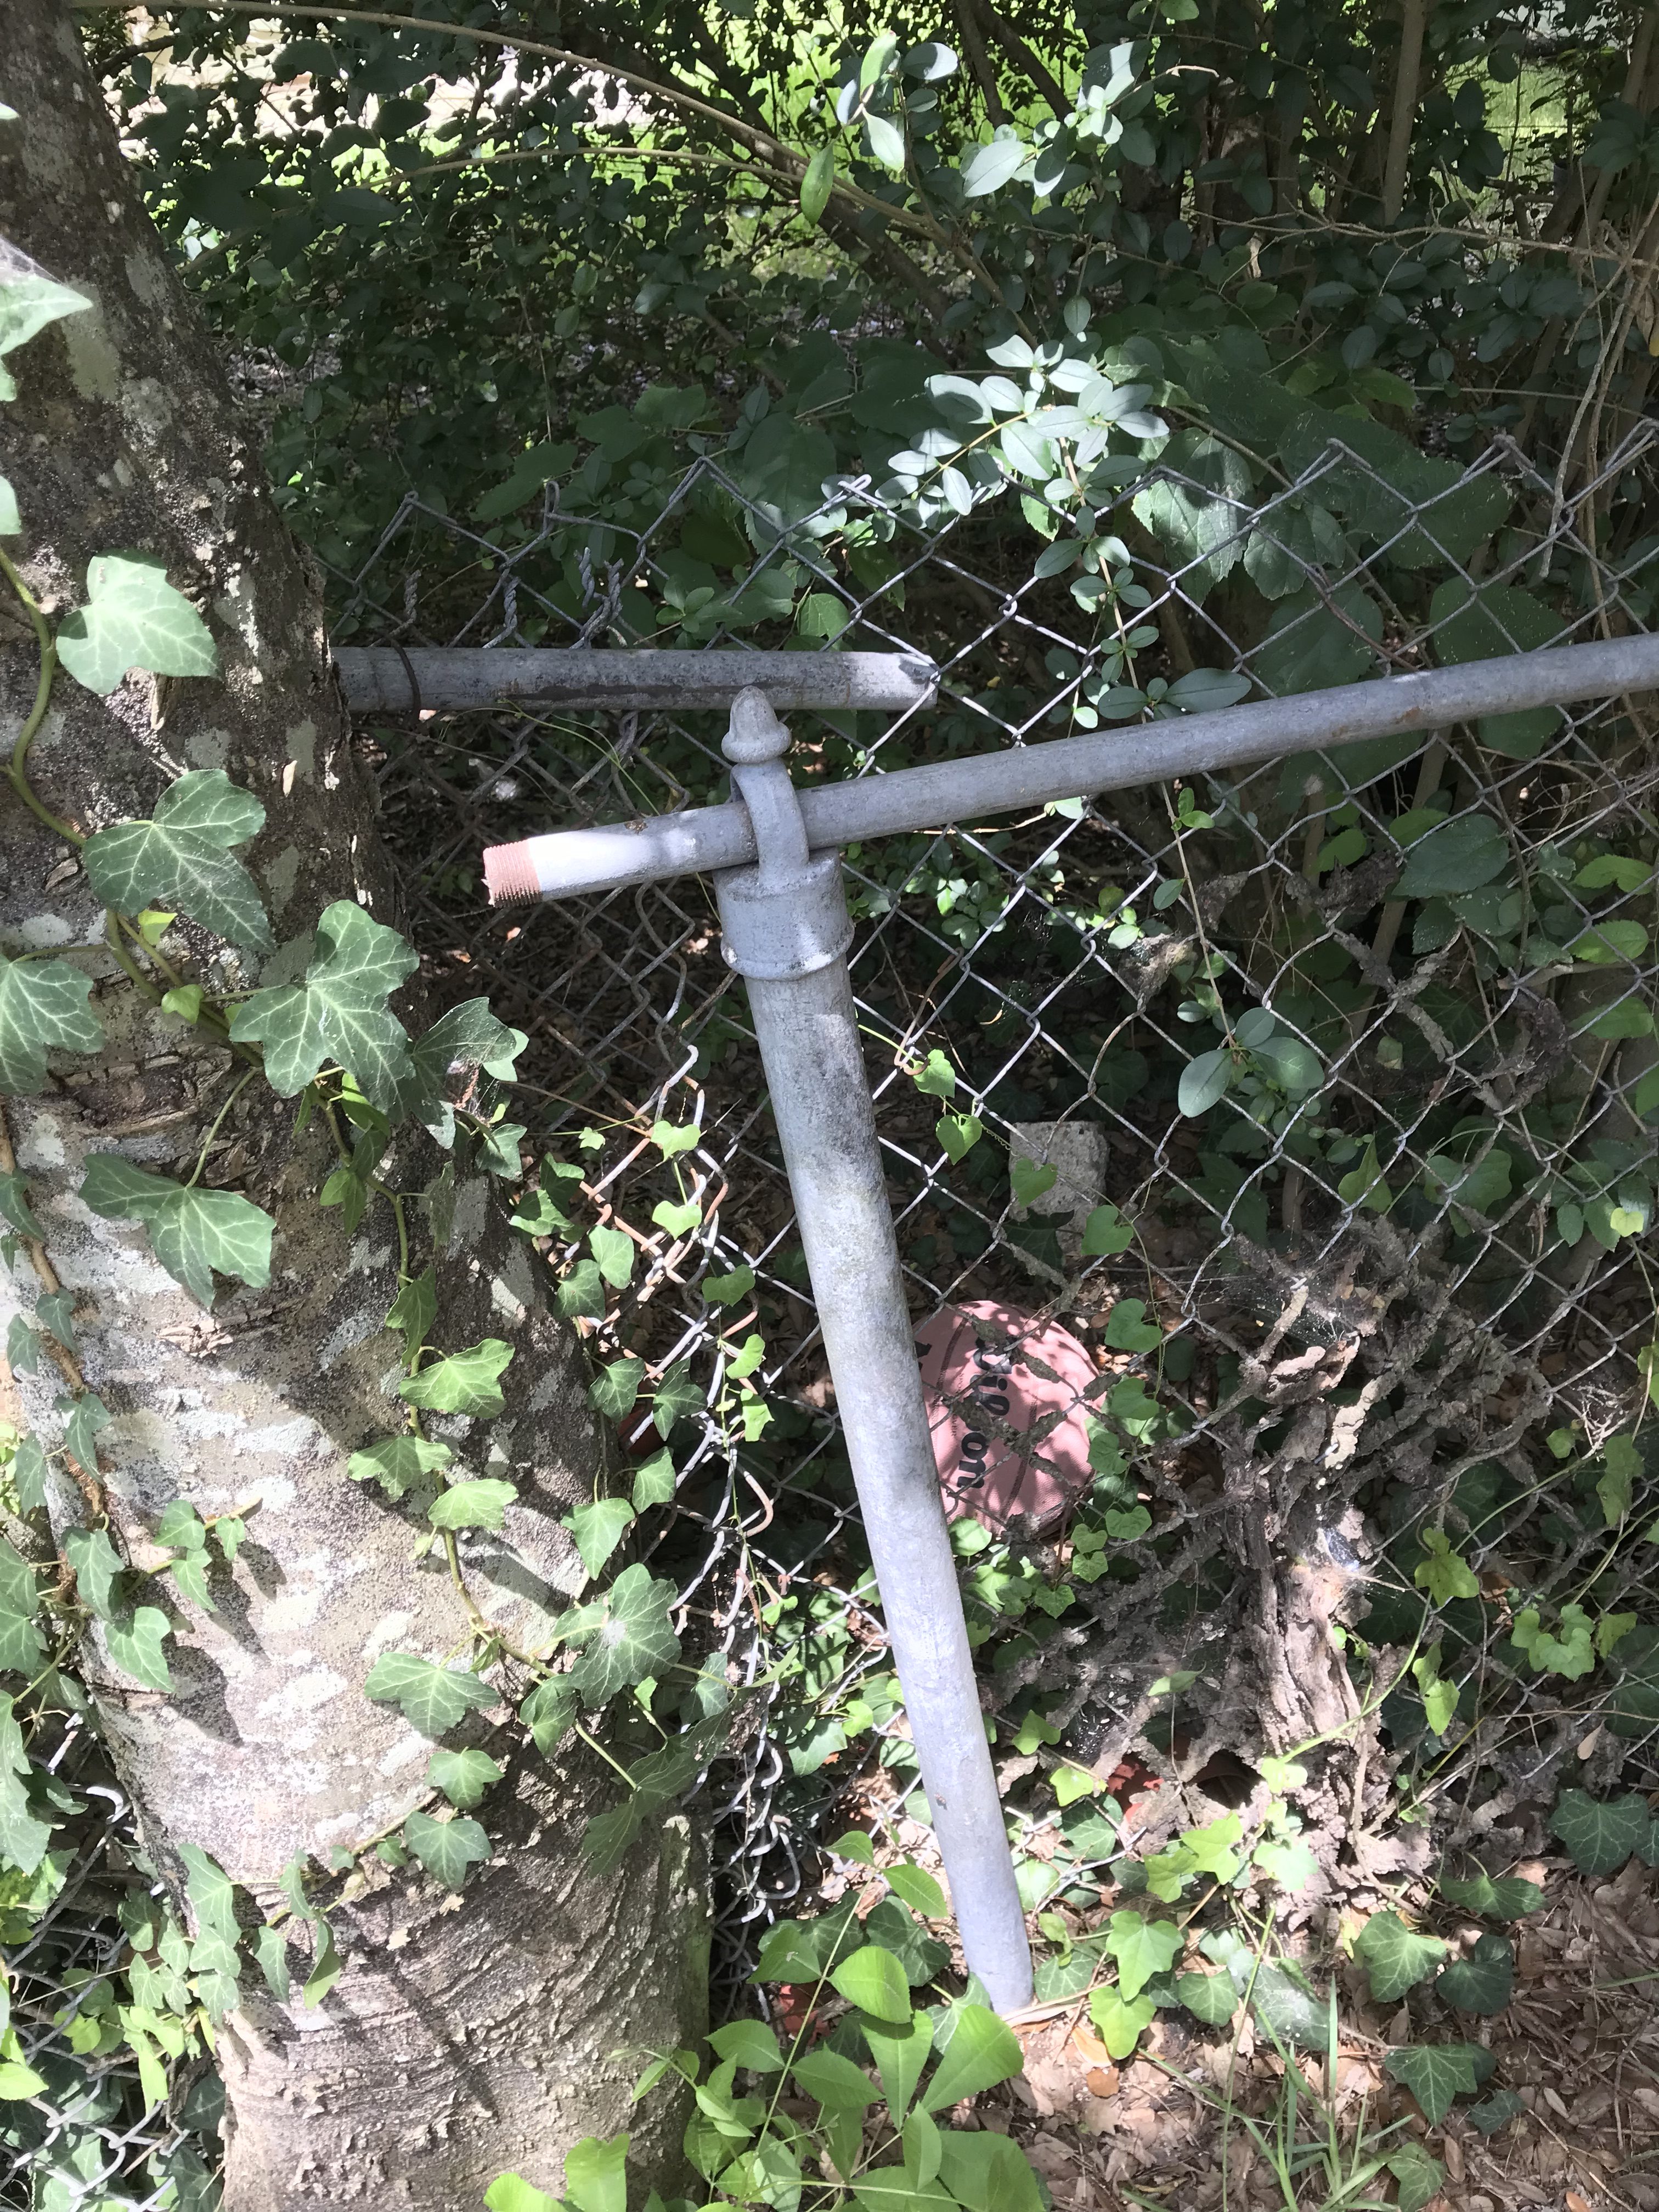
We need a fence. We need a fence BAD. We a nice new-ish traditional wood fence on two of the three borders of our backyard. One section (the longest section, too I might add) is a TERRIBLE, gnarly chain link fence. This thing is busted up! It’s crooked, leaning, and has been morphed over the years by trees growing in and around it.
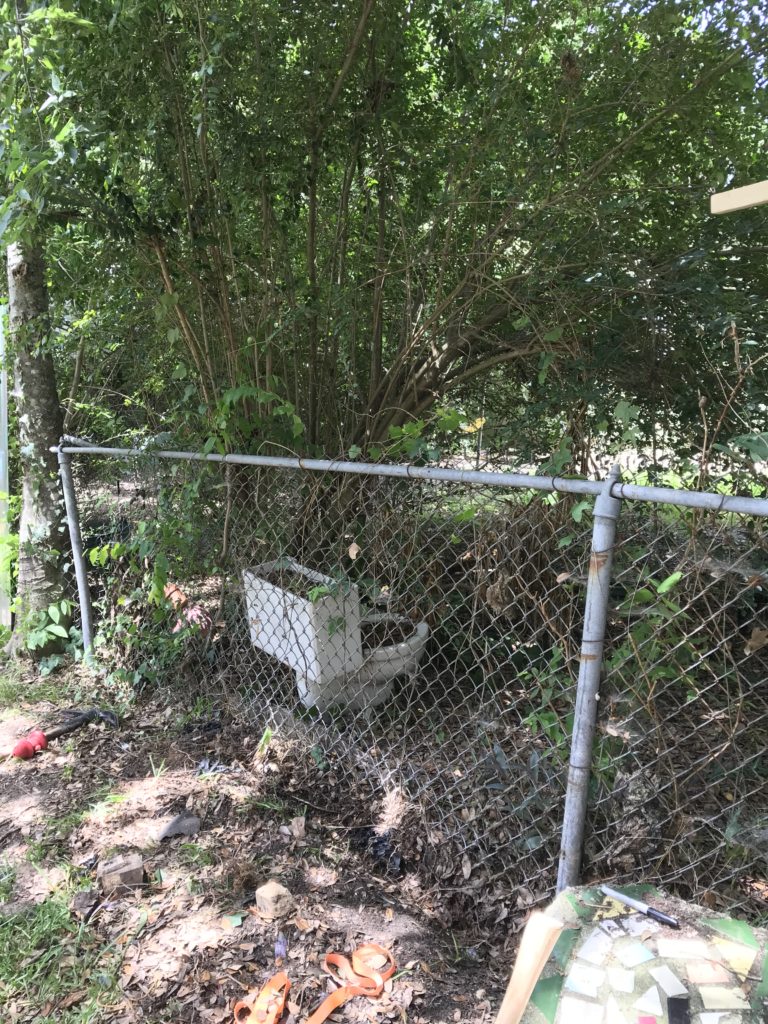
The old chain link fence is truly an eye sore:
Also this terrible chain link fence does a terrible job at hiding/blocking our neighbor’s not 1, not 2, but 3 BACKYARD TOILETS!
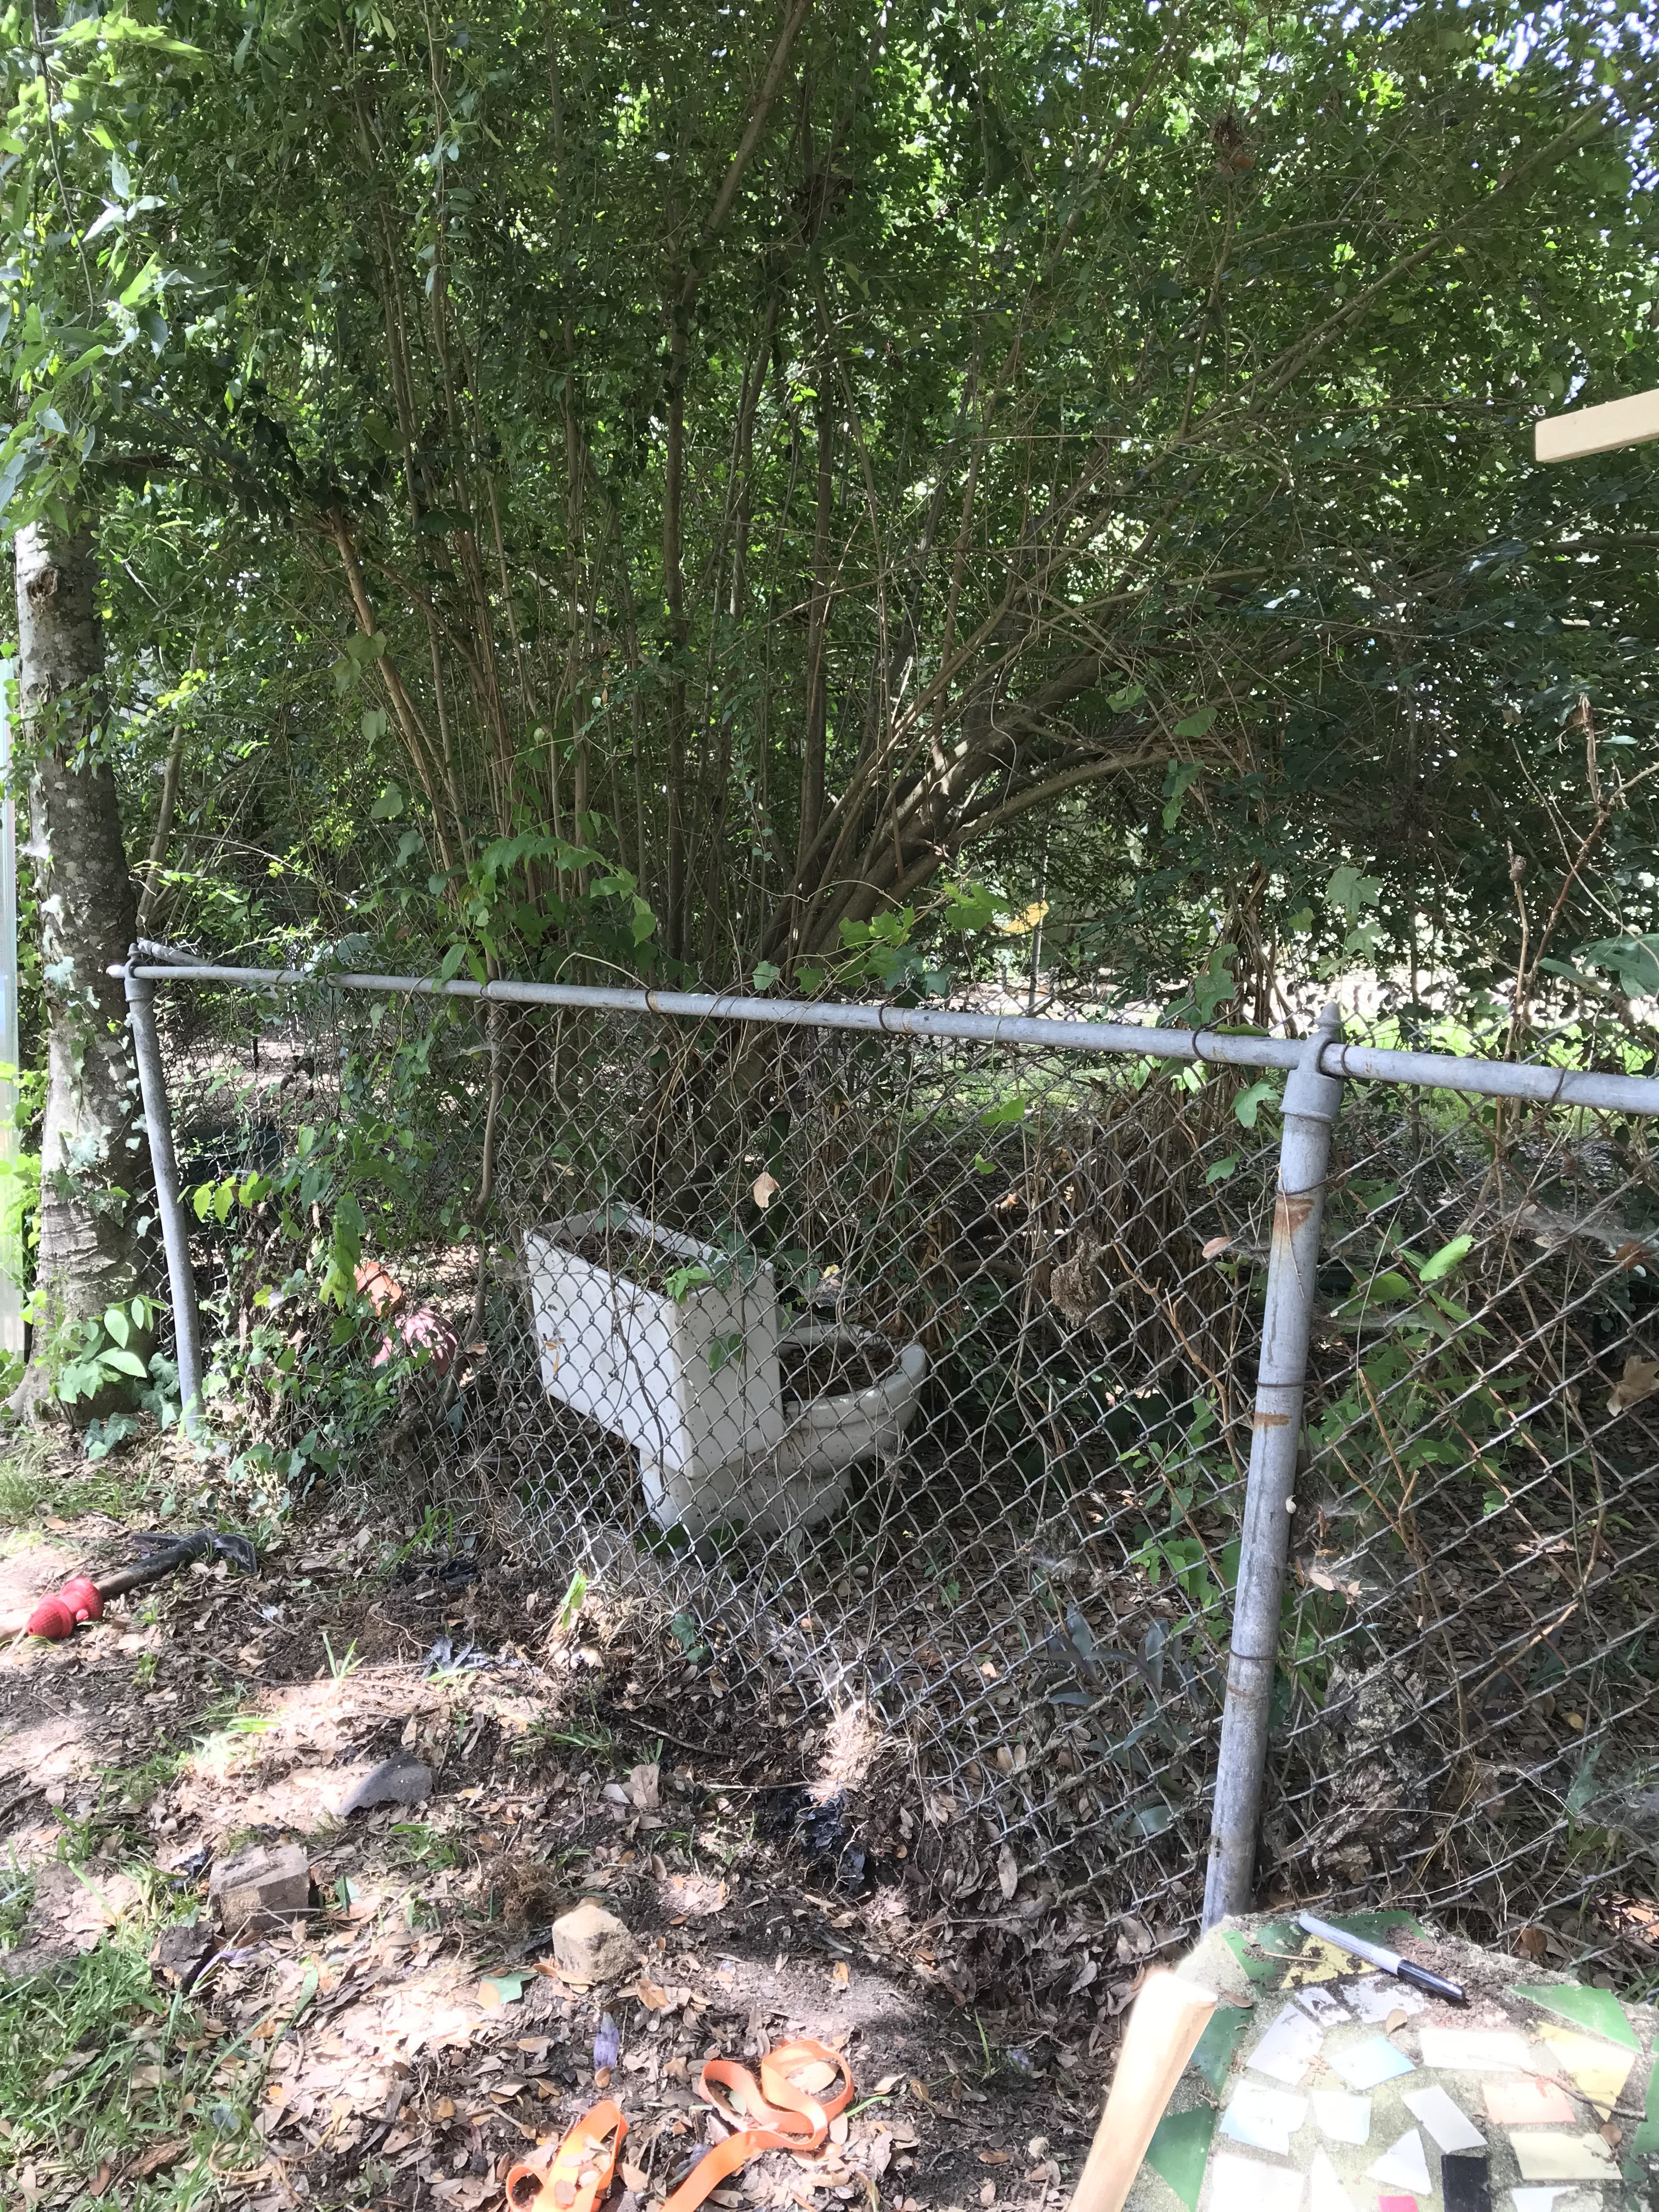
Just imagine looking out onto your backyard and seeing that everyday.
We’ve been wanting to replace that horrible chain link for a while, but we don’t have the time or the money to install a new wood fence. So, as usual, the hubby and I had to get crafty and resourceful. I got to scouring the internet for privacy screen ideas, and I developed a plan from there. Here’s what I wanted:
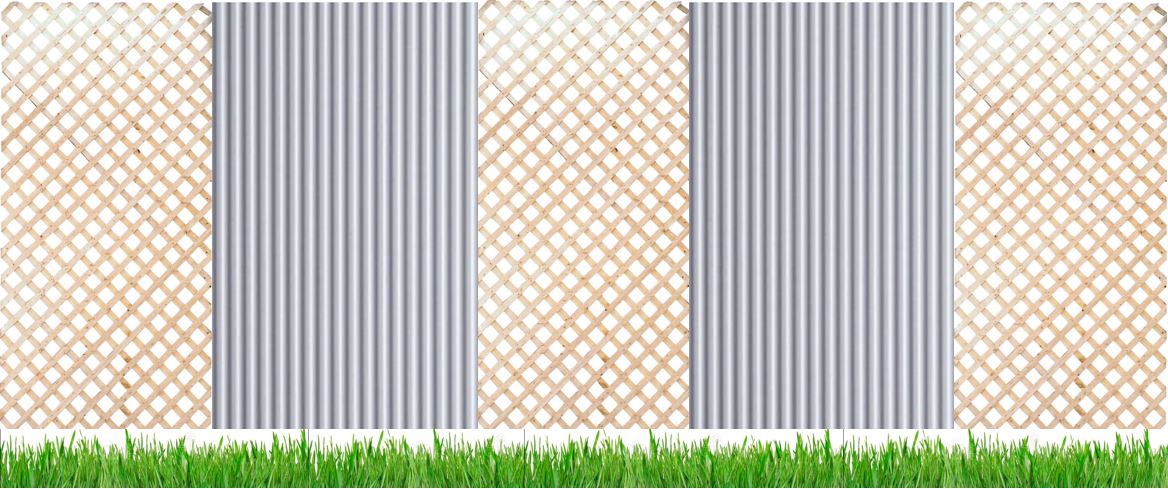
I wanted a mix of wood lattice pieces and corrugated tin. I chose these materials with design for four reasons. 1. The tin would tie in the metal element from the stock tank pool 2. the lattice ties in with the others we have throughout the yard and I love that vines can grow on them and eventually make it a “green fence” 3. the materials are relatively inexpensive 4. they are both easy to cut out and work with.
Material List (makes 1 8ft long panel, so adjust for how long you need).
1. 3- 2"x2"x8' treated boards. The Home Depot near us sold them in 9 packs. Definitely get the ones that say "Treated" or "weather shield" or "ground contact" as these are treated to prevent rotting in the elements.2.
2. 2- 2'x8' Corrugated Galvanized panels - Aka sheet metal.
3. 1- 4'x8' Lattuce. The thicker the better. 3/4" should be good.
4. Box of Screws. 1 1/4" galvanized are great for the elements and this specific project. If we're being honest though, I just used some random screws I already had laying around, and they're fine.
5. Zip ties - get some long ones so you can fix the panels to the old chain link fence.
6. Mending Plates - 3" or bigger. You'll use 2 of these for each panel you make. They're a way to loosely tie the panels together for a clean uniform look.
7. Tin snips - for cutting the sheet metal.
8. Gloves - Seriously. The sheet metal is sharp AF. Please use some really durable leather gloves when you're working with this stuff.
Here’s the list if you want to visualize:
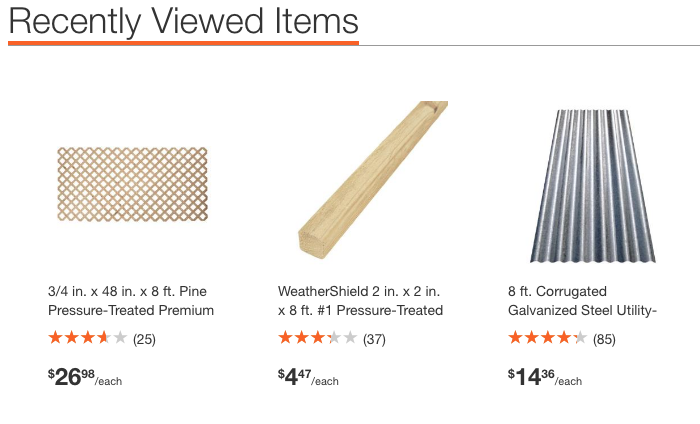
Each panel runs about $70. We used 9. So about $650 all-in (way better than paying a fence company $10k to put in a real one).
Once we purchased the materials, David got to building! Here’s what he did:
How to:
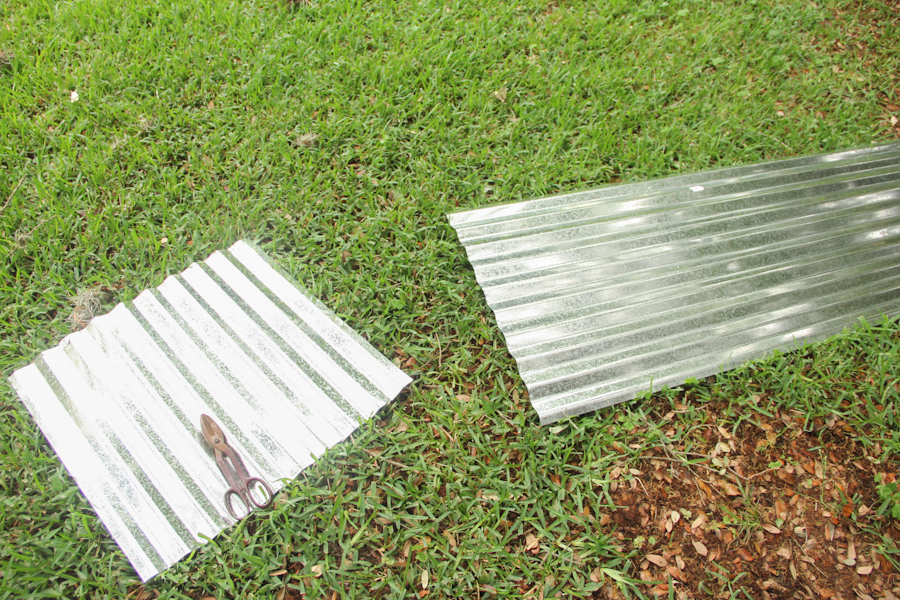
1. Trim 2 feet off the bottom of the sheet metal and lattice. This will make your fence 6 feet tall. Trim more or less for how tall or short you’d like. Use the tin snips for the metal and a circular saw for the lattice.
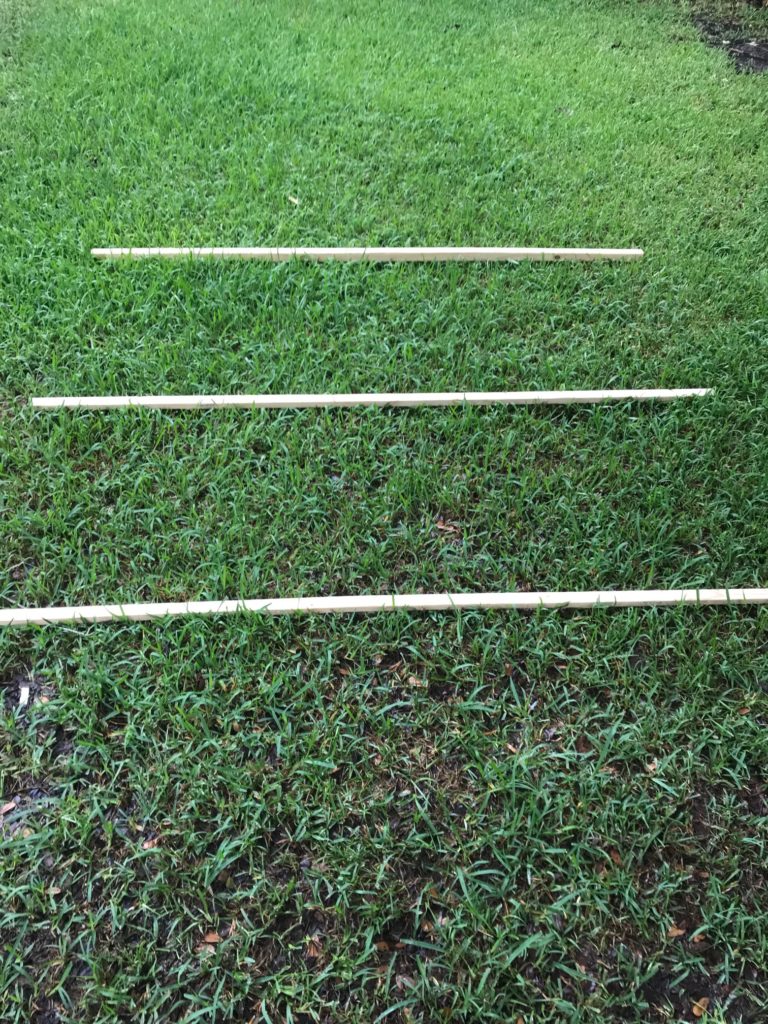
2. Lay 3- 2″x2″ boards on the ground. This will be your top, middle, and bottom supports. The outer two should be about 8 feet apart. The middle one should fall at the height where the top bar of your old fence will tie to.
3. Lay out your lattice and tin pieces face up. A piece of sheet metal on either side with lattice in the middle. Make the sheet metal overlap the lattice a bit.
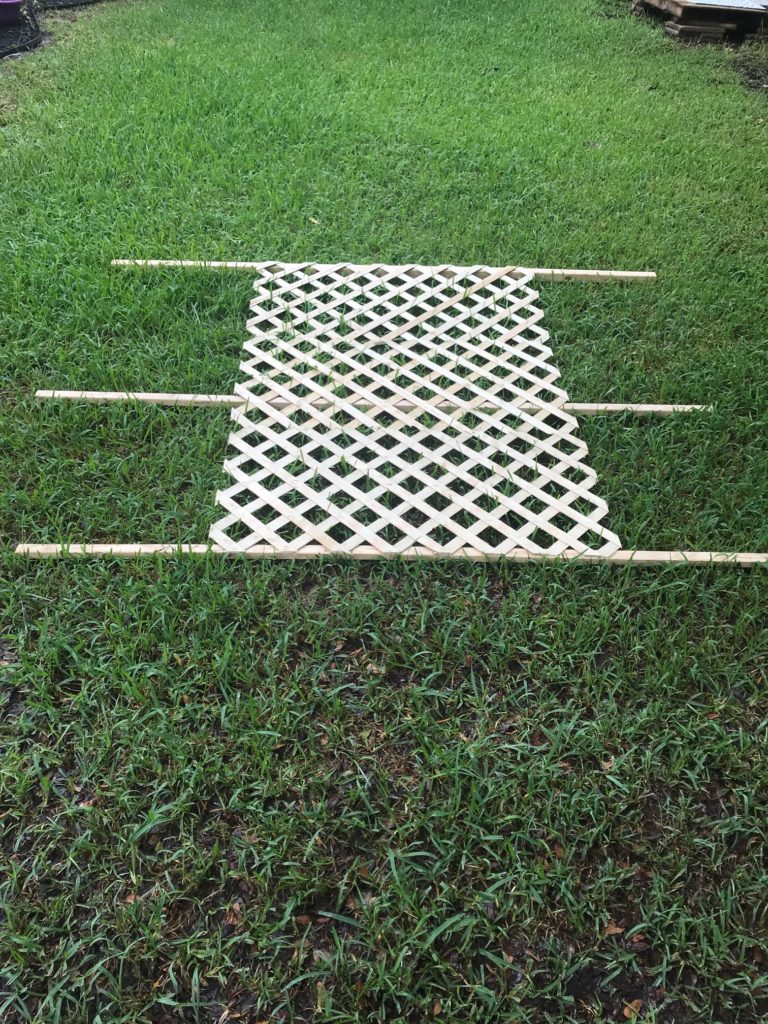
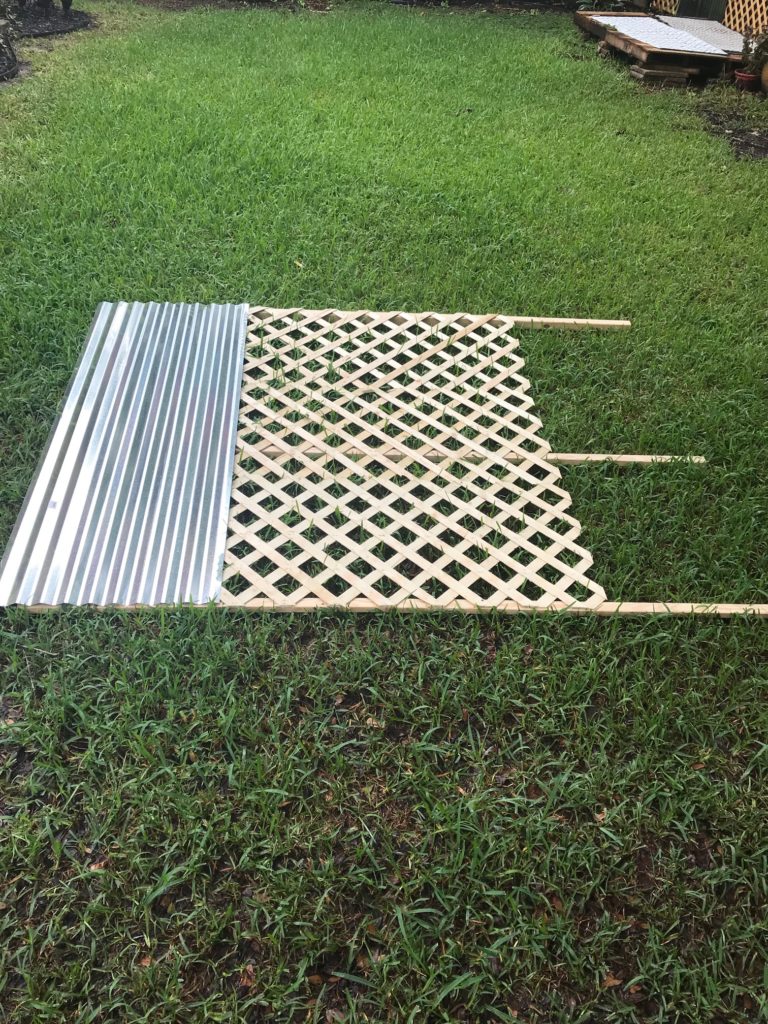
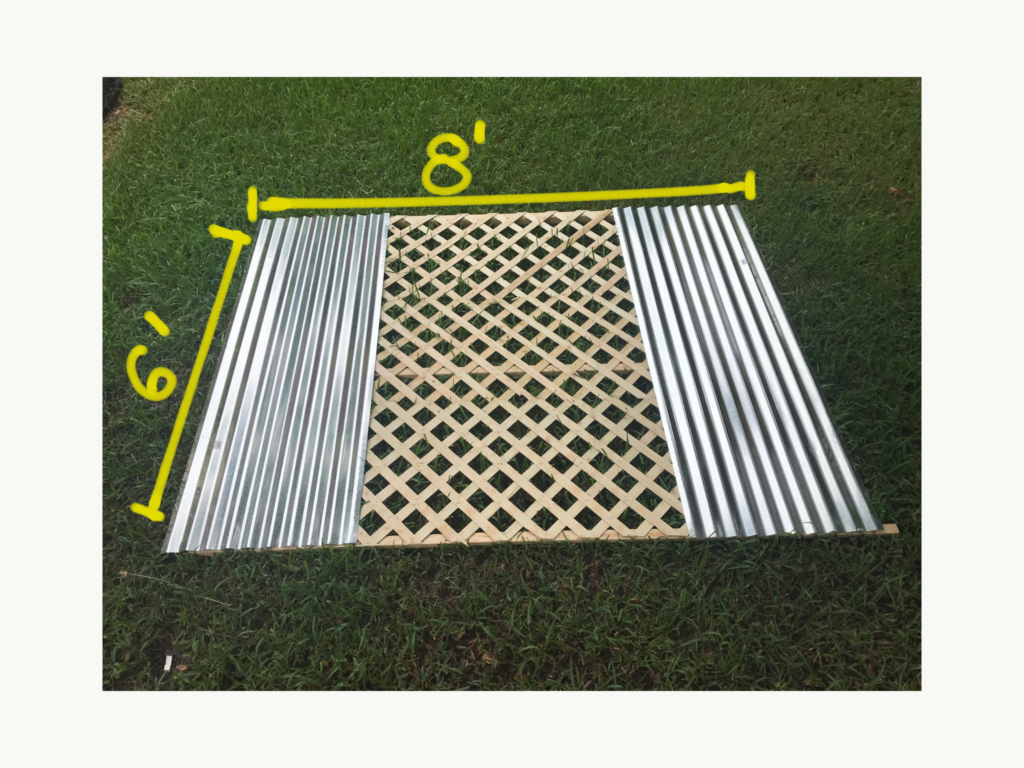
4. Make sure everything is evened up and your middle board is straight.
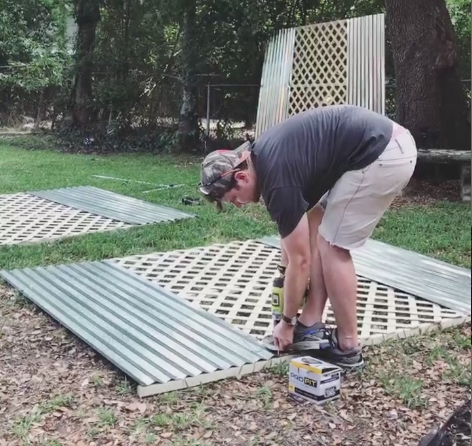
5. Screw the metal and lattice to the 2″x2″‘s. I put about 15 screws across the top, middle, and bottom each.
6. The lattice might split when you do this- there are 2 fixes:
- Screw slower and pinch the lattice board together.
- Use a heavy duty staple gun instead.
7. Prep your old chain link fence. For us, this meant straightening out the old bent up posts (I pulled them straight with the truck and a tow strap). You just want a good base that’s vertically level.
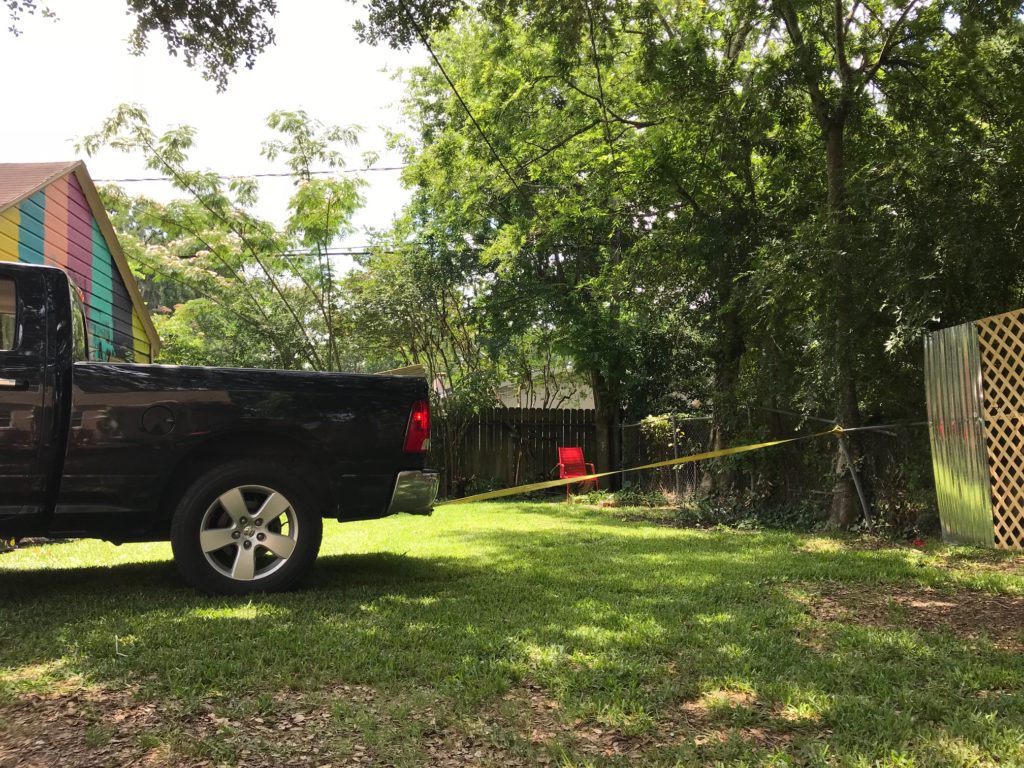
8. Put your first panel into place, and make sure it’s level and you can tie to the old fence.
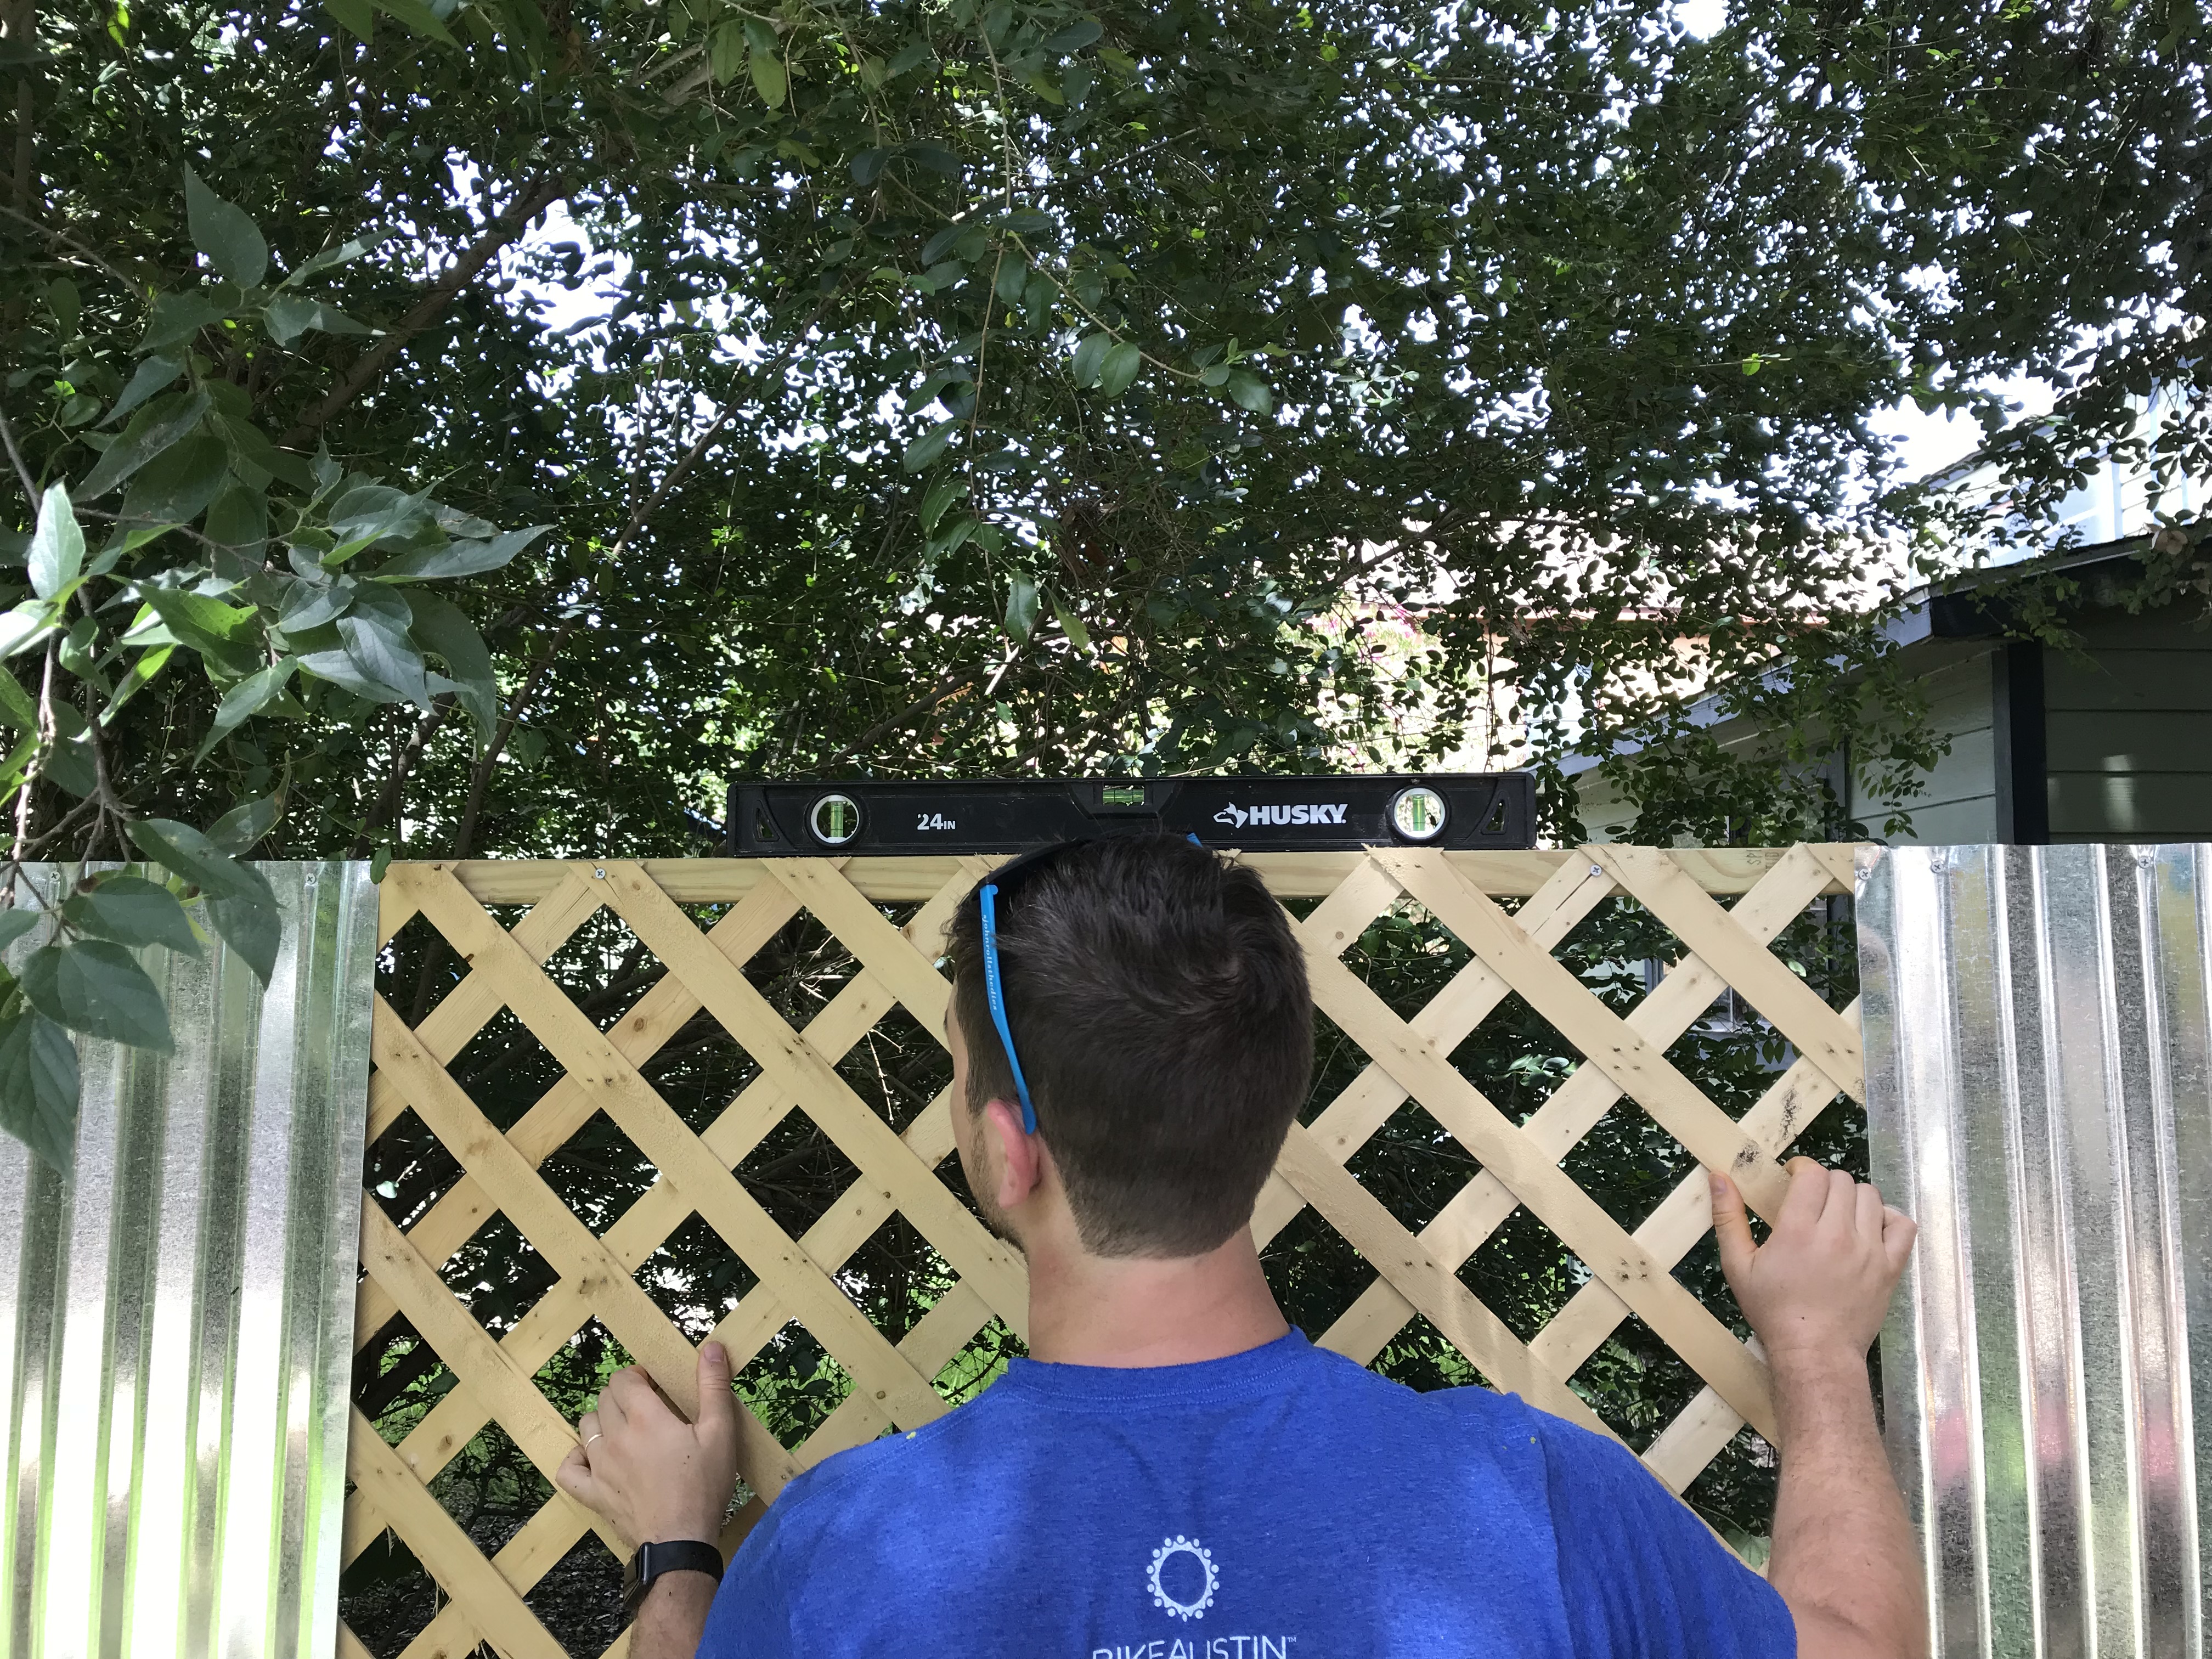
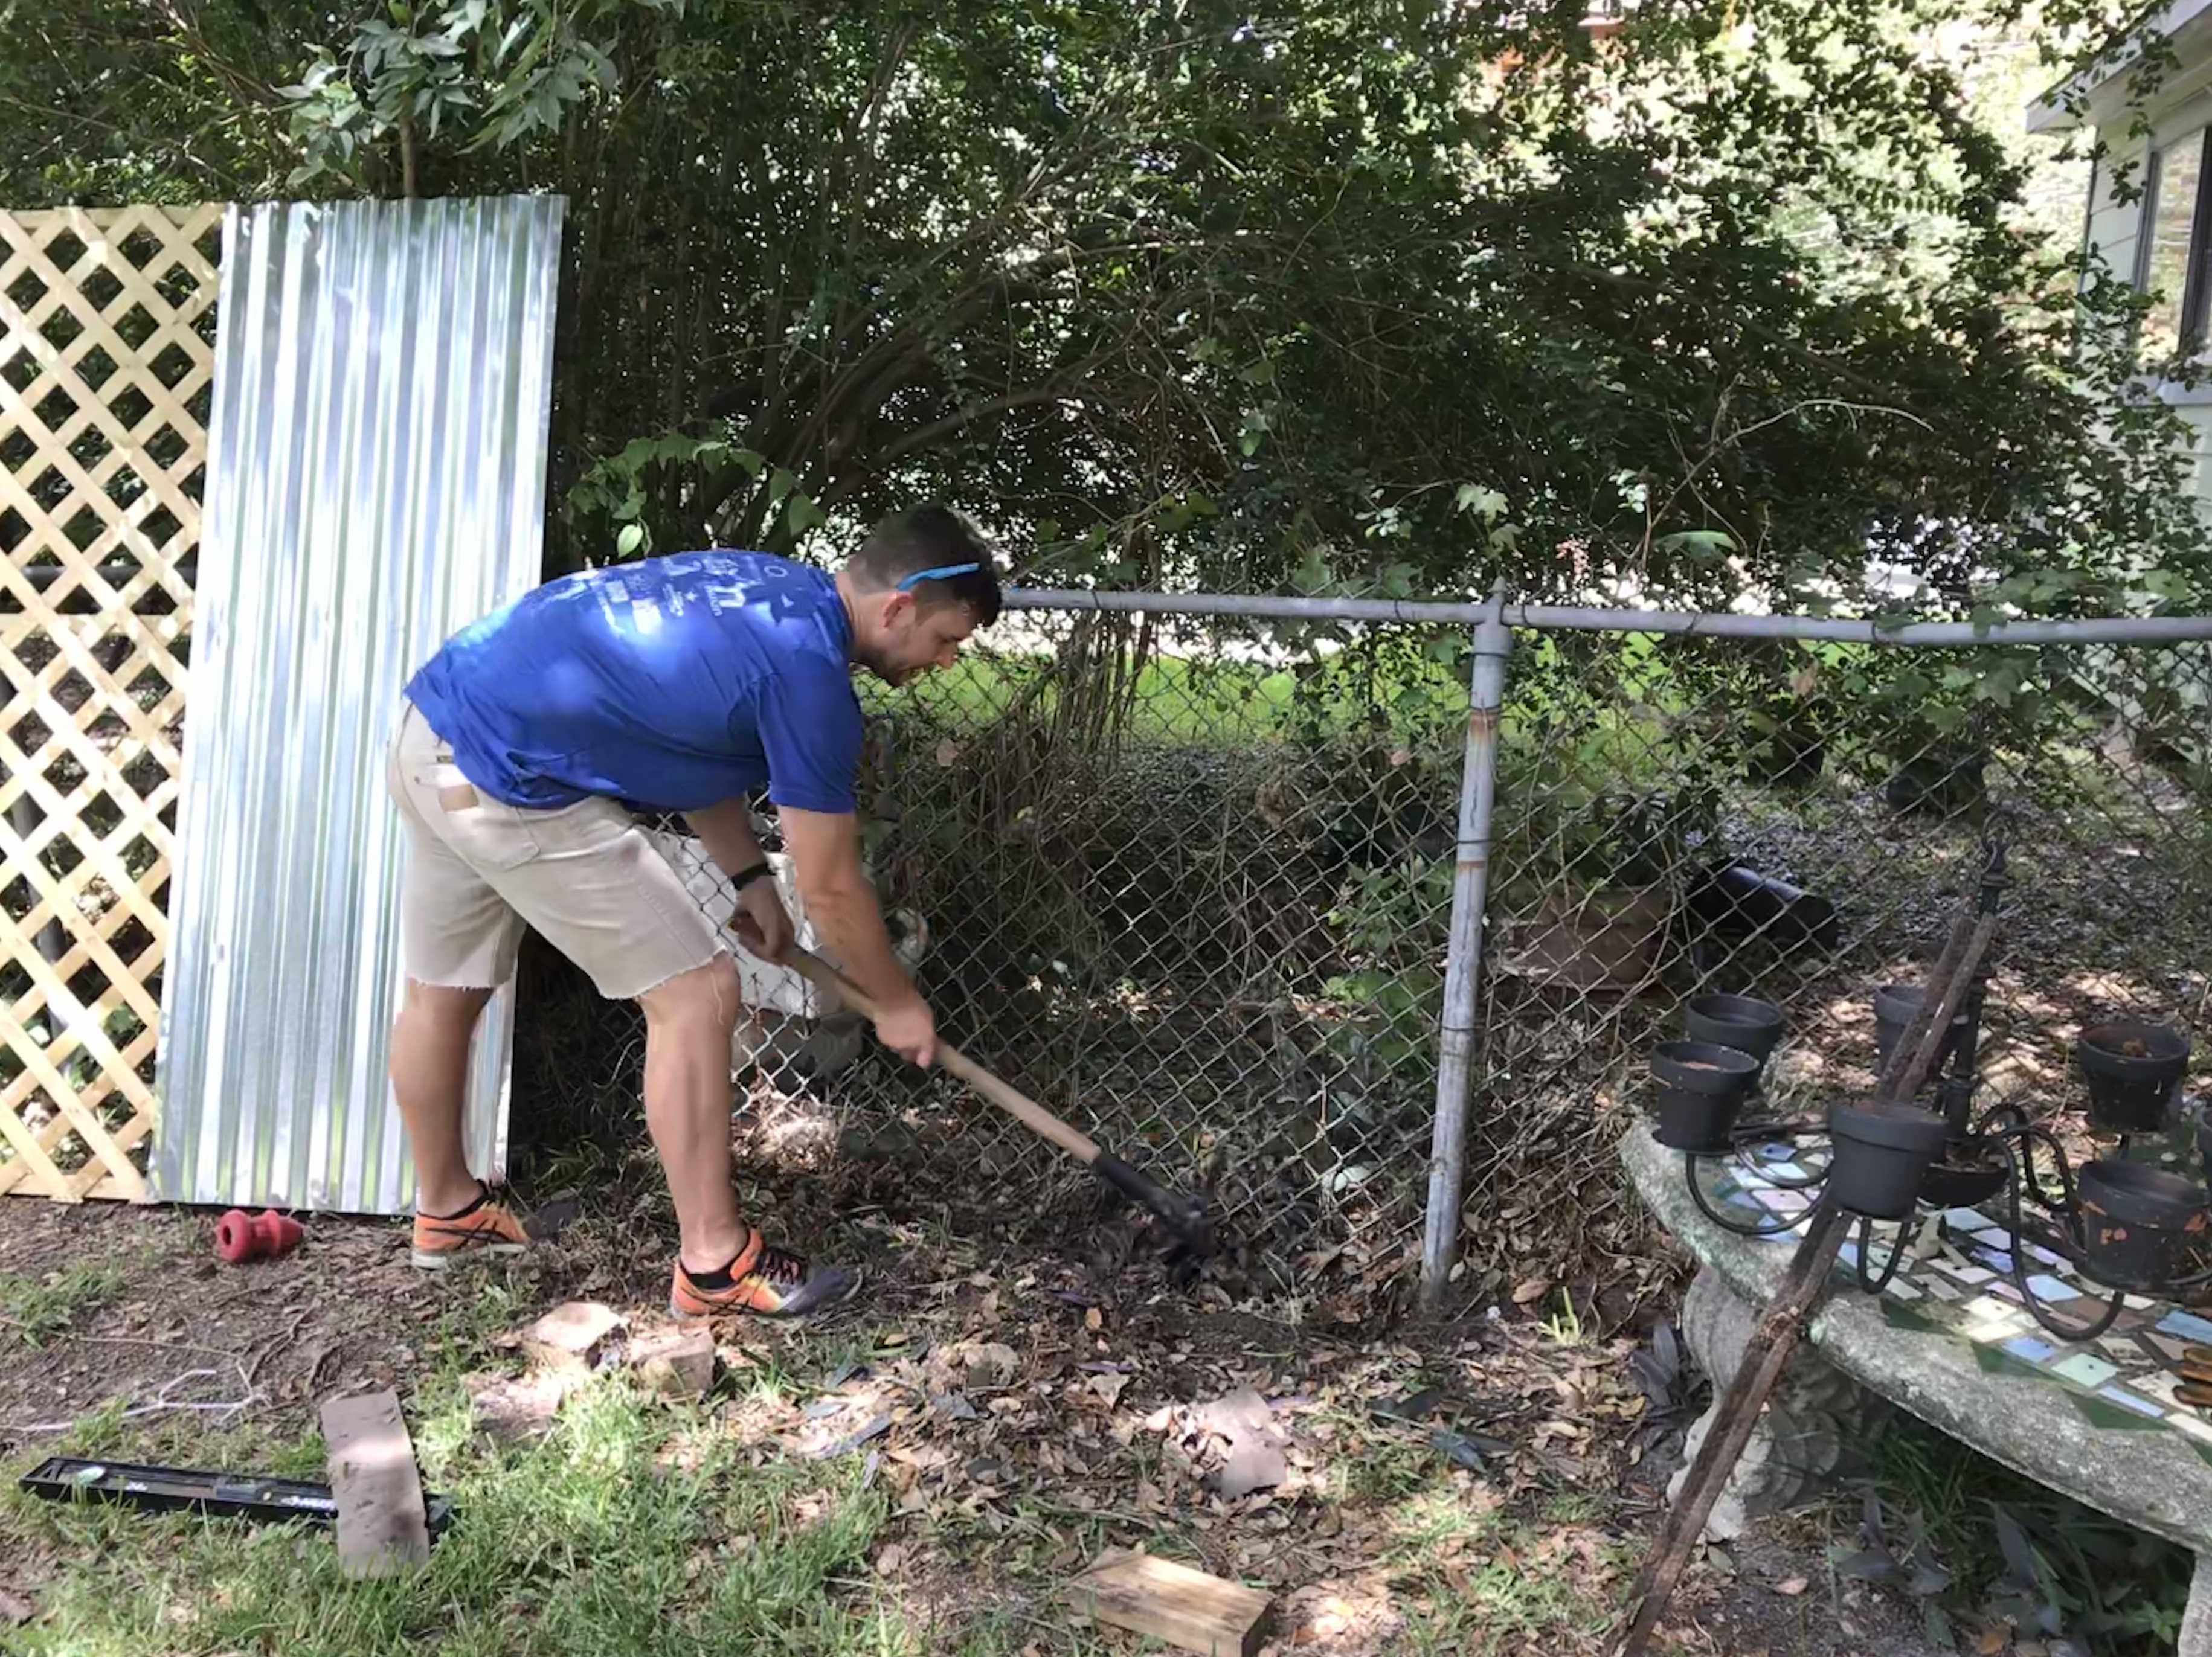
If it’s not level, dig out underneath to get a level surface.
9. Place the panel and attach to the old chain link fence with zip ties. Try to get a couple on there and make them tight as possible:
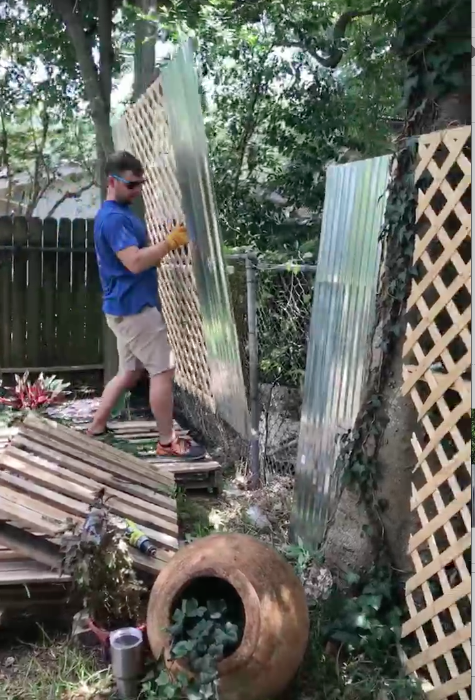

10. …and repeat until your fence line is all filled in.
11. For all of our trees, we cut out the panels to frame around them:


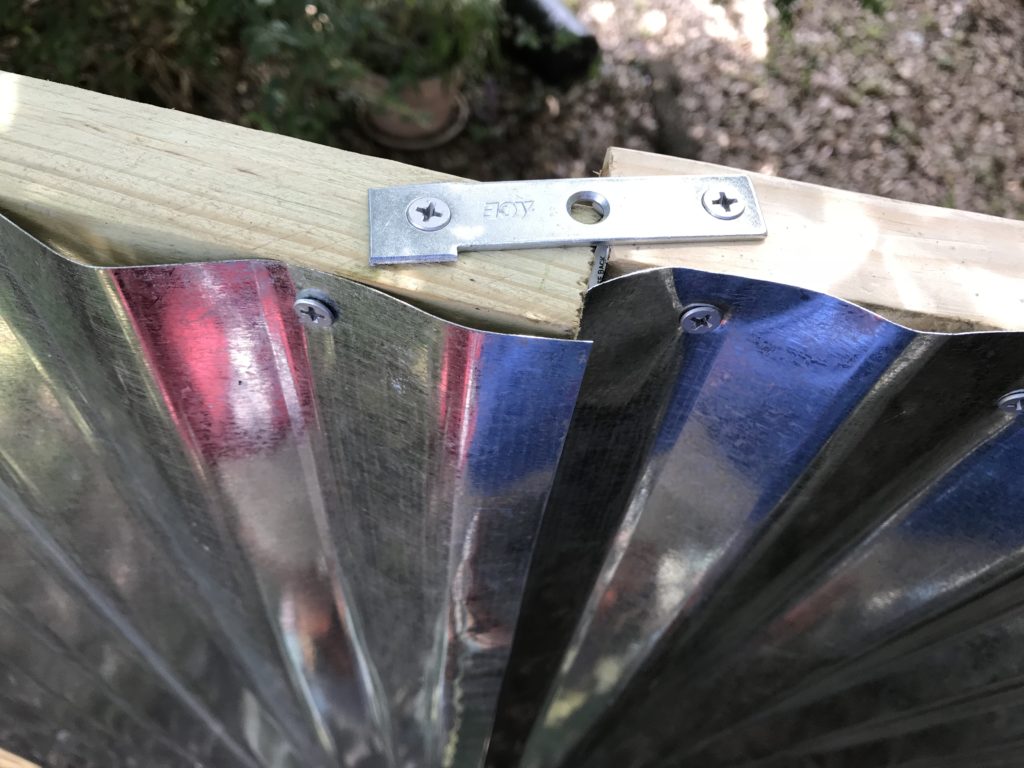
12. Finally, we used the mending plates to attach the top boards of each panel to each other. Just one screw in each side does it.
And as the french say… “où sont les toilettes!?”
Jokes aside, here’s how it turned out. We love it!
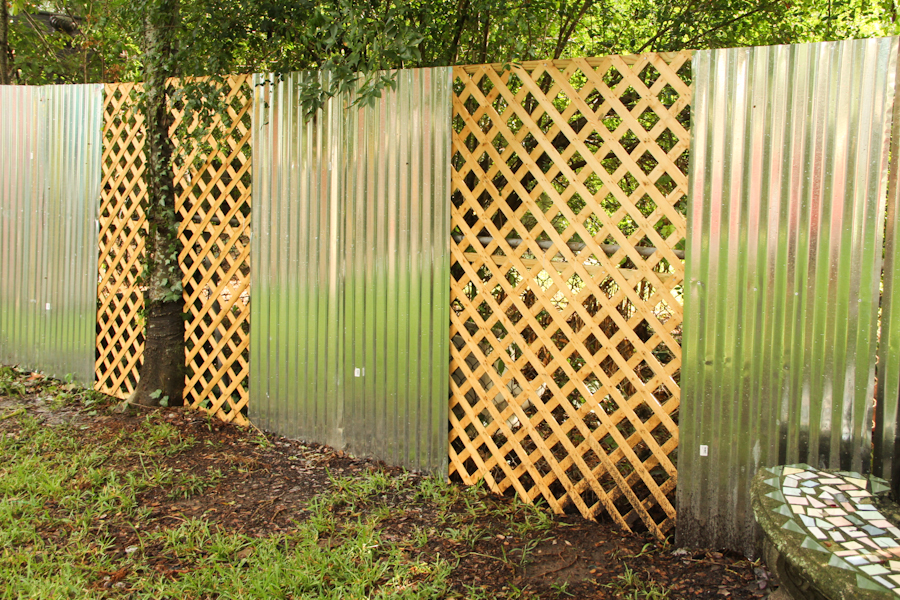
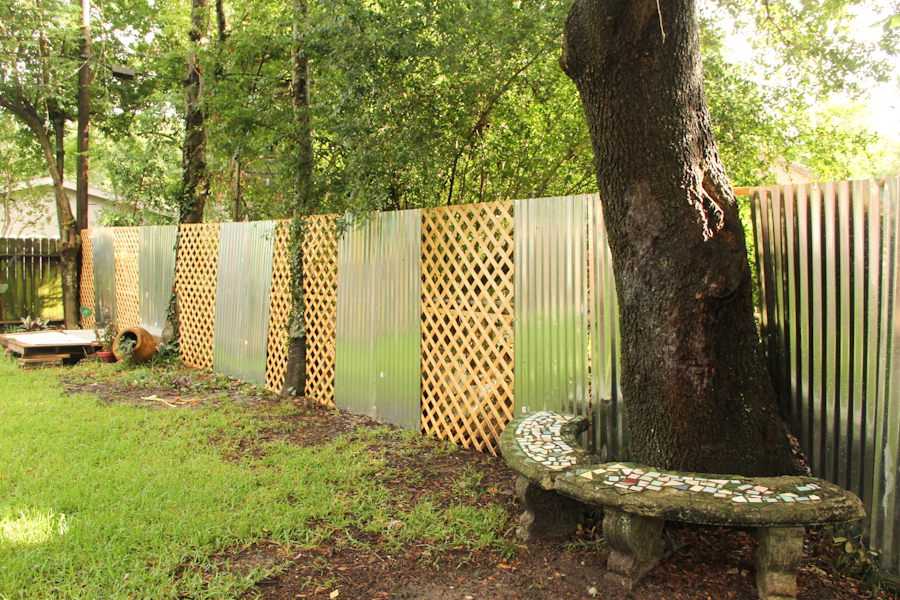
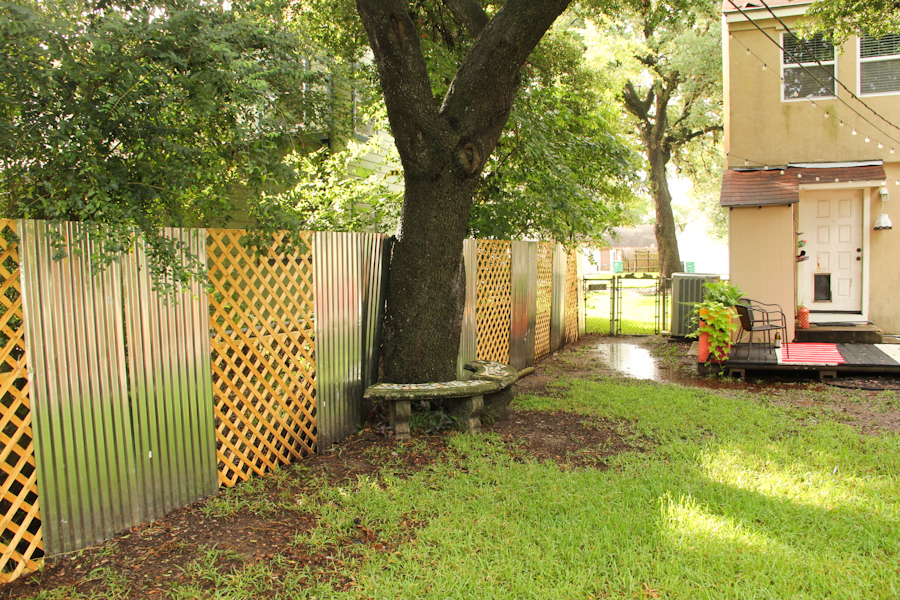
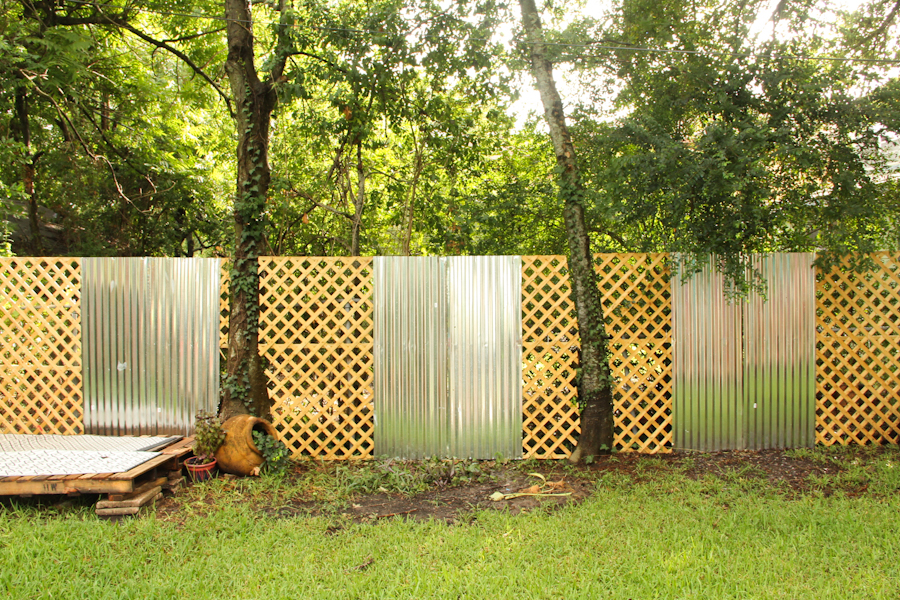
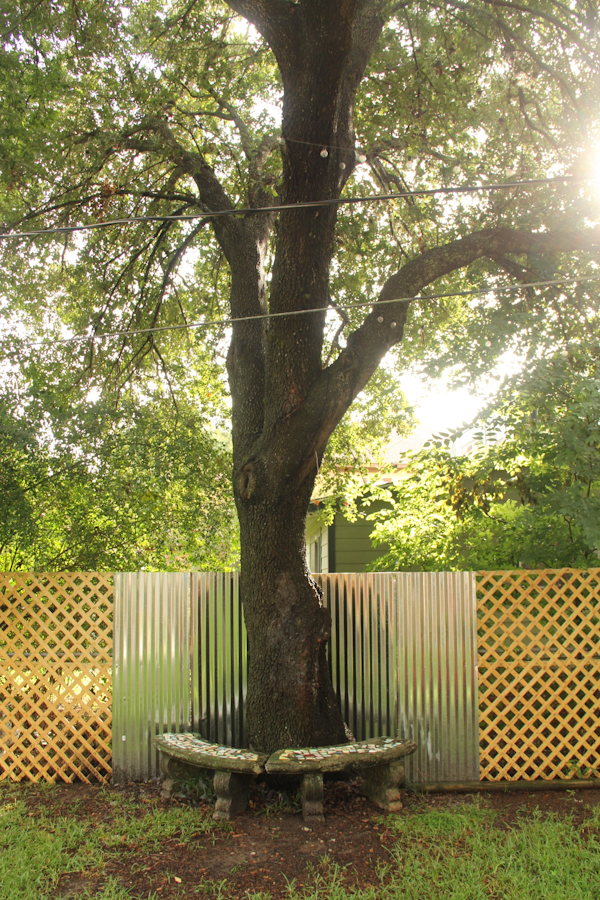
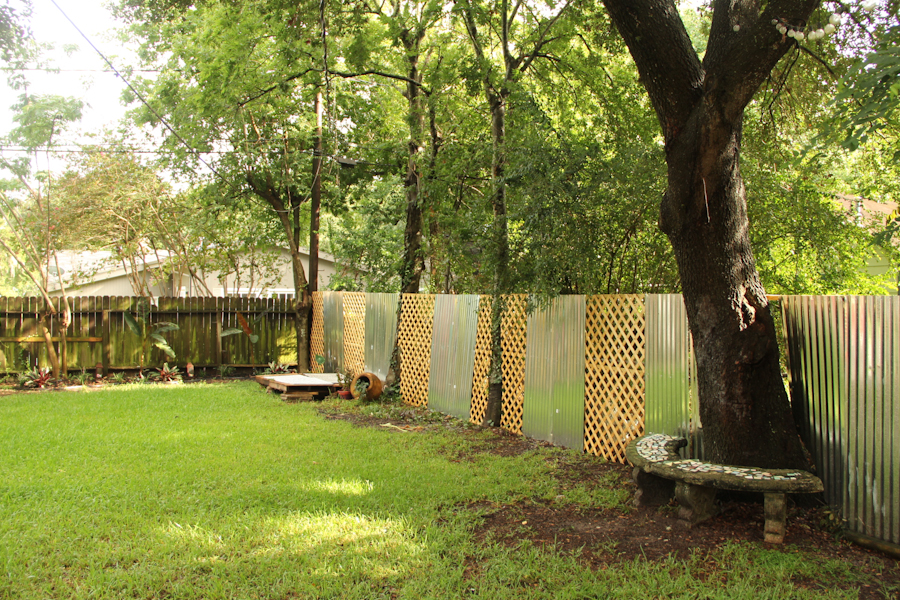
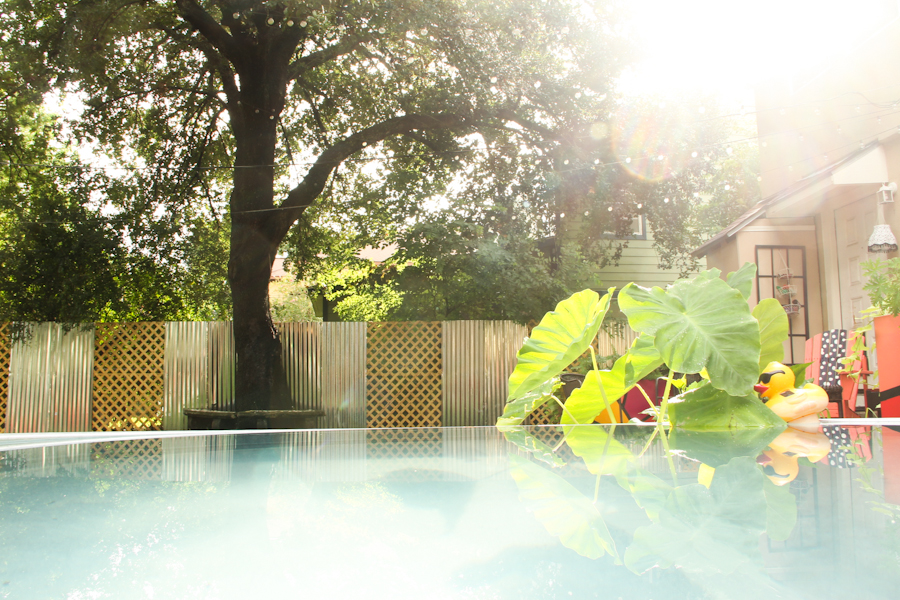
It really completes the yard. Now I love the view from the stock tank pool.
So what did you think? Impressed or pissed? Let us know!

