After learning we do NOT have asbestos, we got back to pulling-up the green linoleum floors.
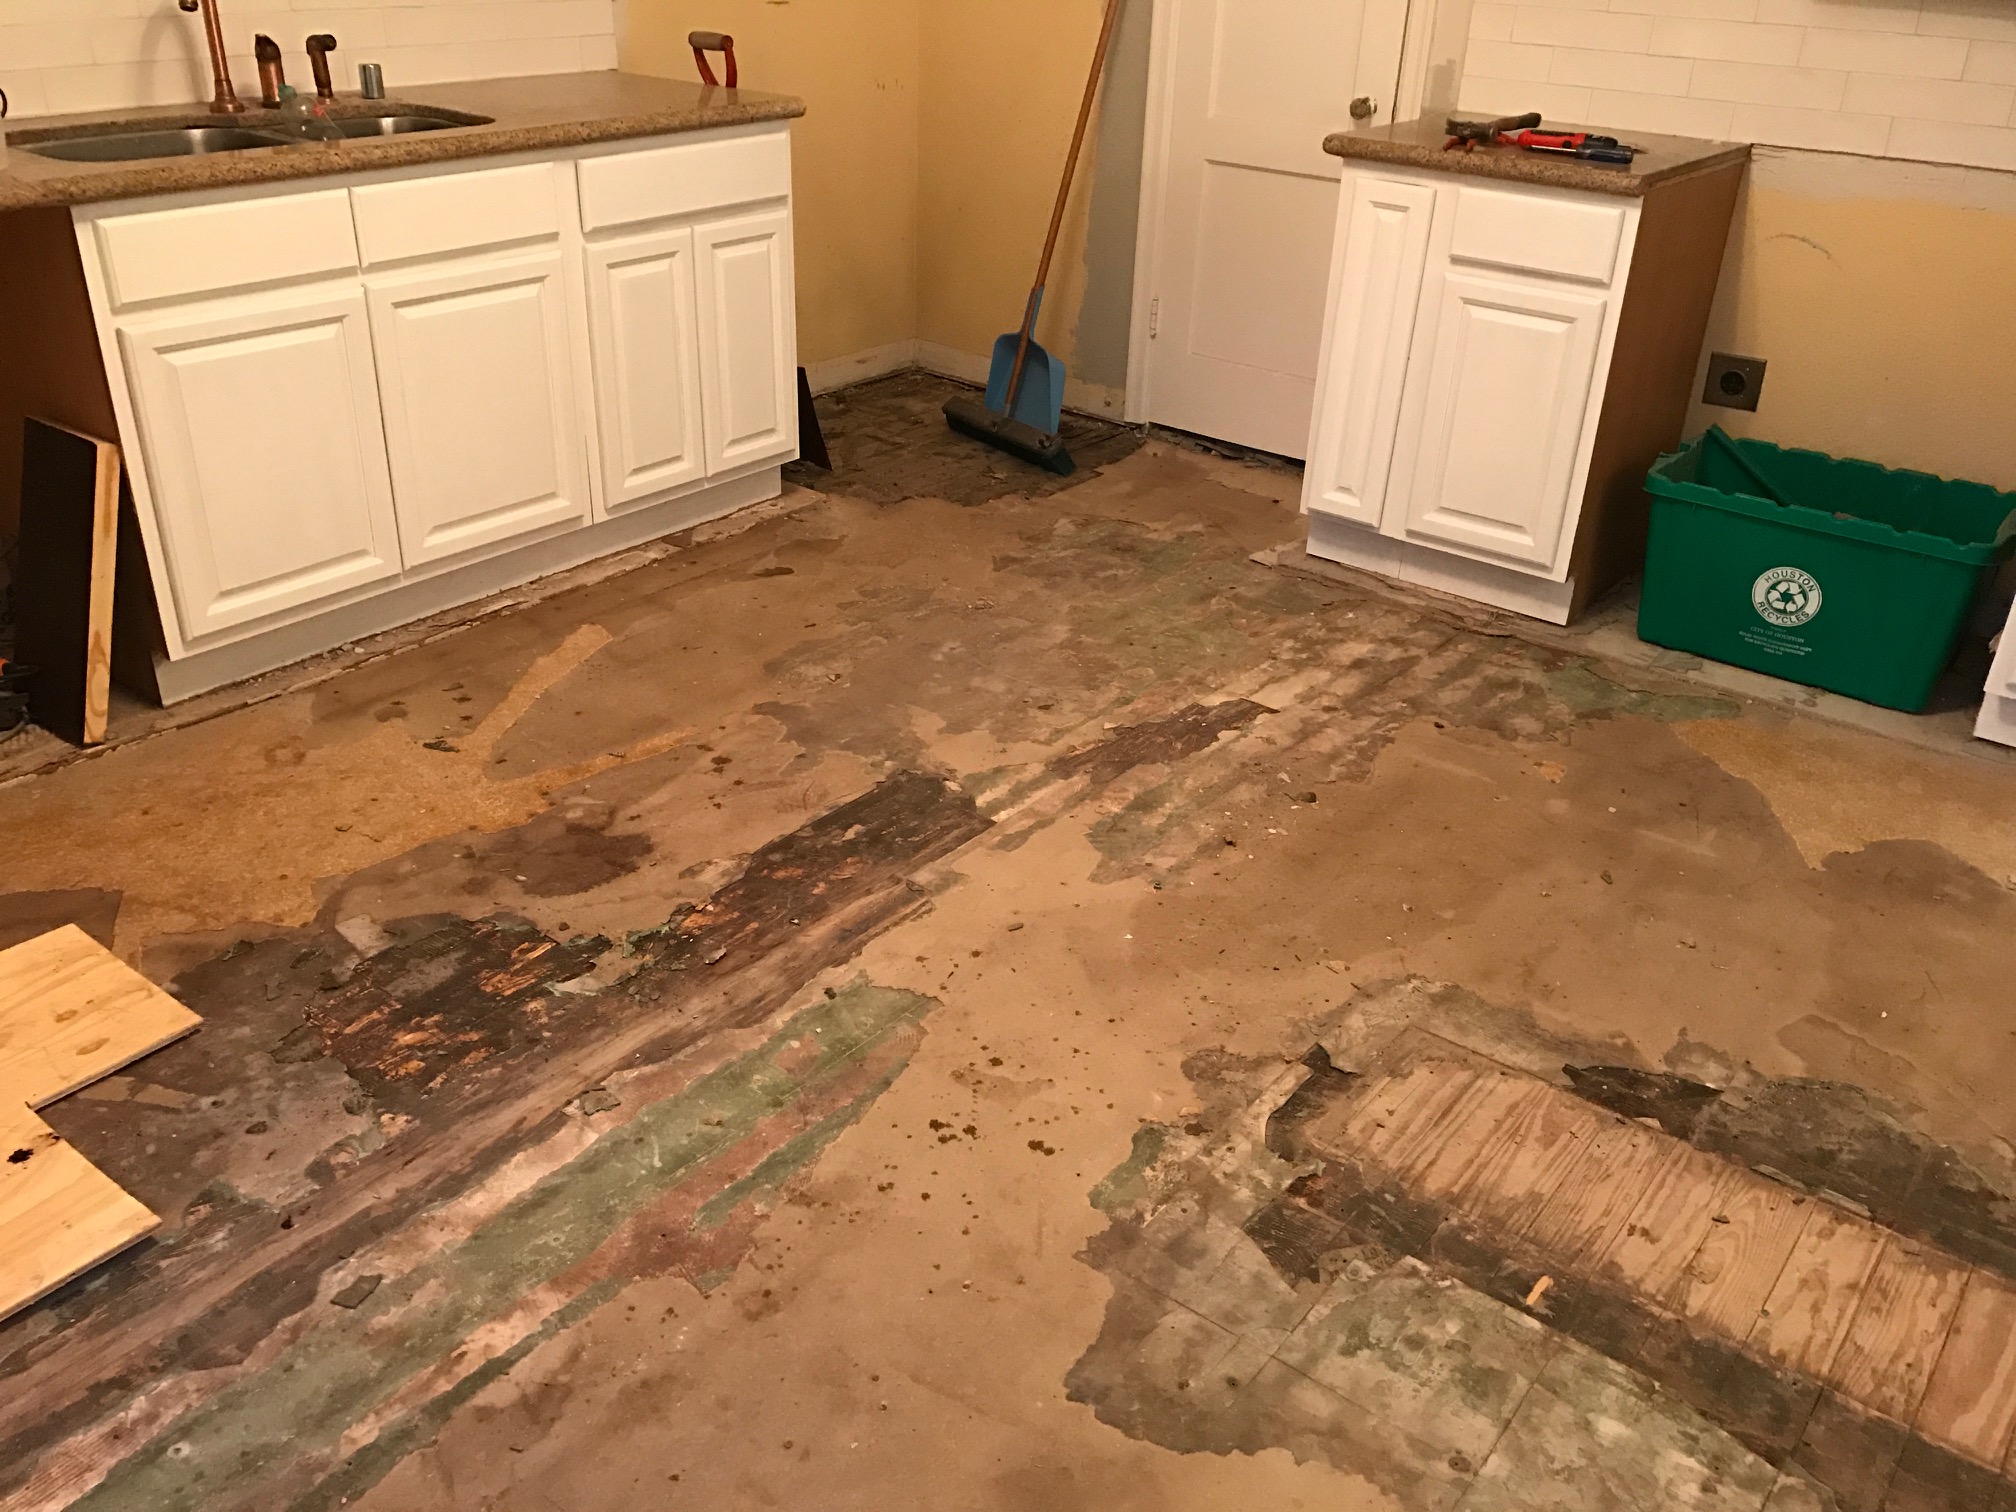
To be honest, I can’t really write much about this process, because David did 100% of the work here. I developed a back-ache, back-sprain (?) muscle tear (?) IDK. All I know is that my back freak’n hurt to move, so I took the day off, and David continued working like the beast that he is. He ripped through all the green stuff, and the beadboard wood floor. Here’s what our sub floors looked like underneath it all.
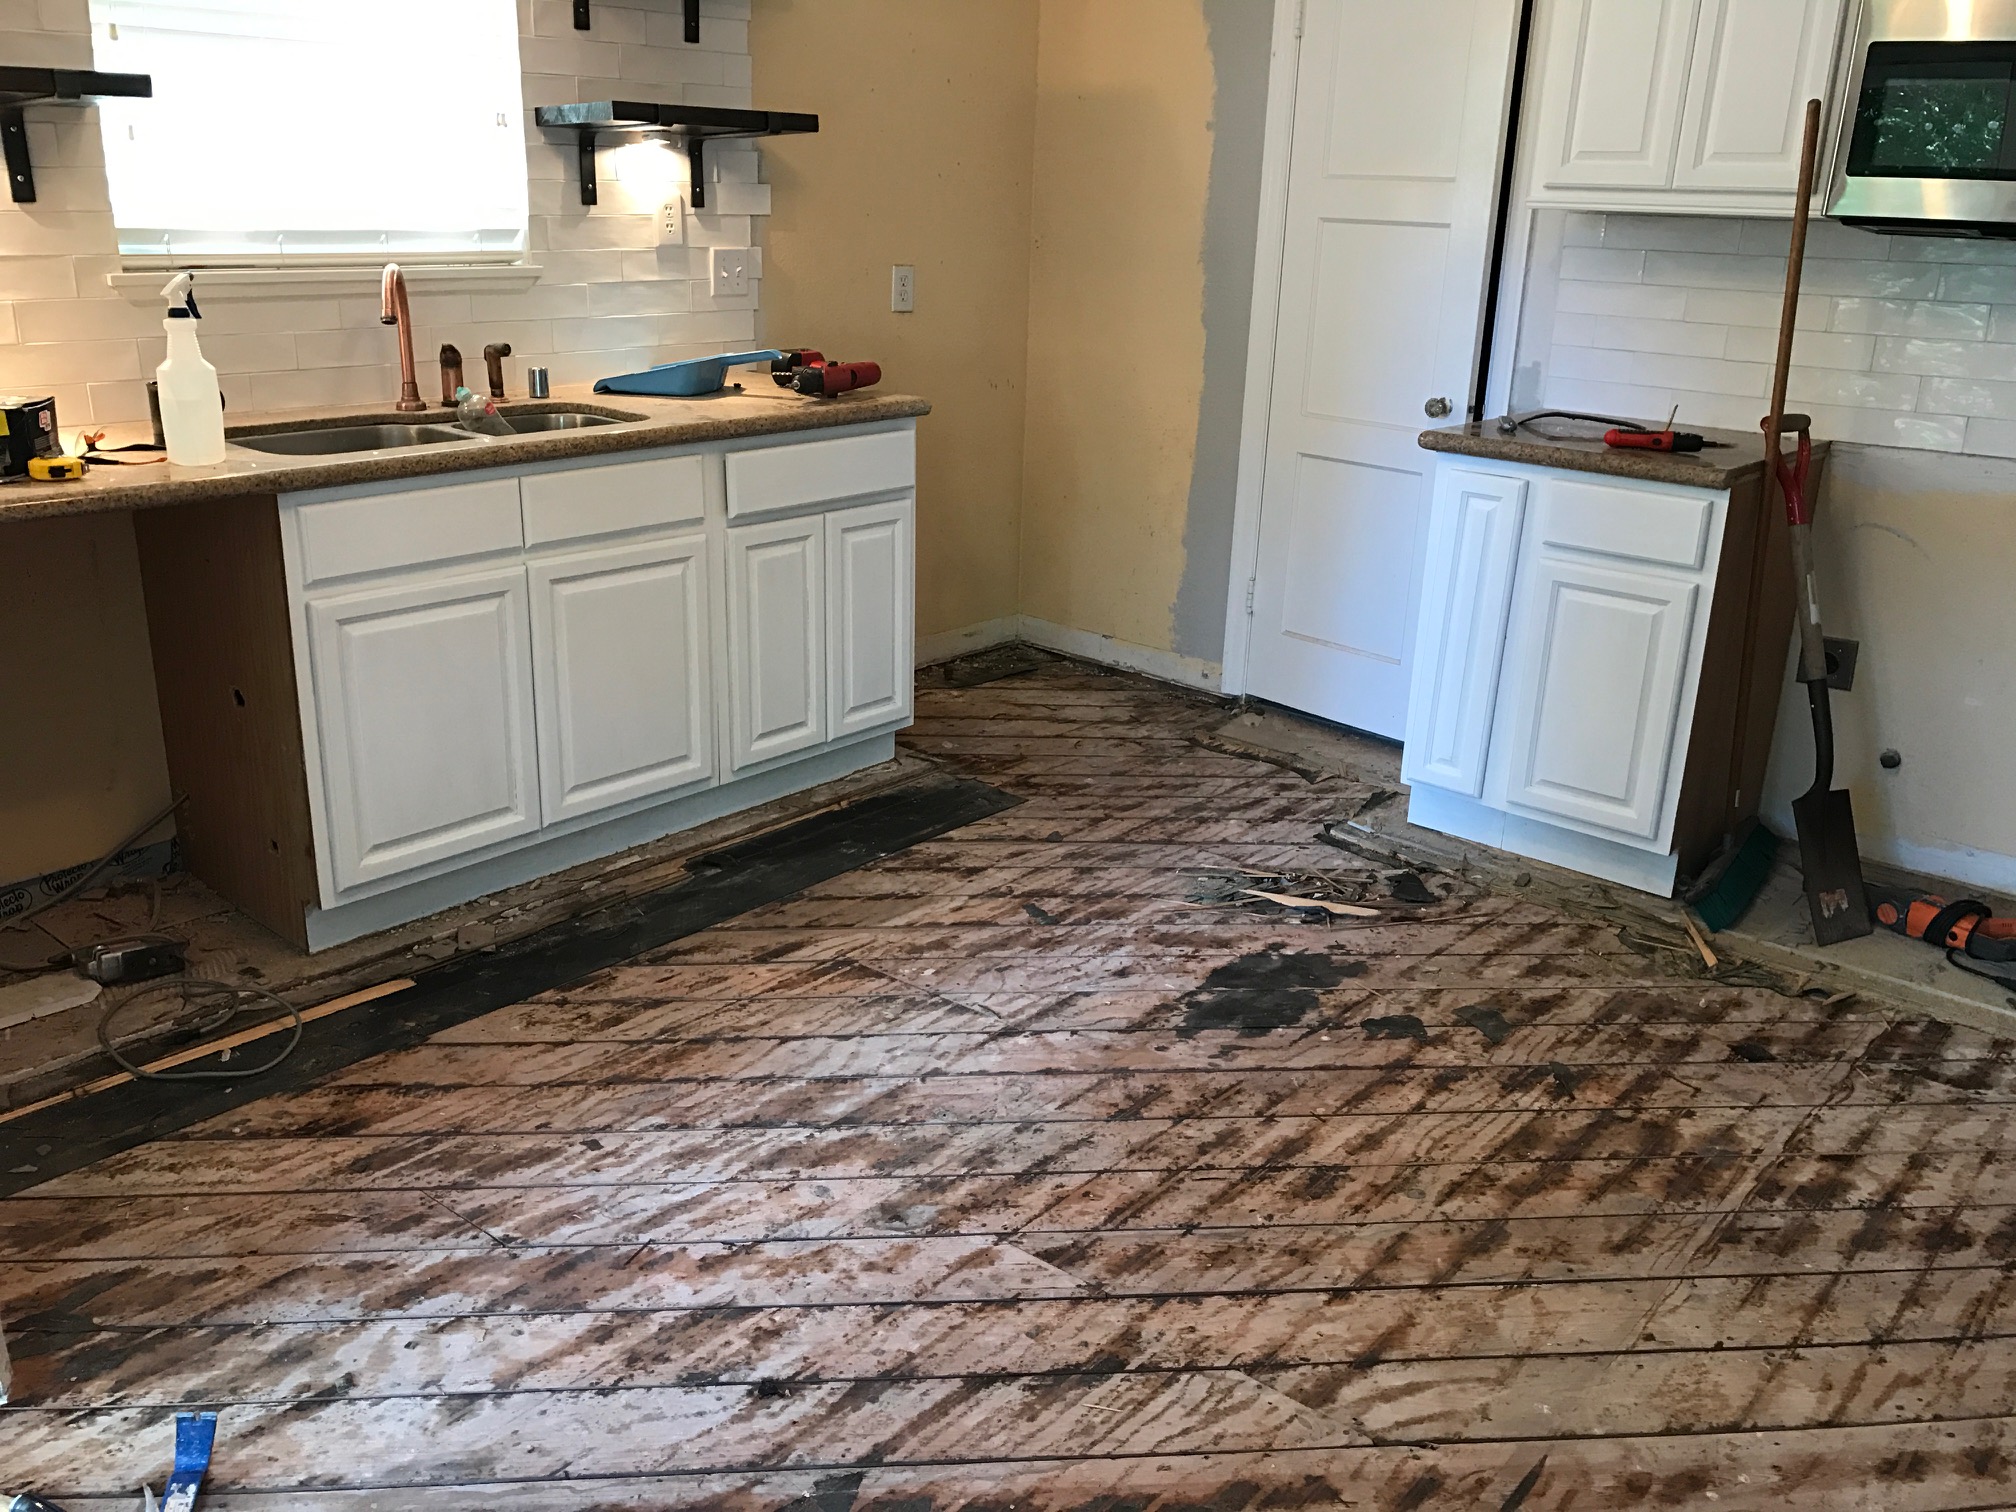
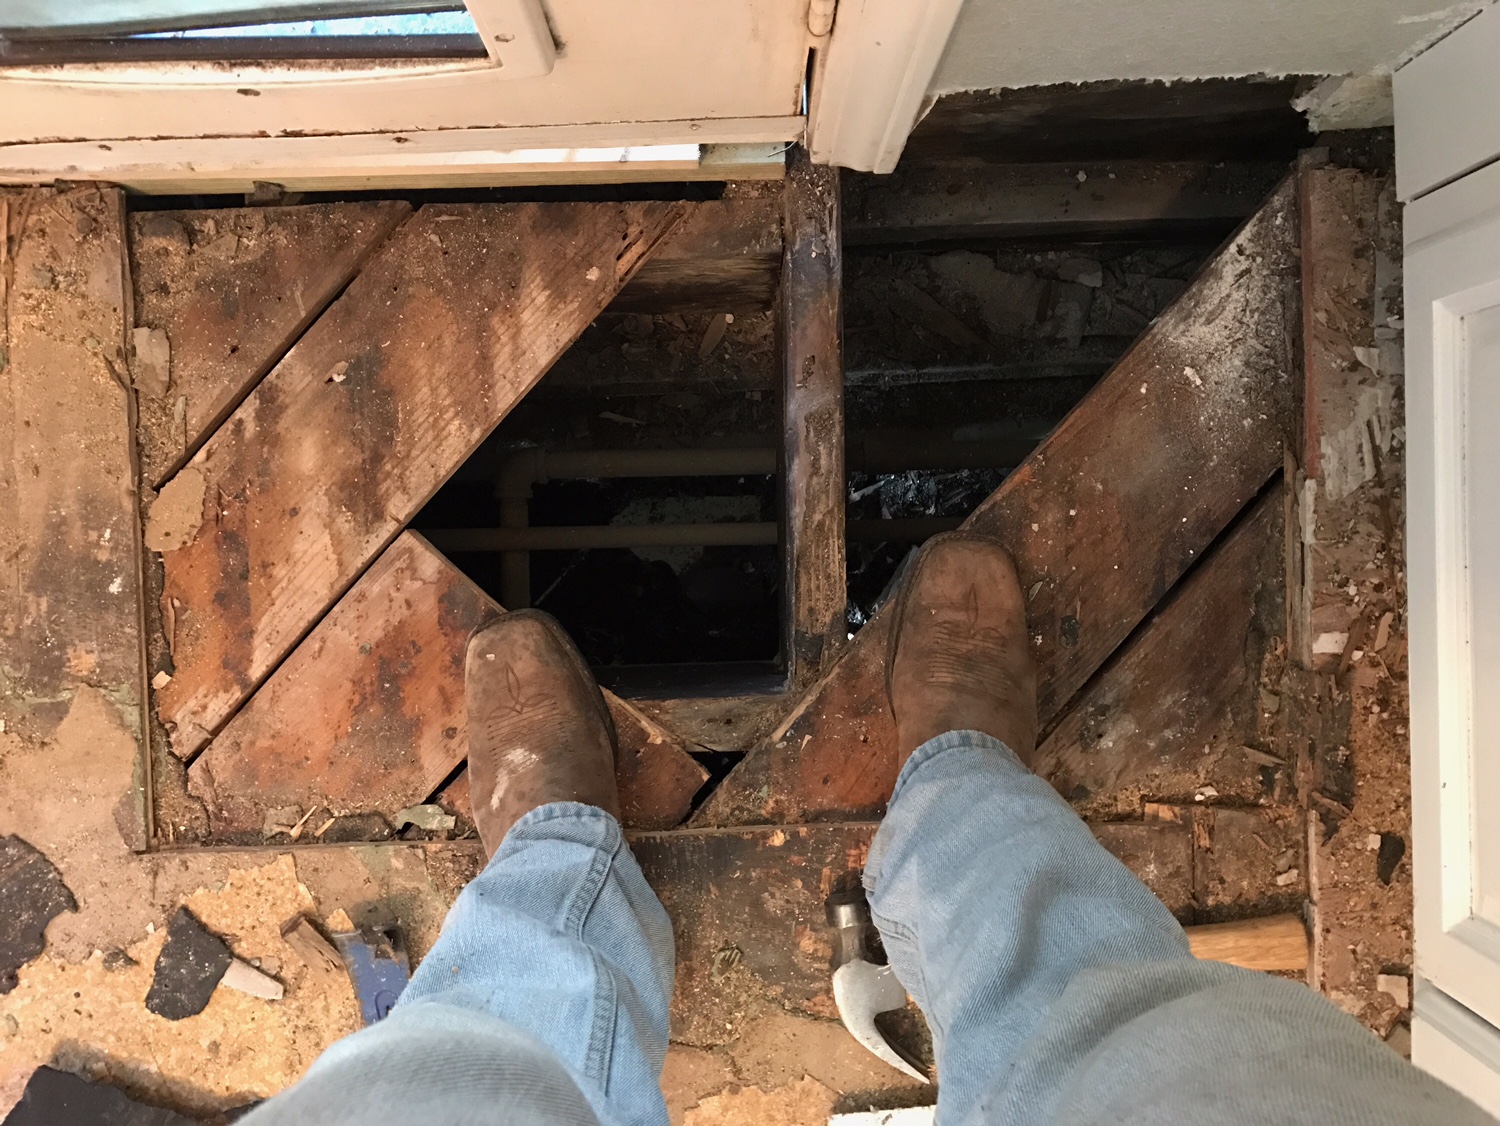
Kinda pretty huh? Then David had to tackle the soft spot where the termites ate through our subfloor in the corner of the room. First he cleaned out the paper-like wood flooring. No wonder we had cracks and holes in the tile in this area. This whole time I thought it was because we had foundation issues. It ends up we had termite issues! You can sorta see how bad the damage here:
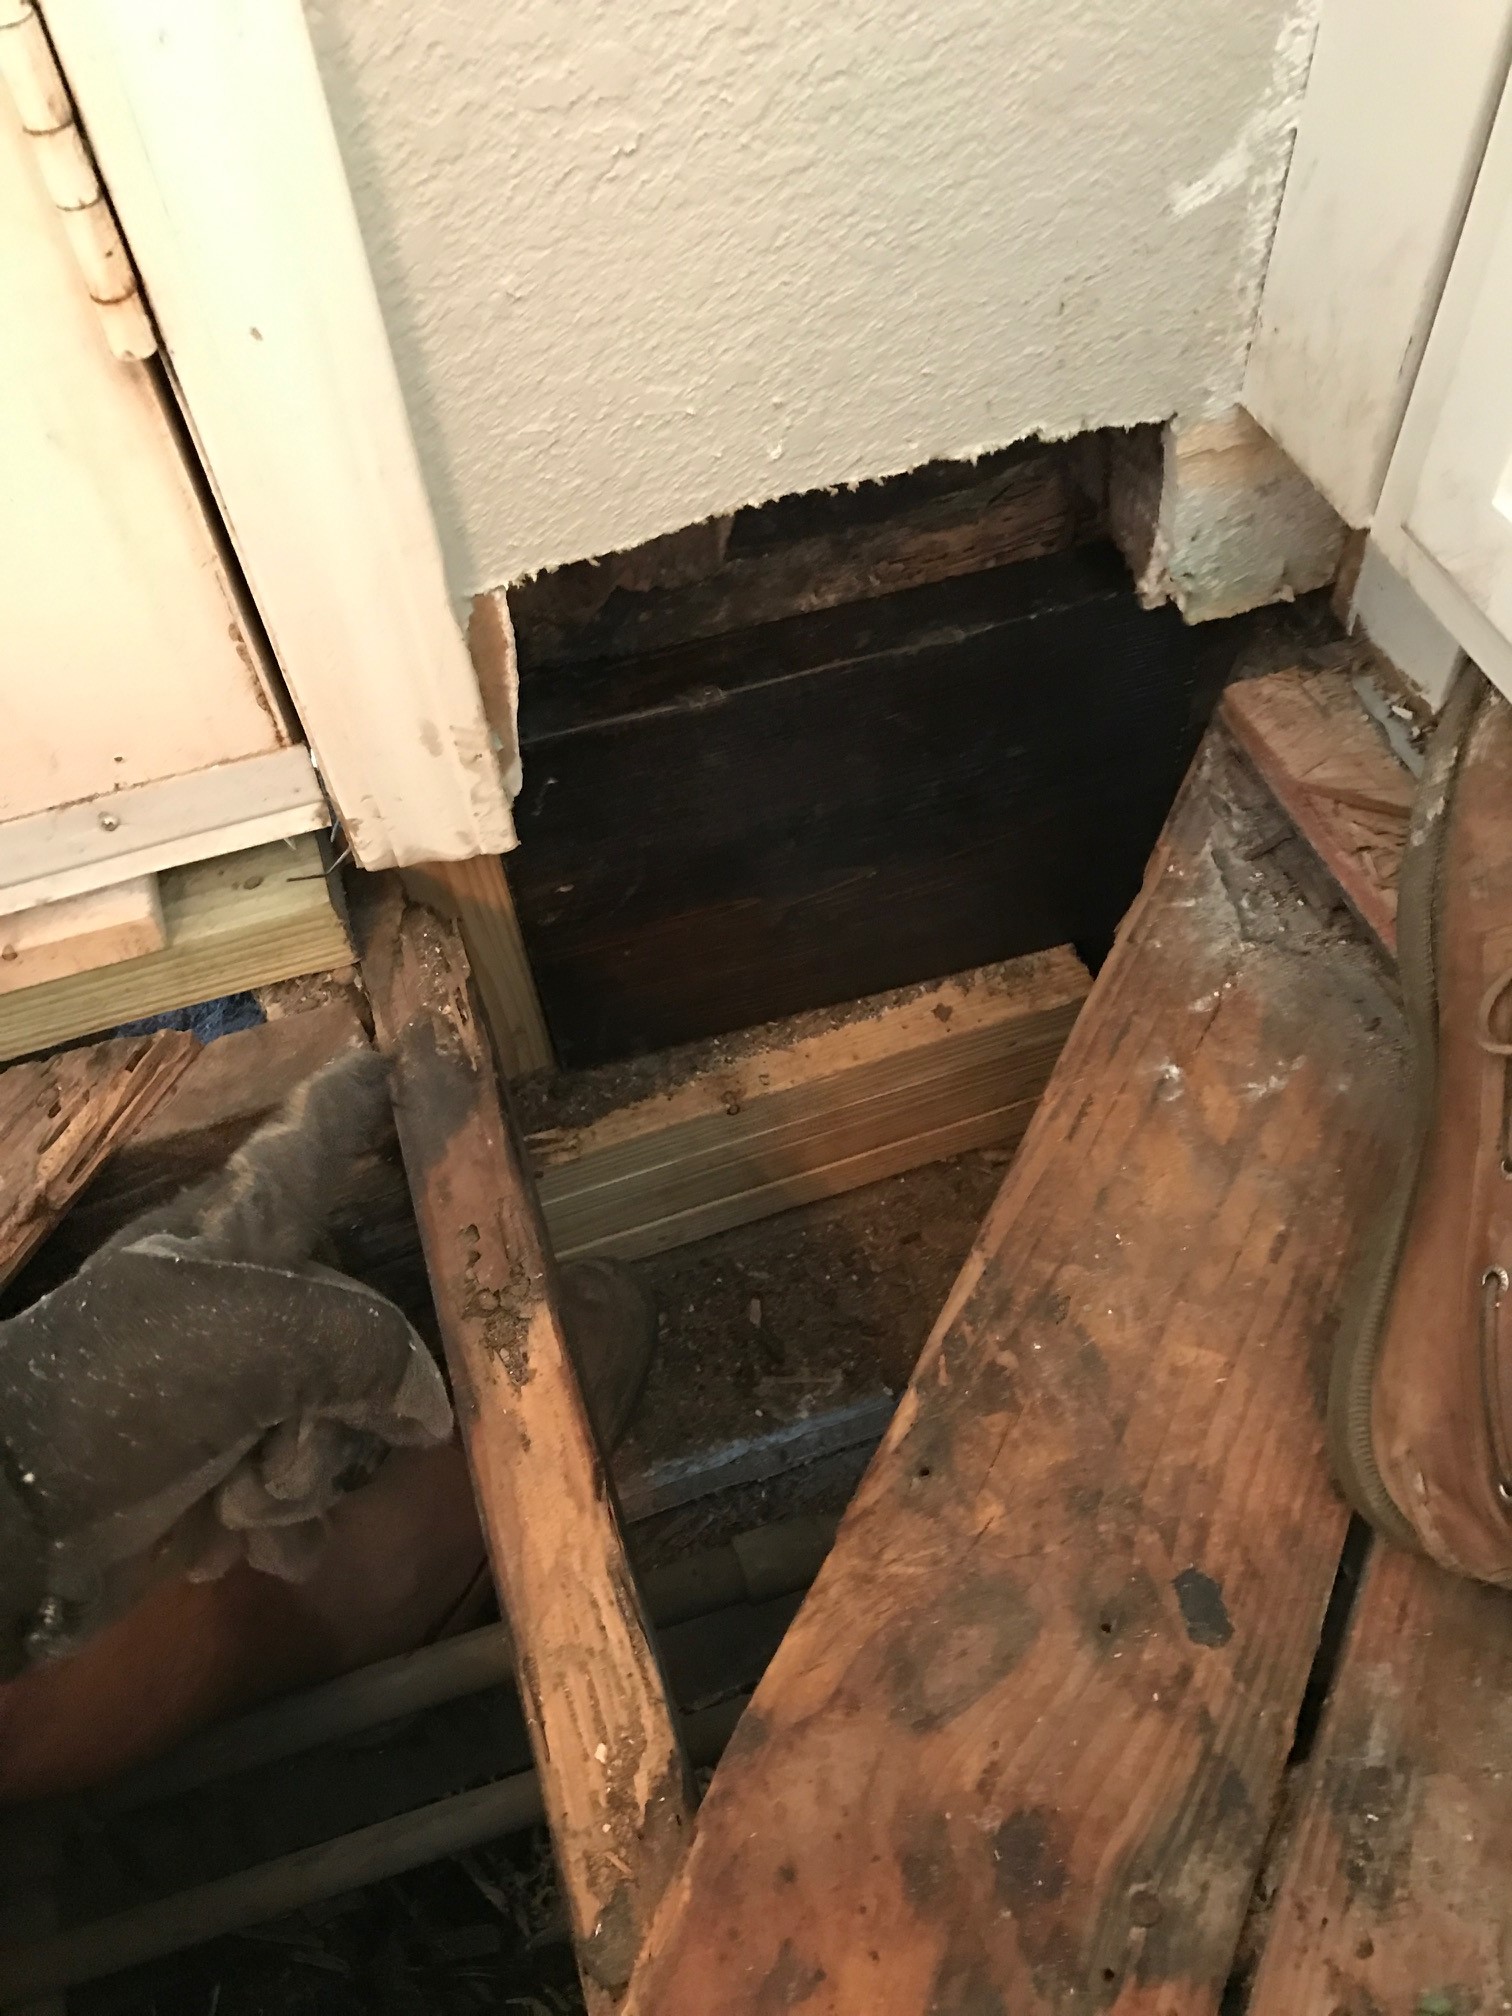
David had to crawl around in there cut-out and replace all the damaged wood. These pictures don’t do the hard work justice:
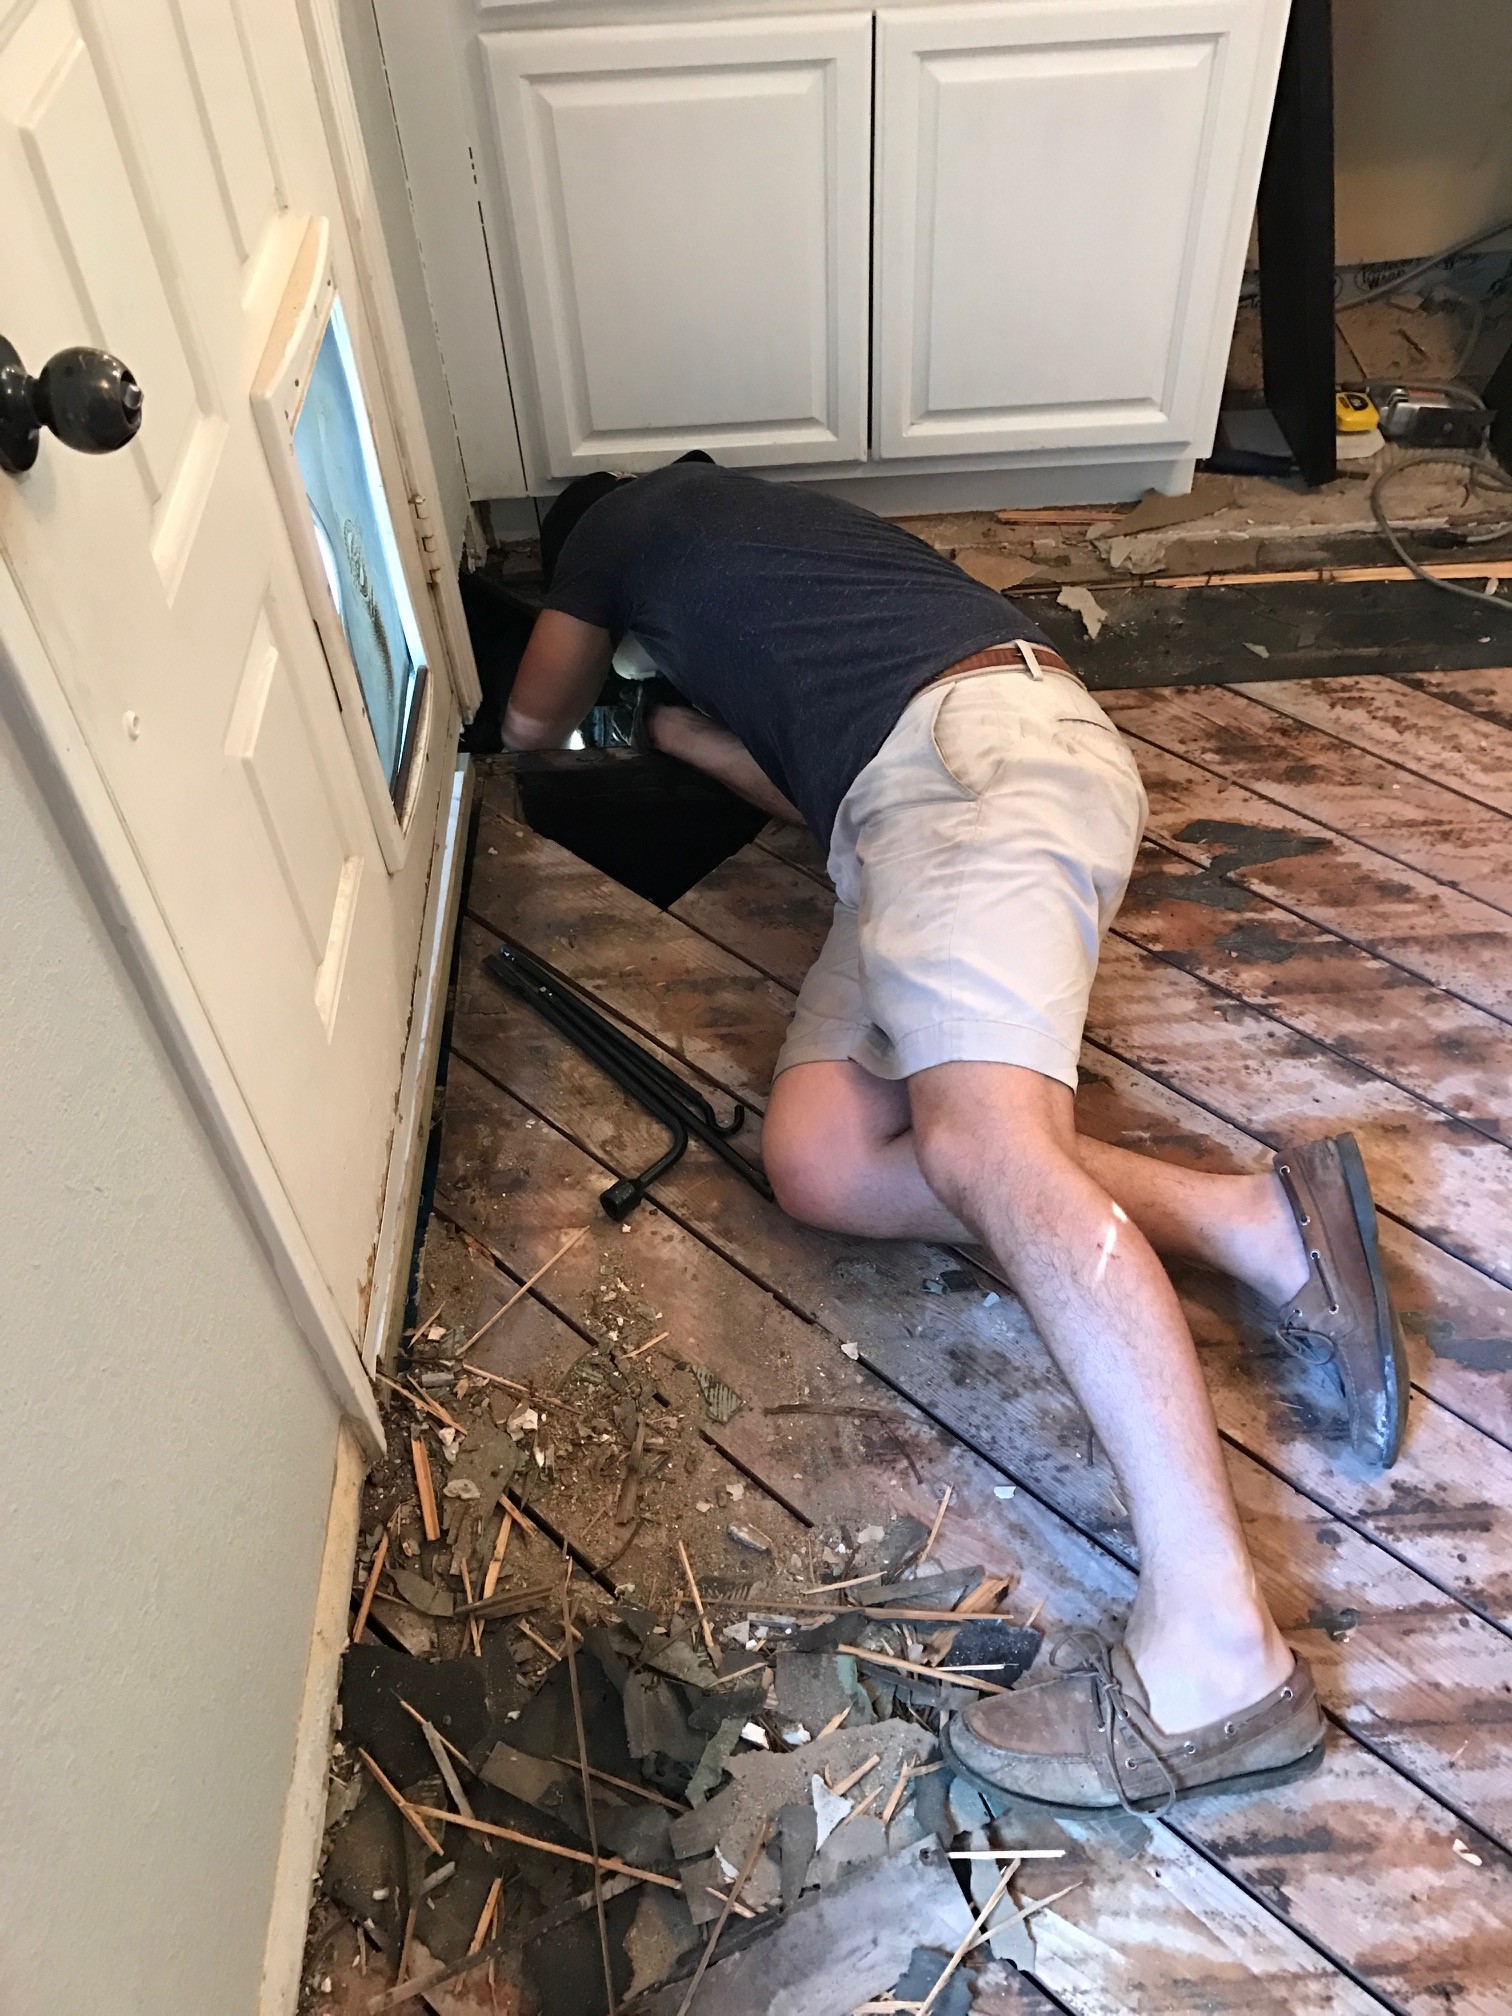
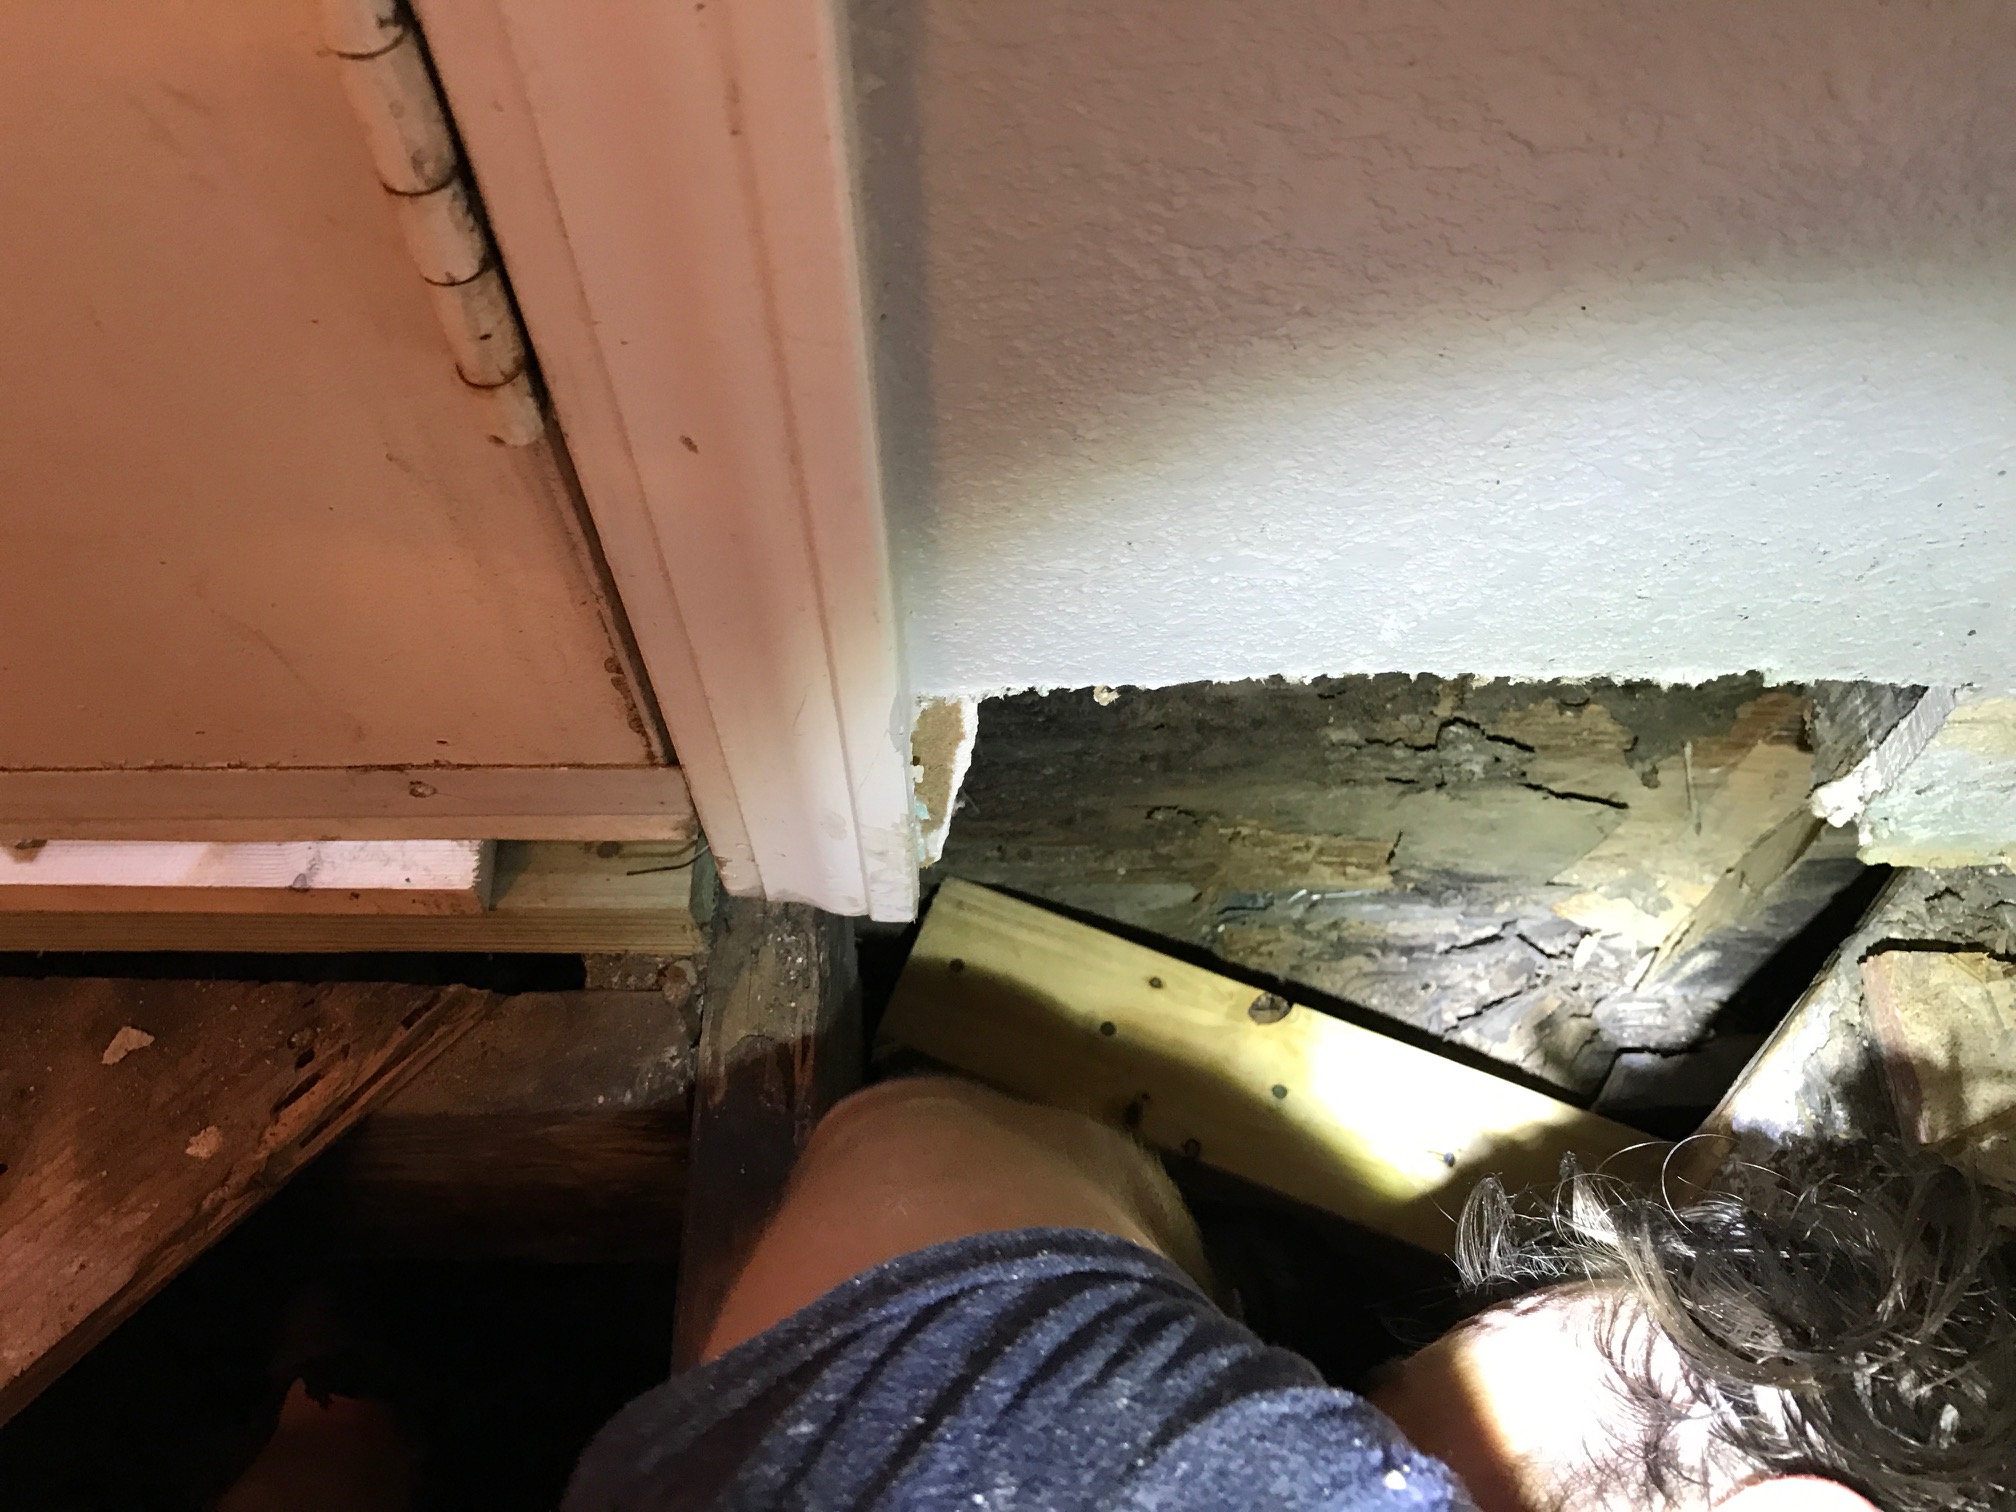
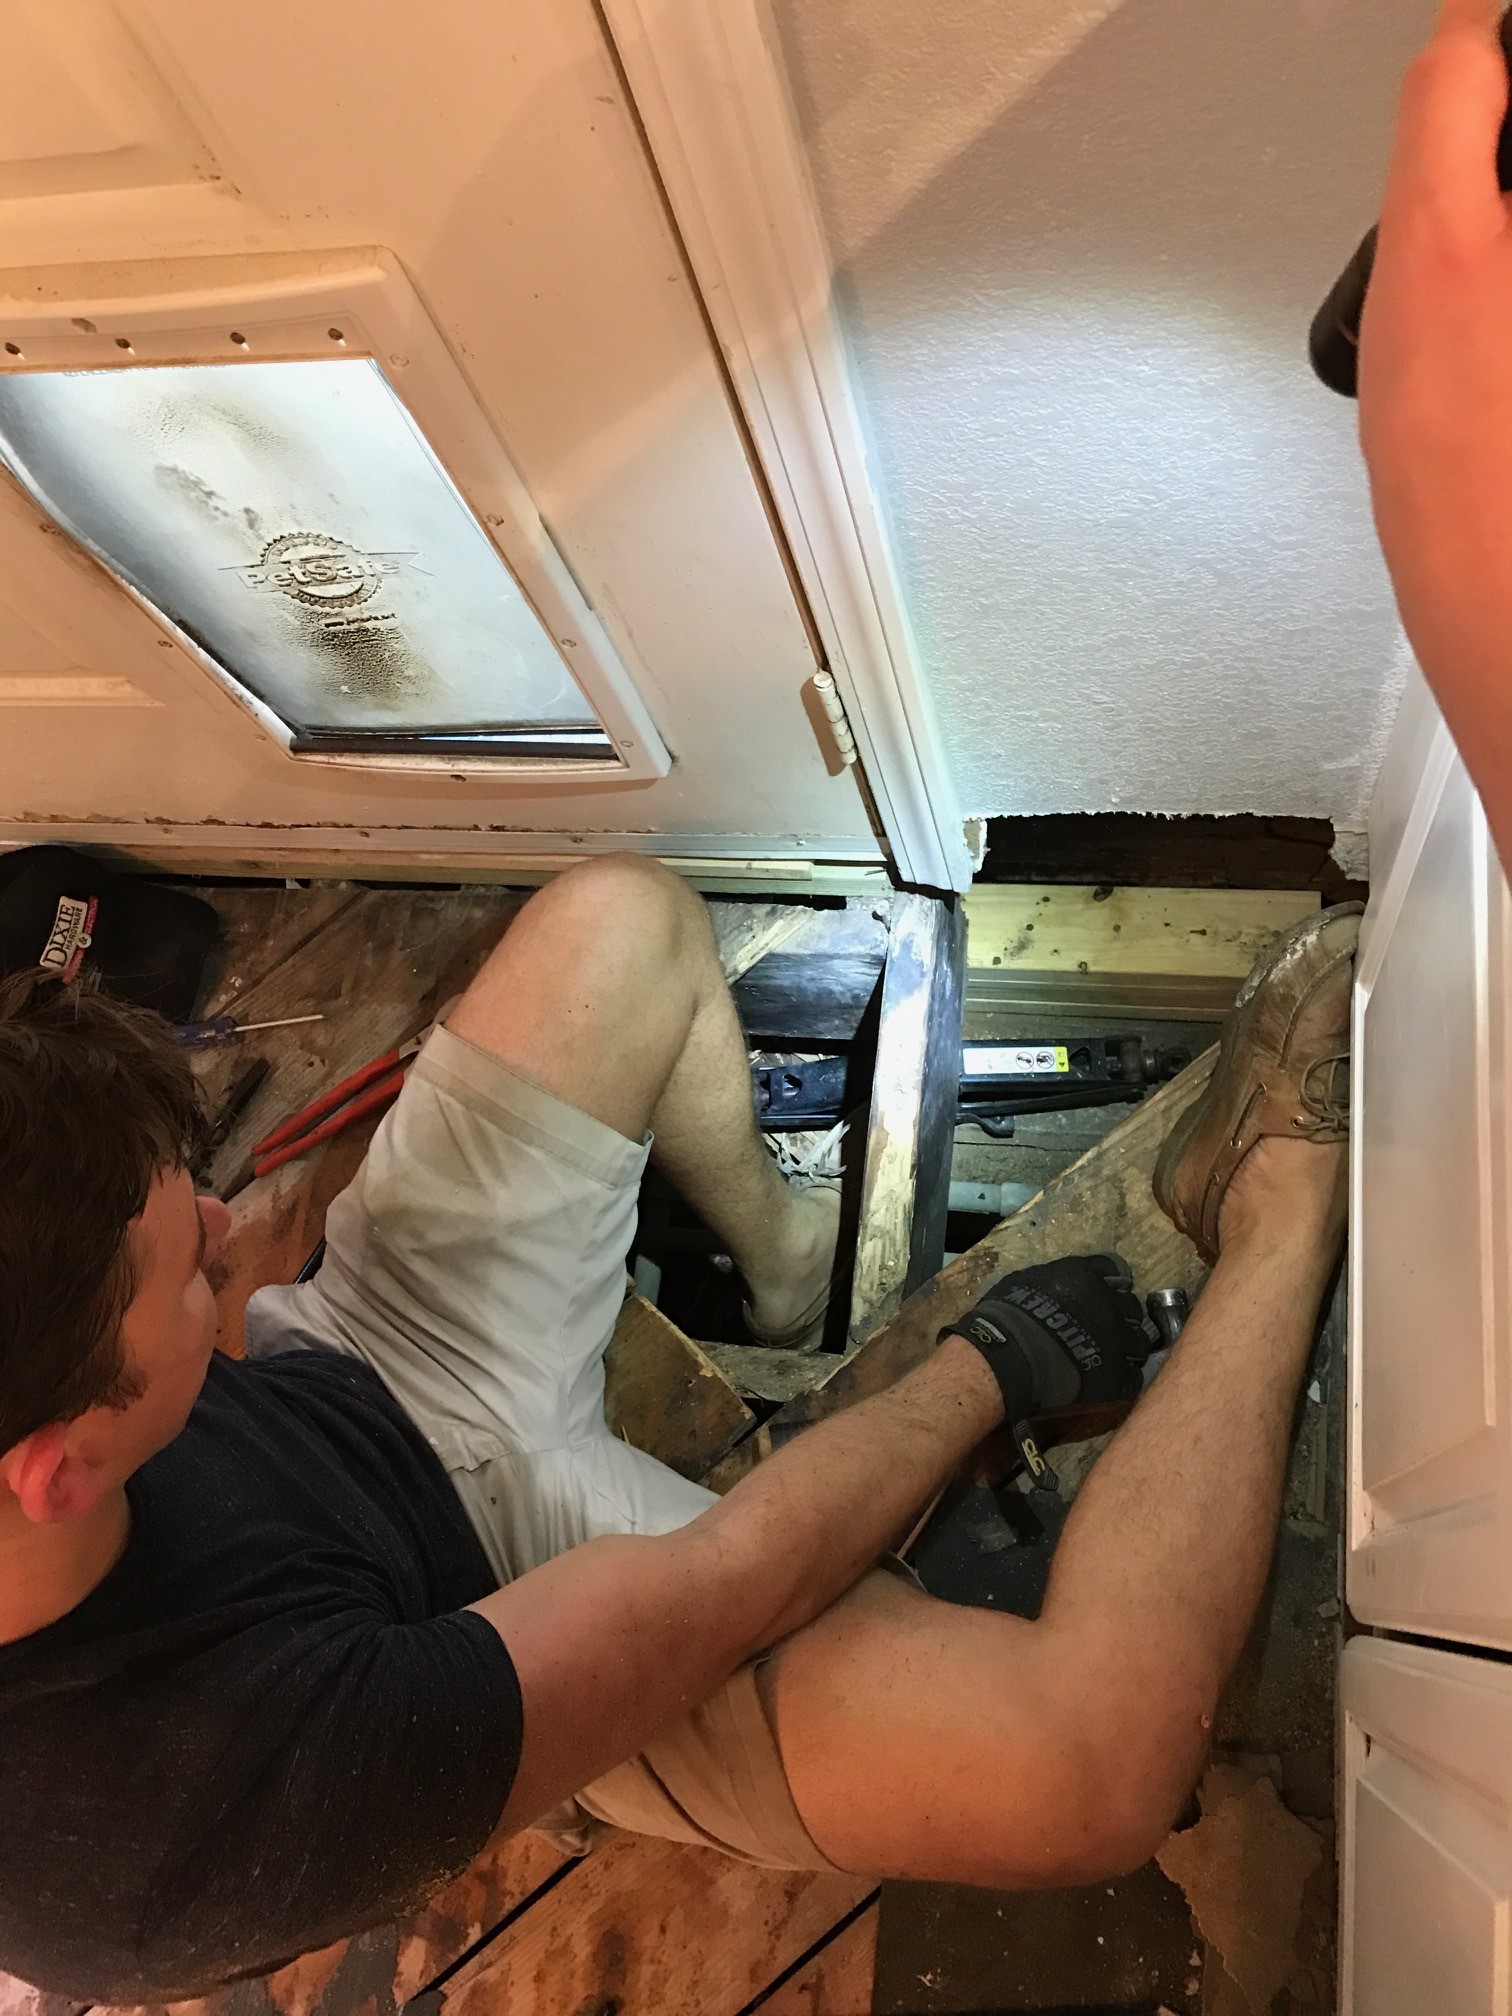
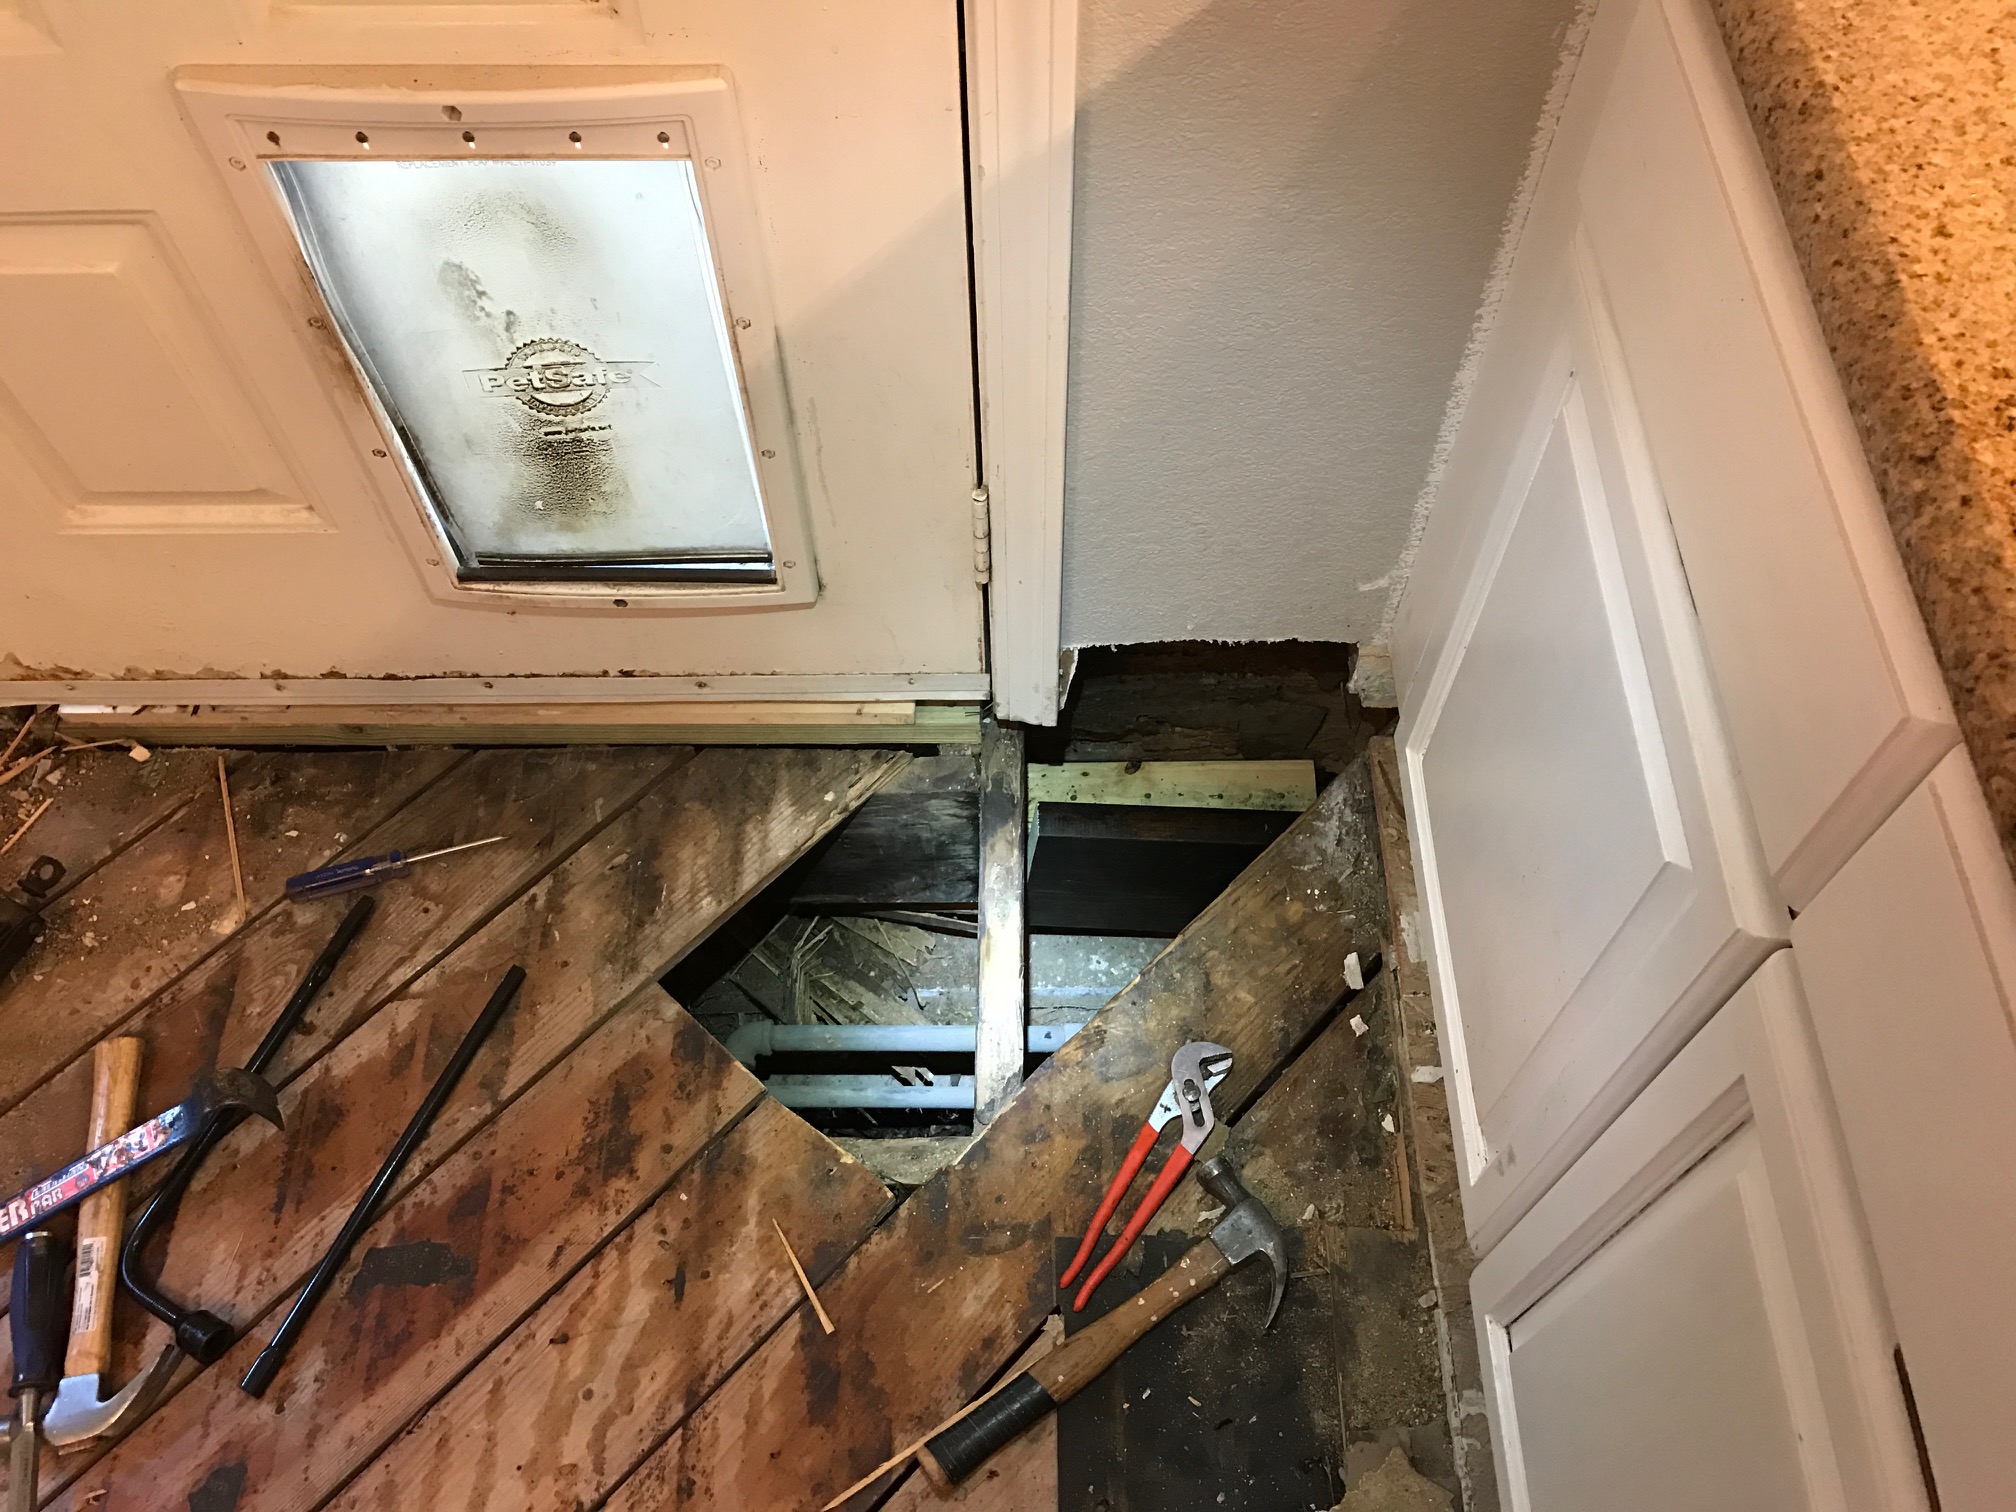
AND THEN….
We had to put the floor on hold and run to my favorite place in the whole wide world to get a new water heater. When it rains it pours. David stayed up till 2 a.m. that night installing a new snazzy unit:

And then he woke up at 5 a.m., took a hot shower, and went to work at his day job. When he returned home that night, he finished fixing the floor hole.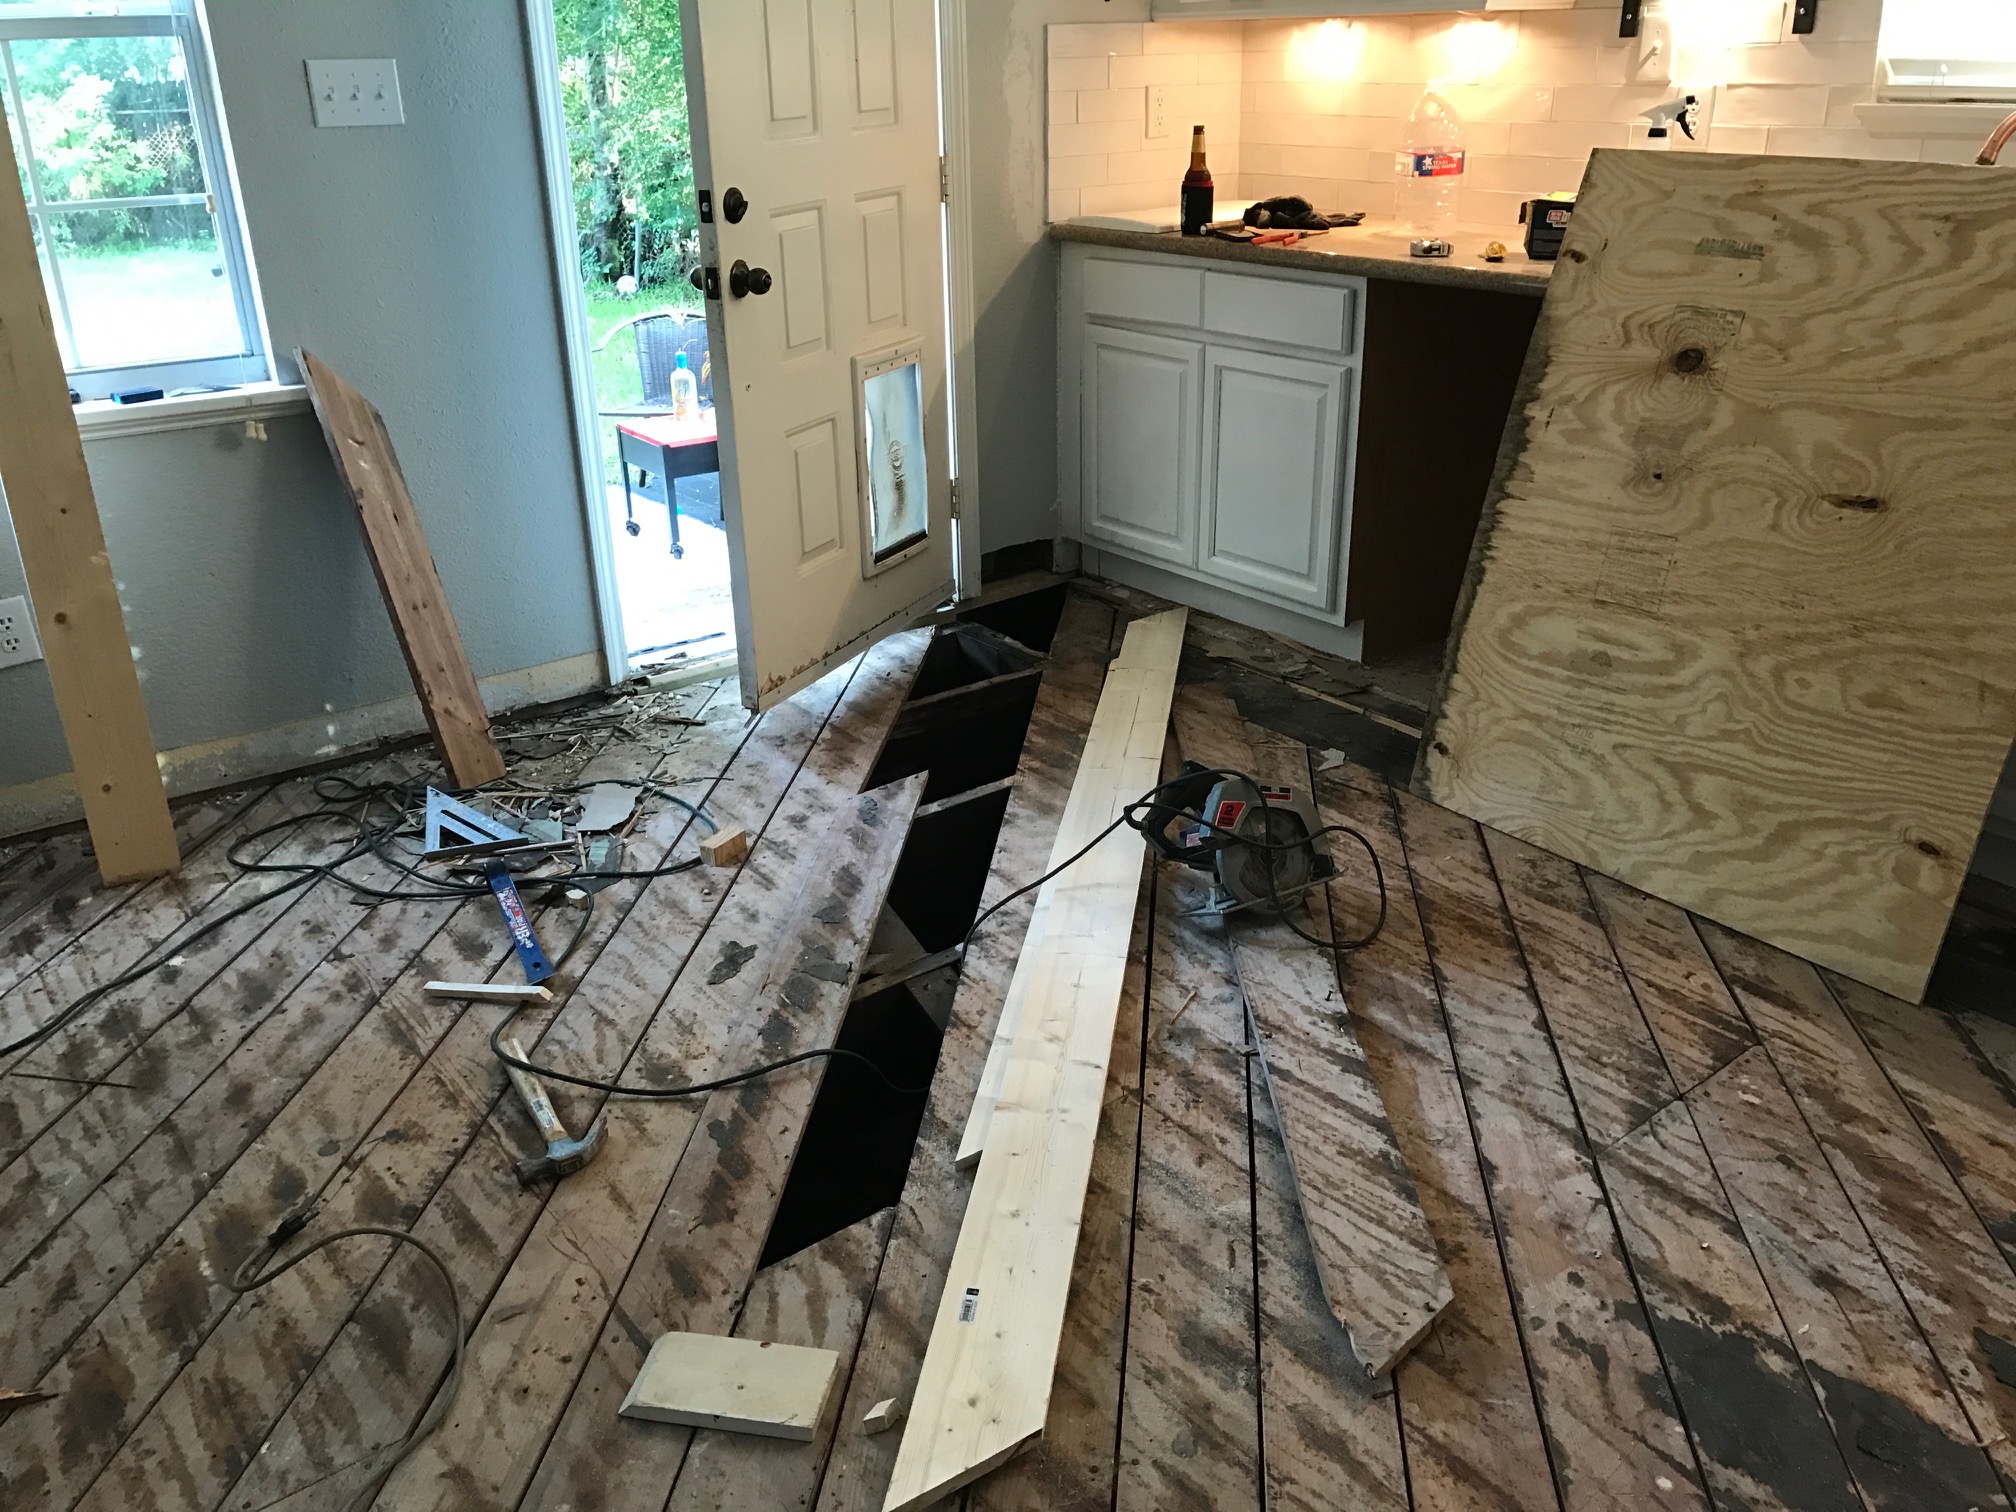
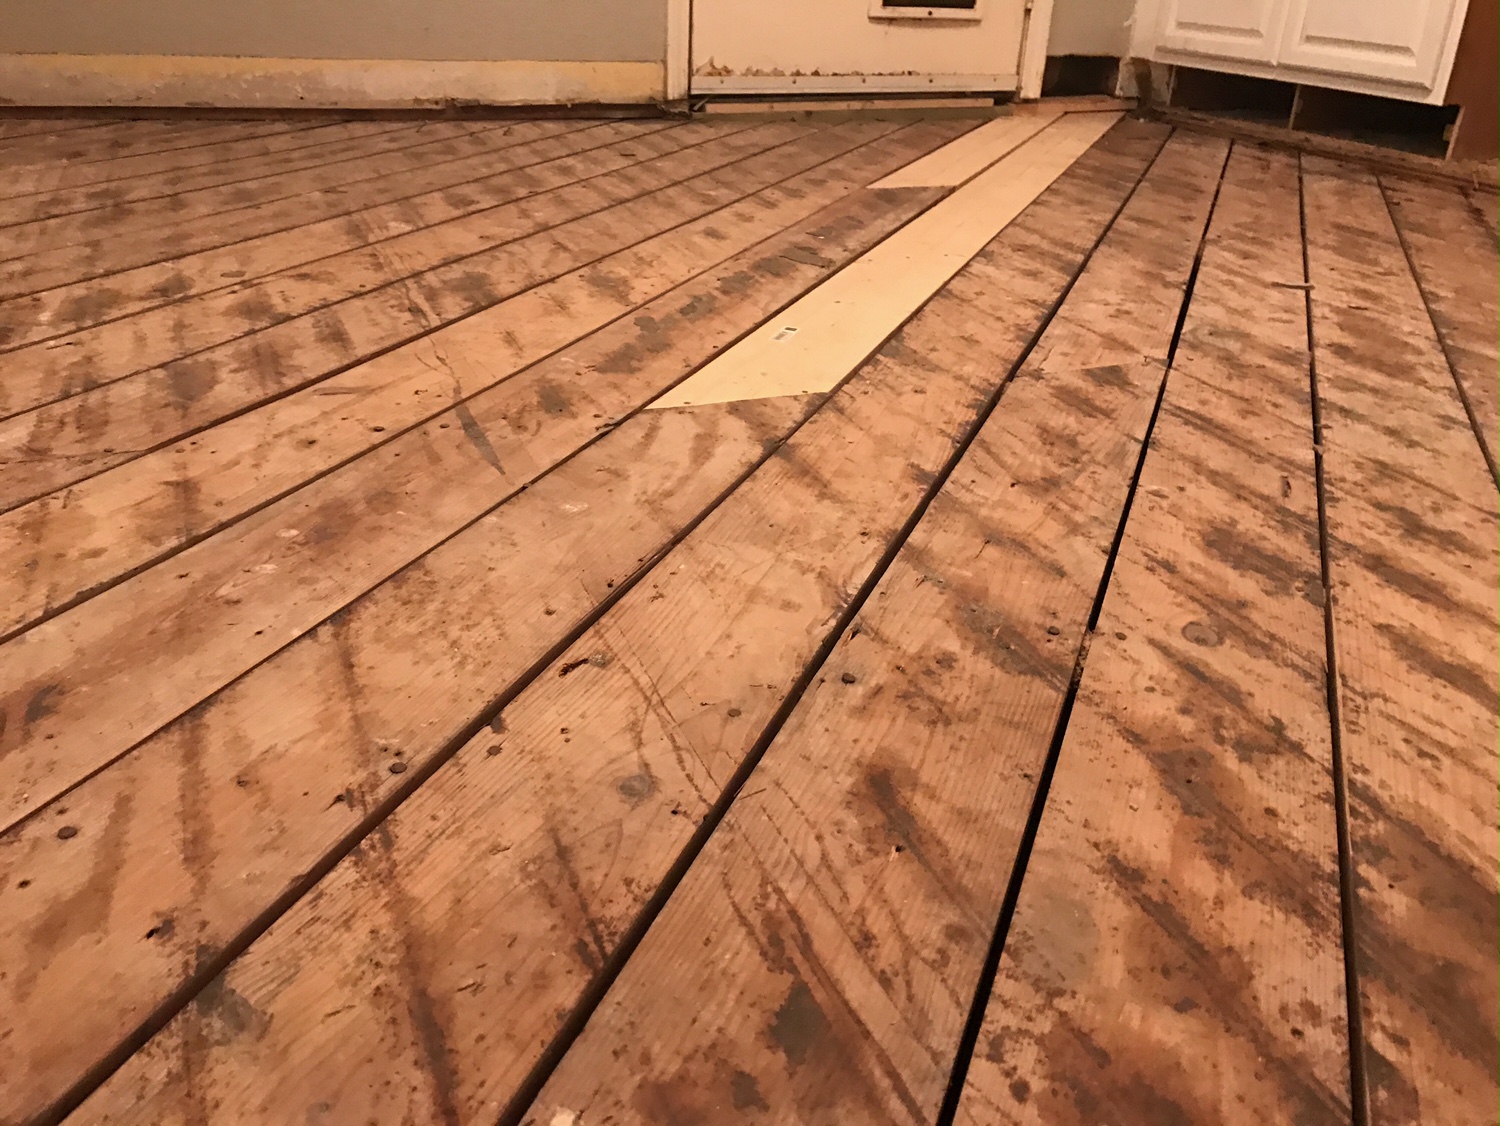
Then we stapled down some Underlayment:
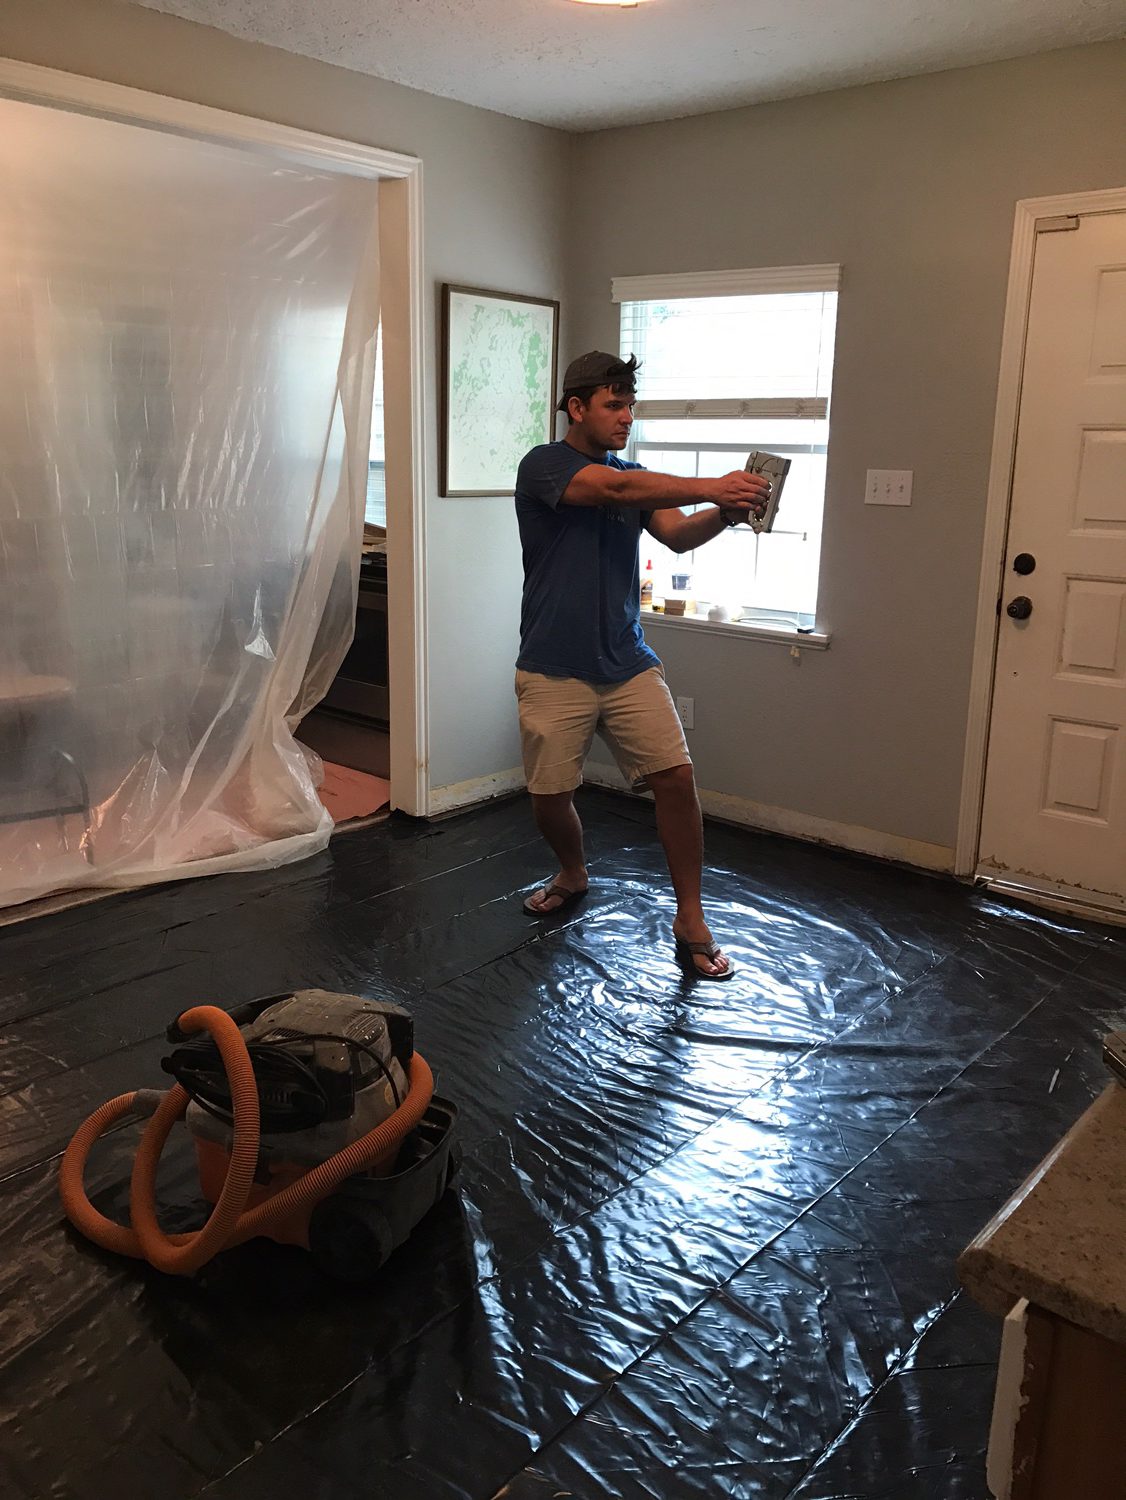
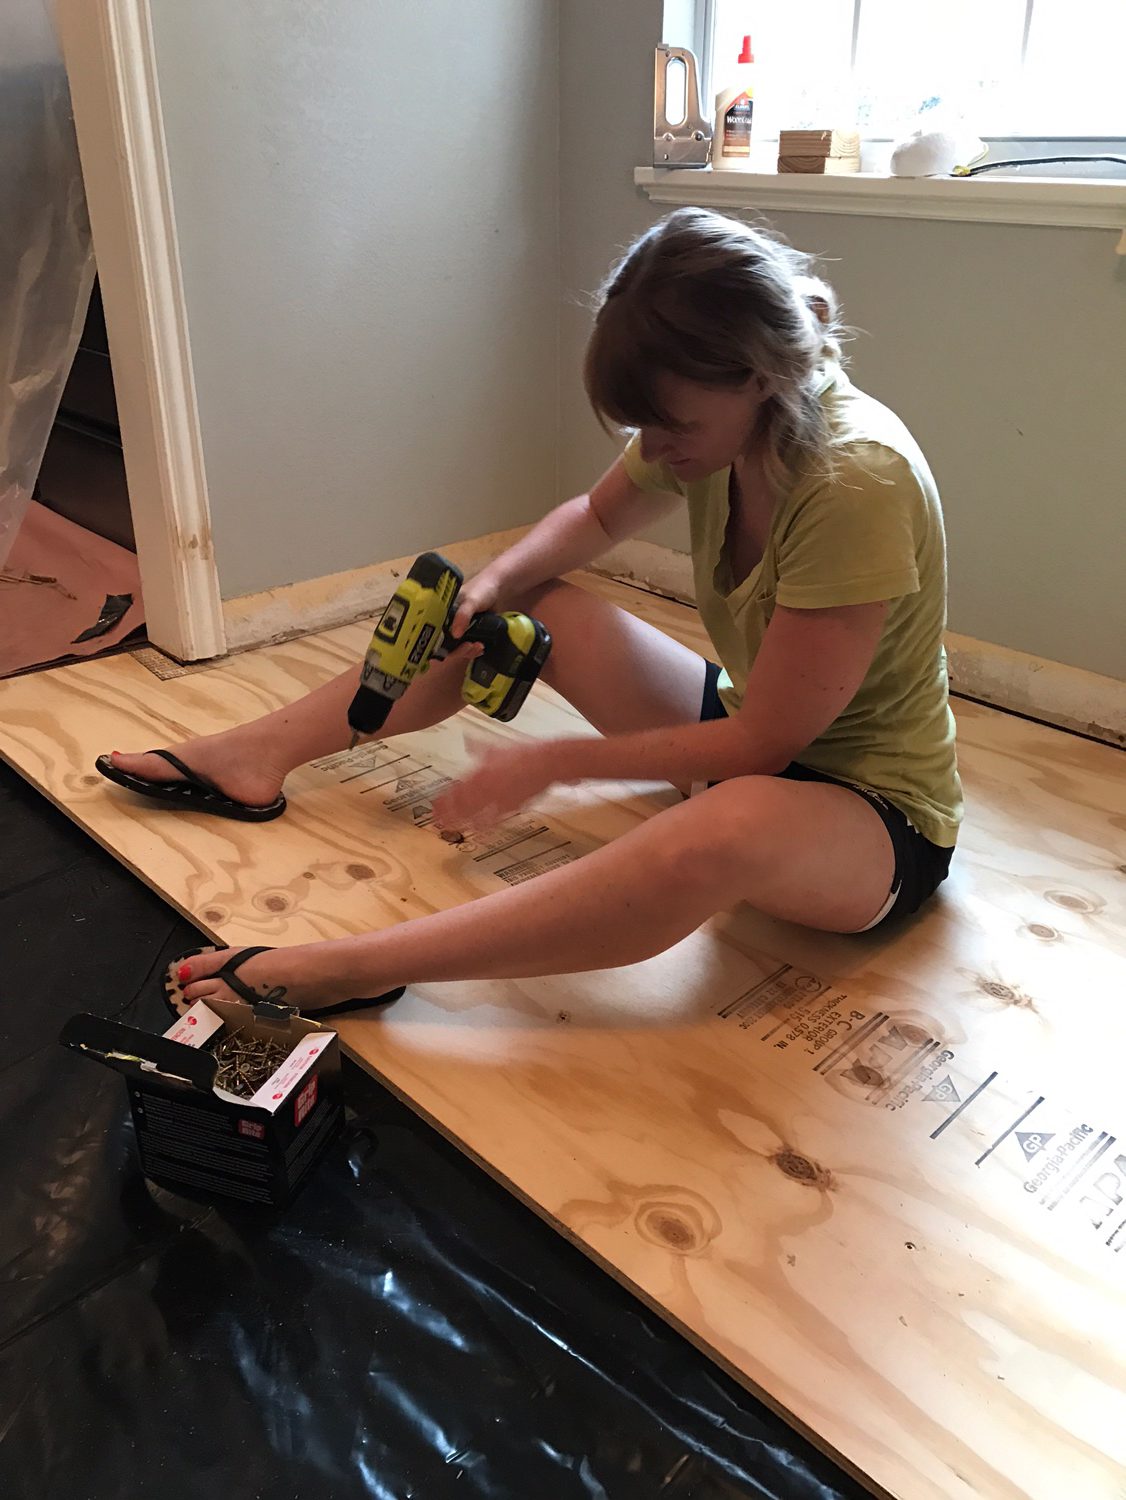
And topped it with a layer of plywood flooring. So many screws were used here.
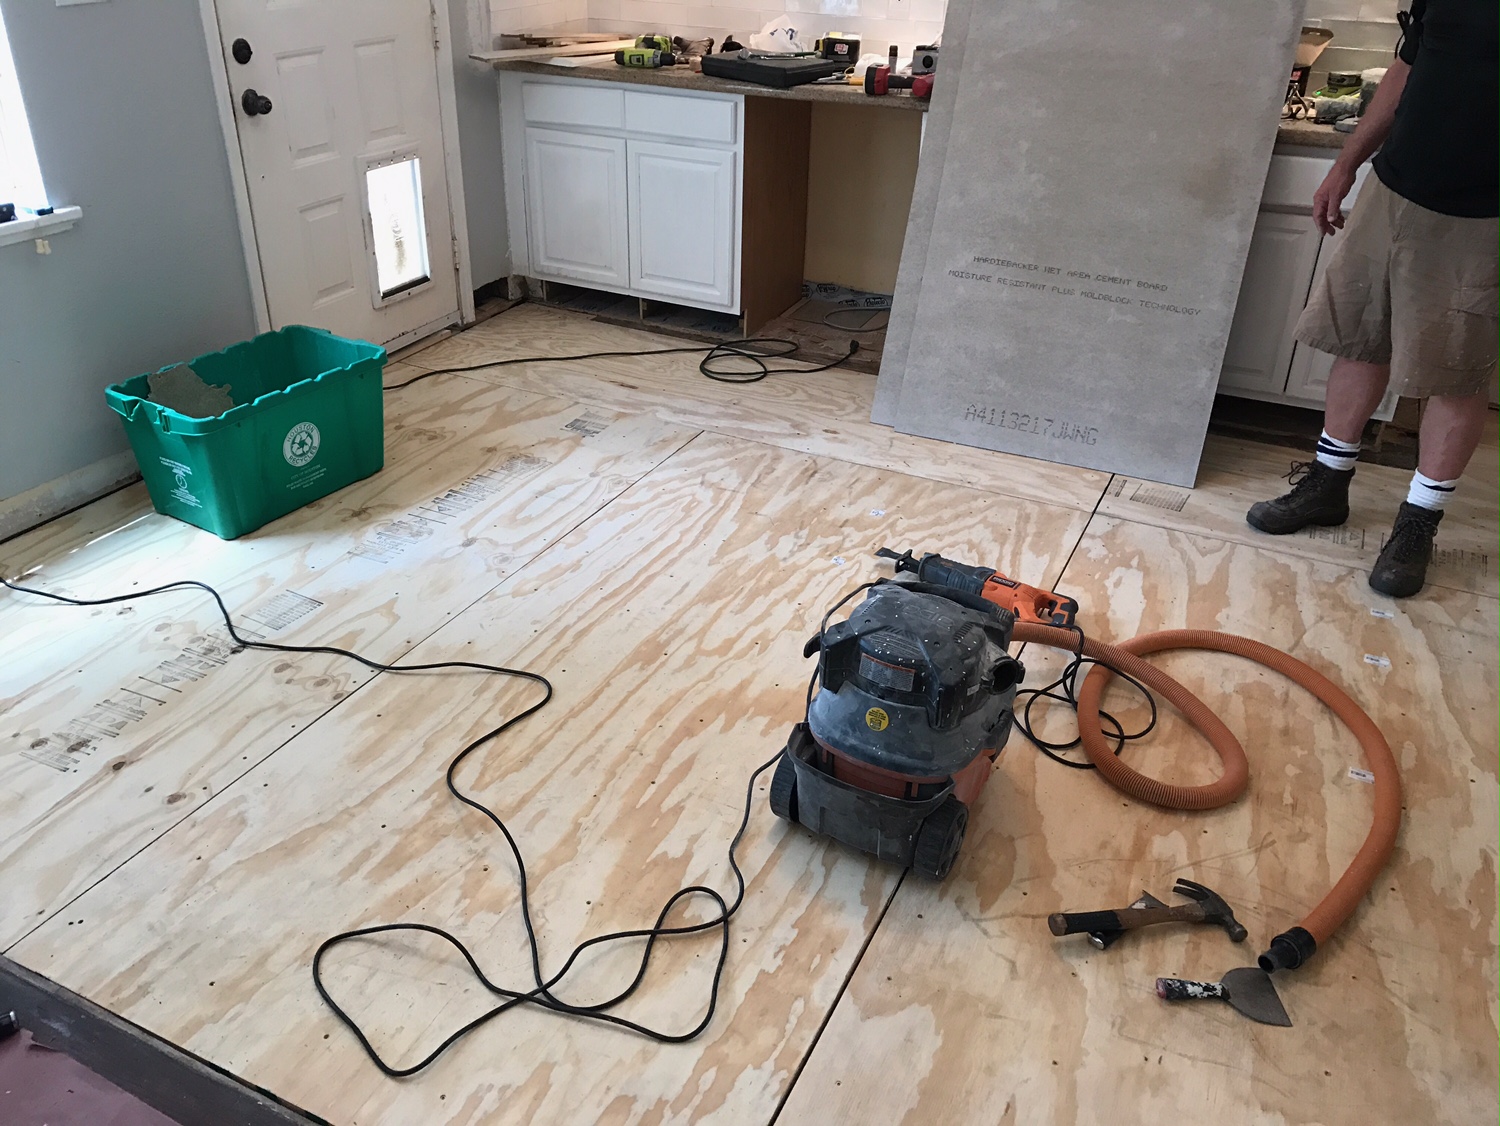
Then we put concrete backerboard on top of the plywood. We called in reinforcements for this step. Que the handy uncle and trusty co-worker (not pictured):
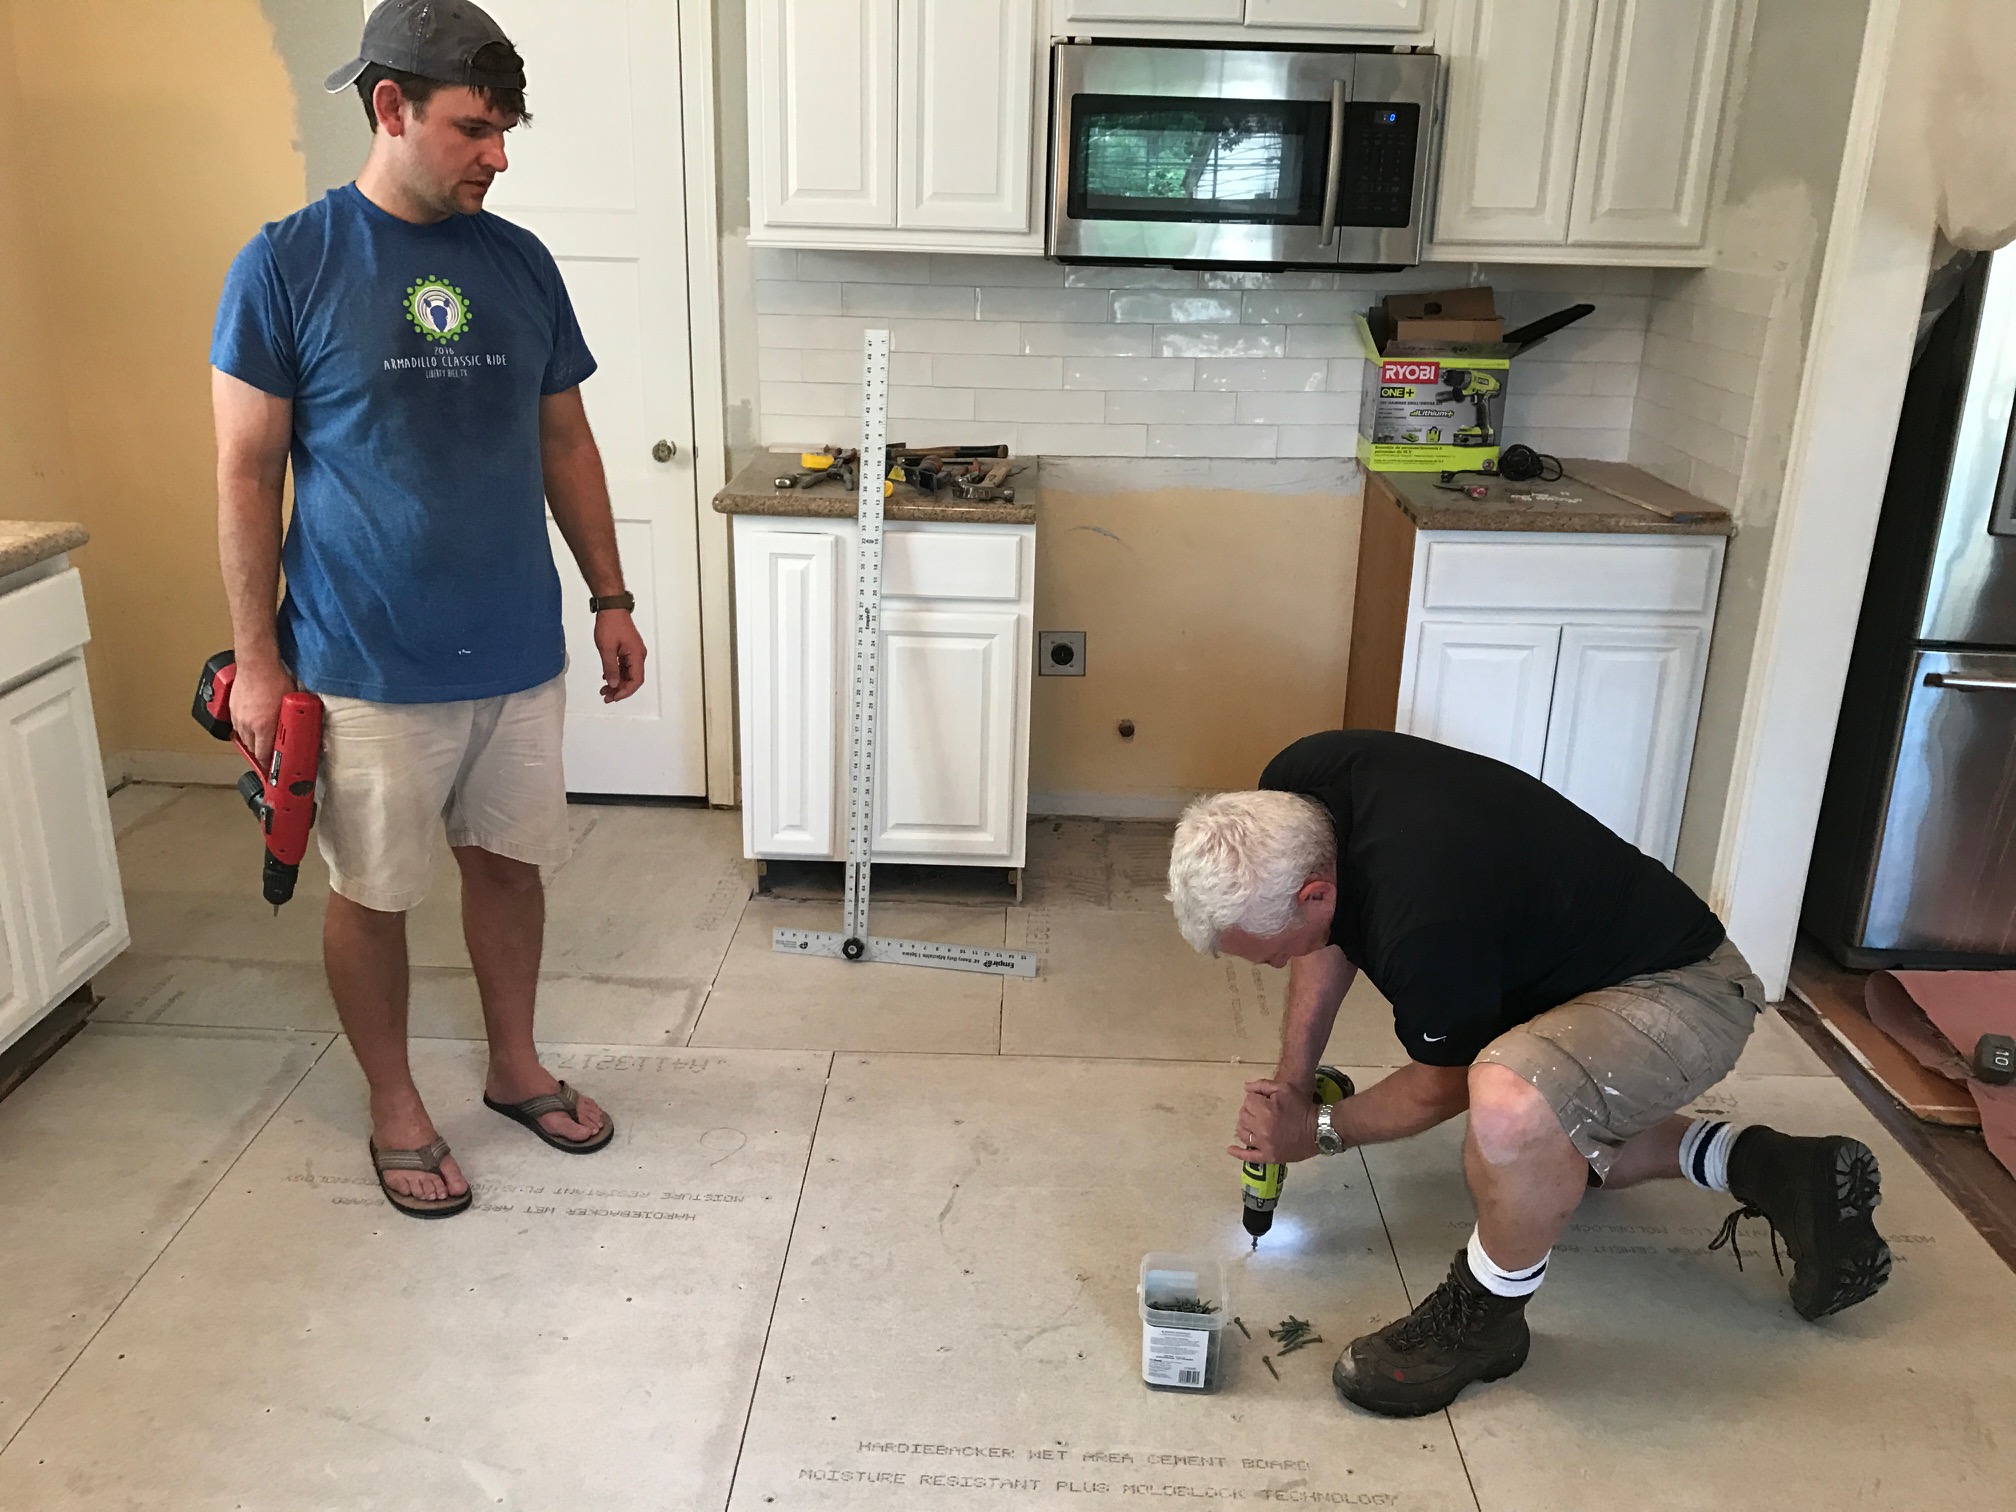
A ZILLION screws and miles of seam tape later- we have a solid floor to lay tile on! Praise hands emoji! 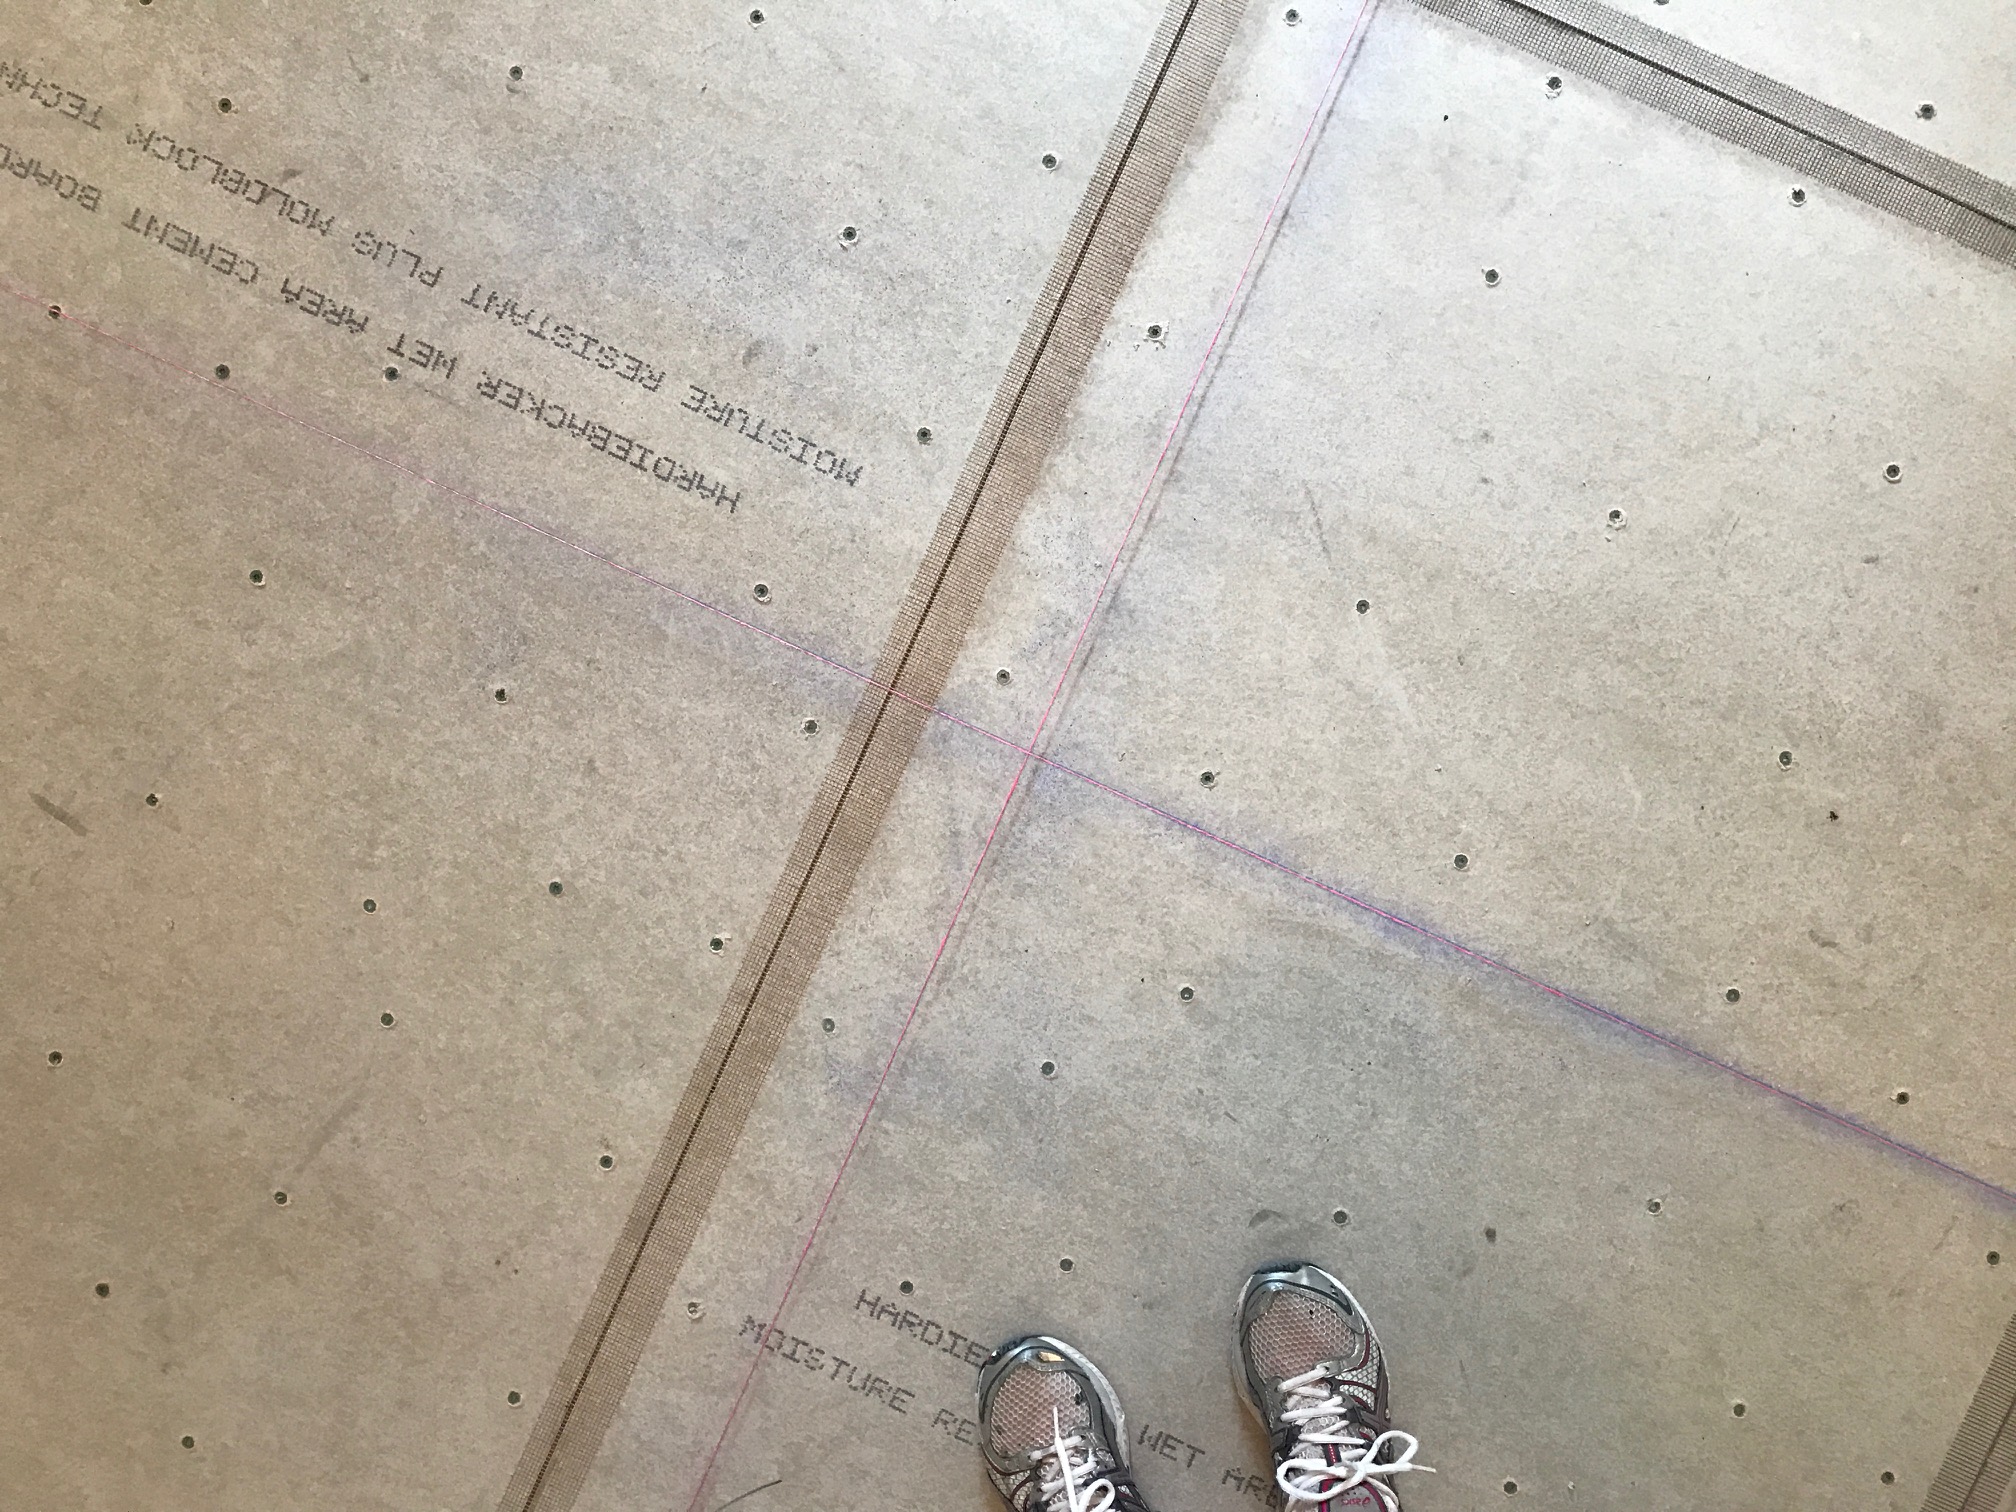
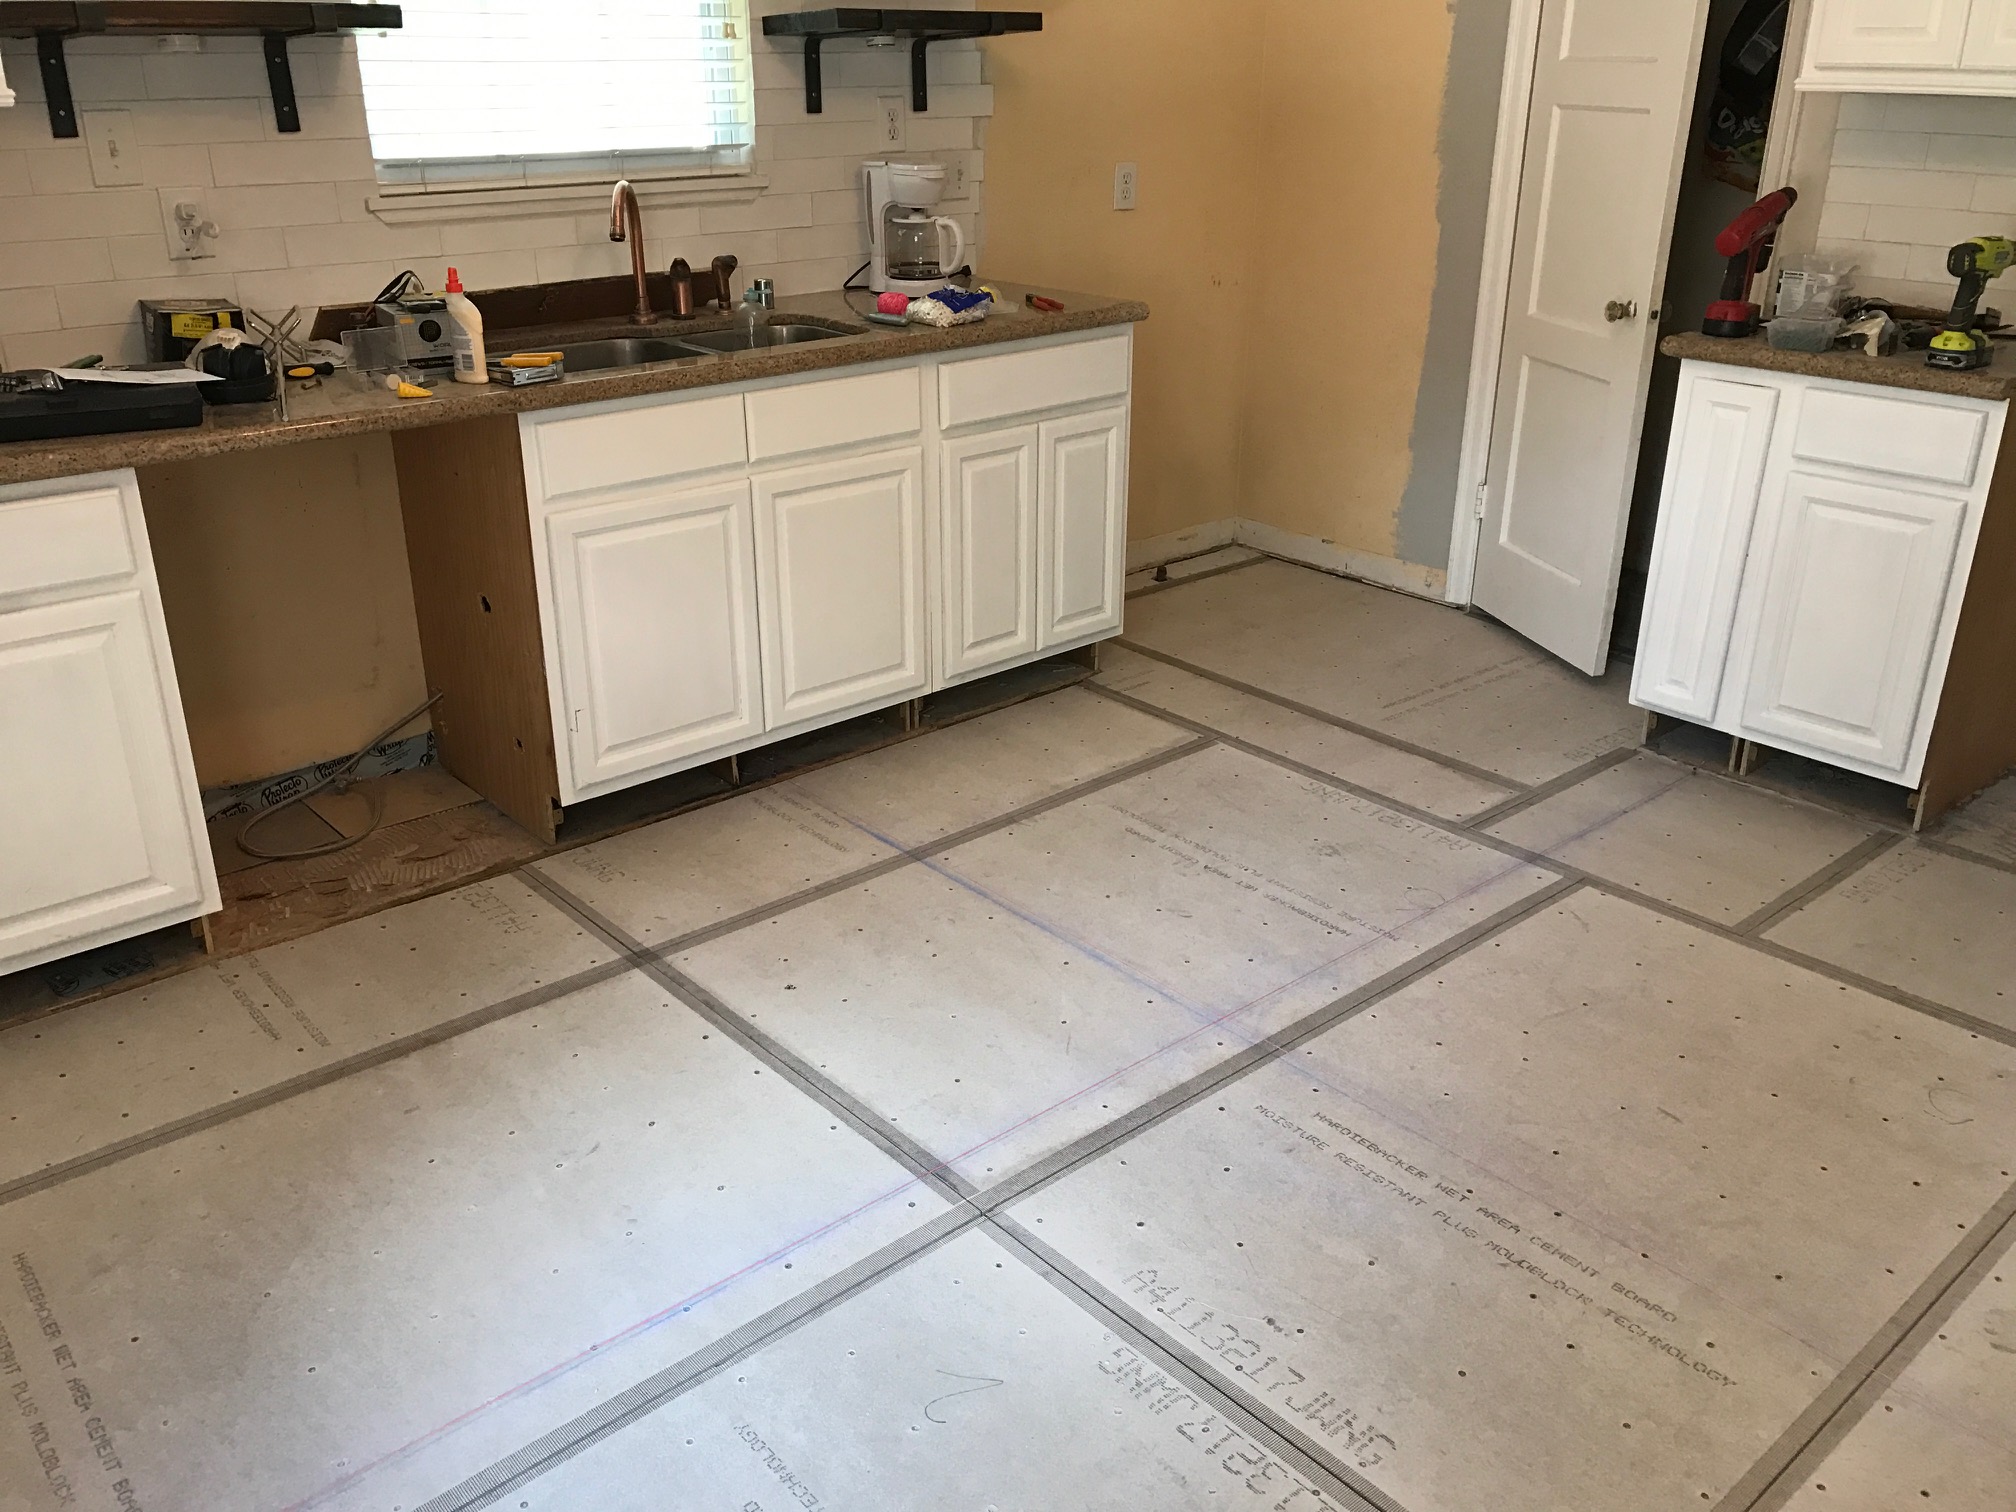
After we marked the center of the room, we got to the really fun stuff- laying tile.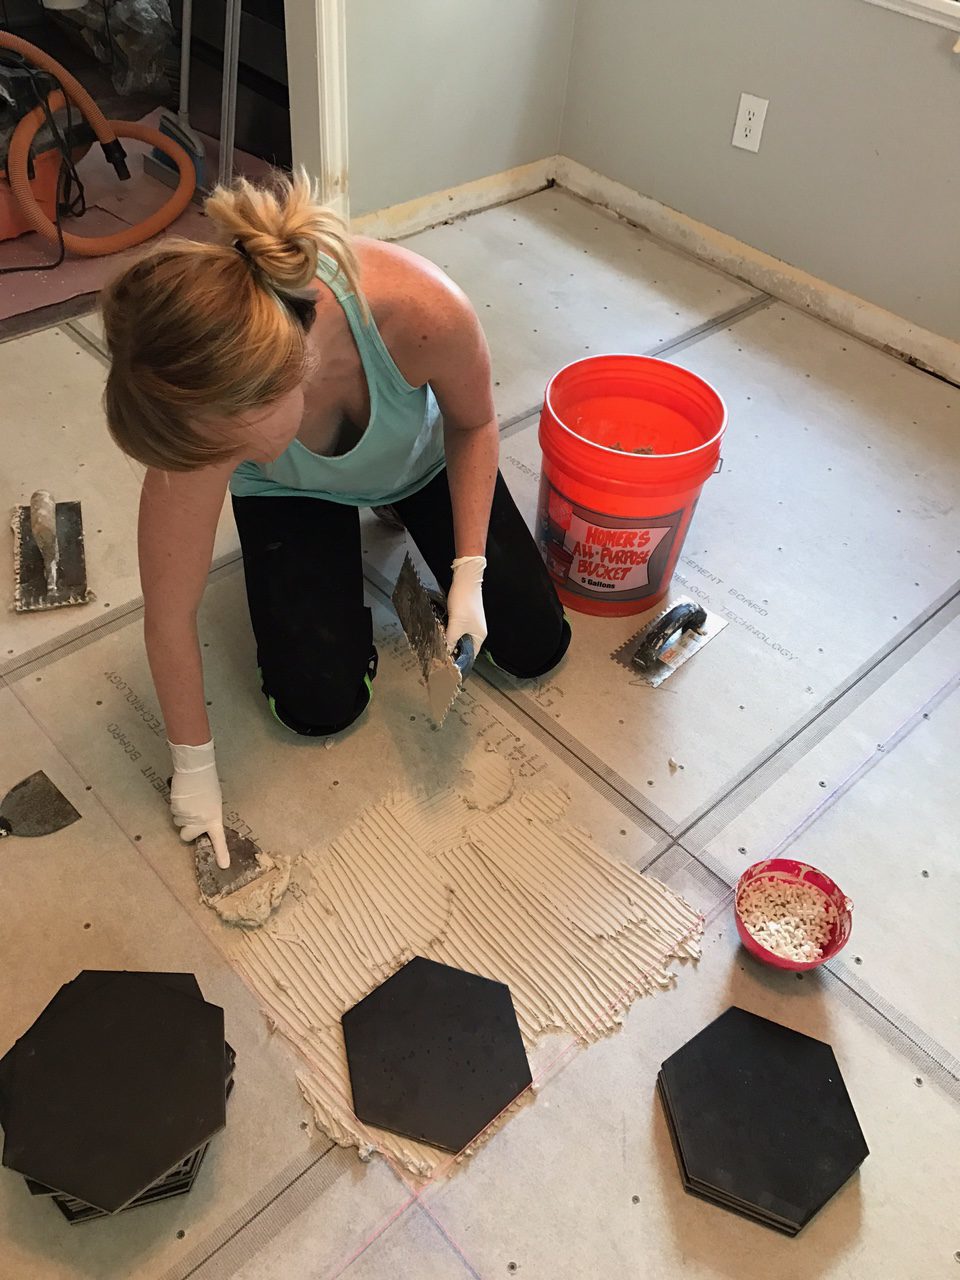
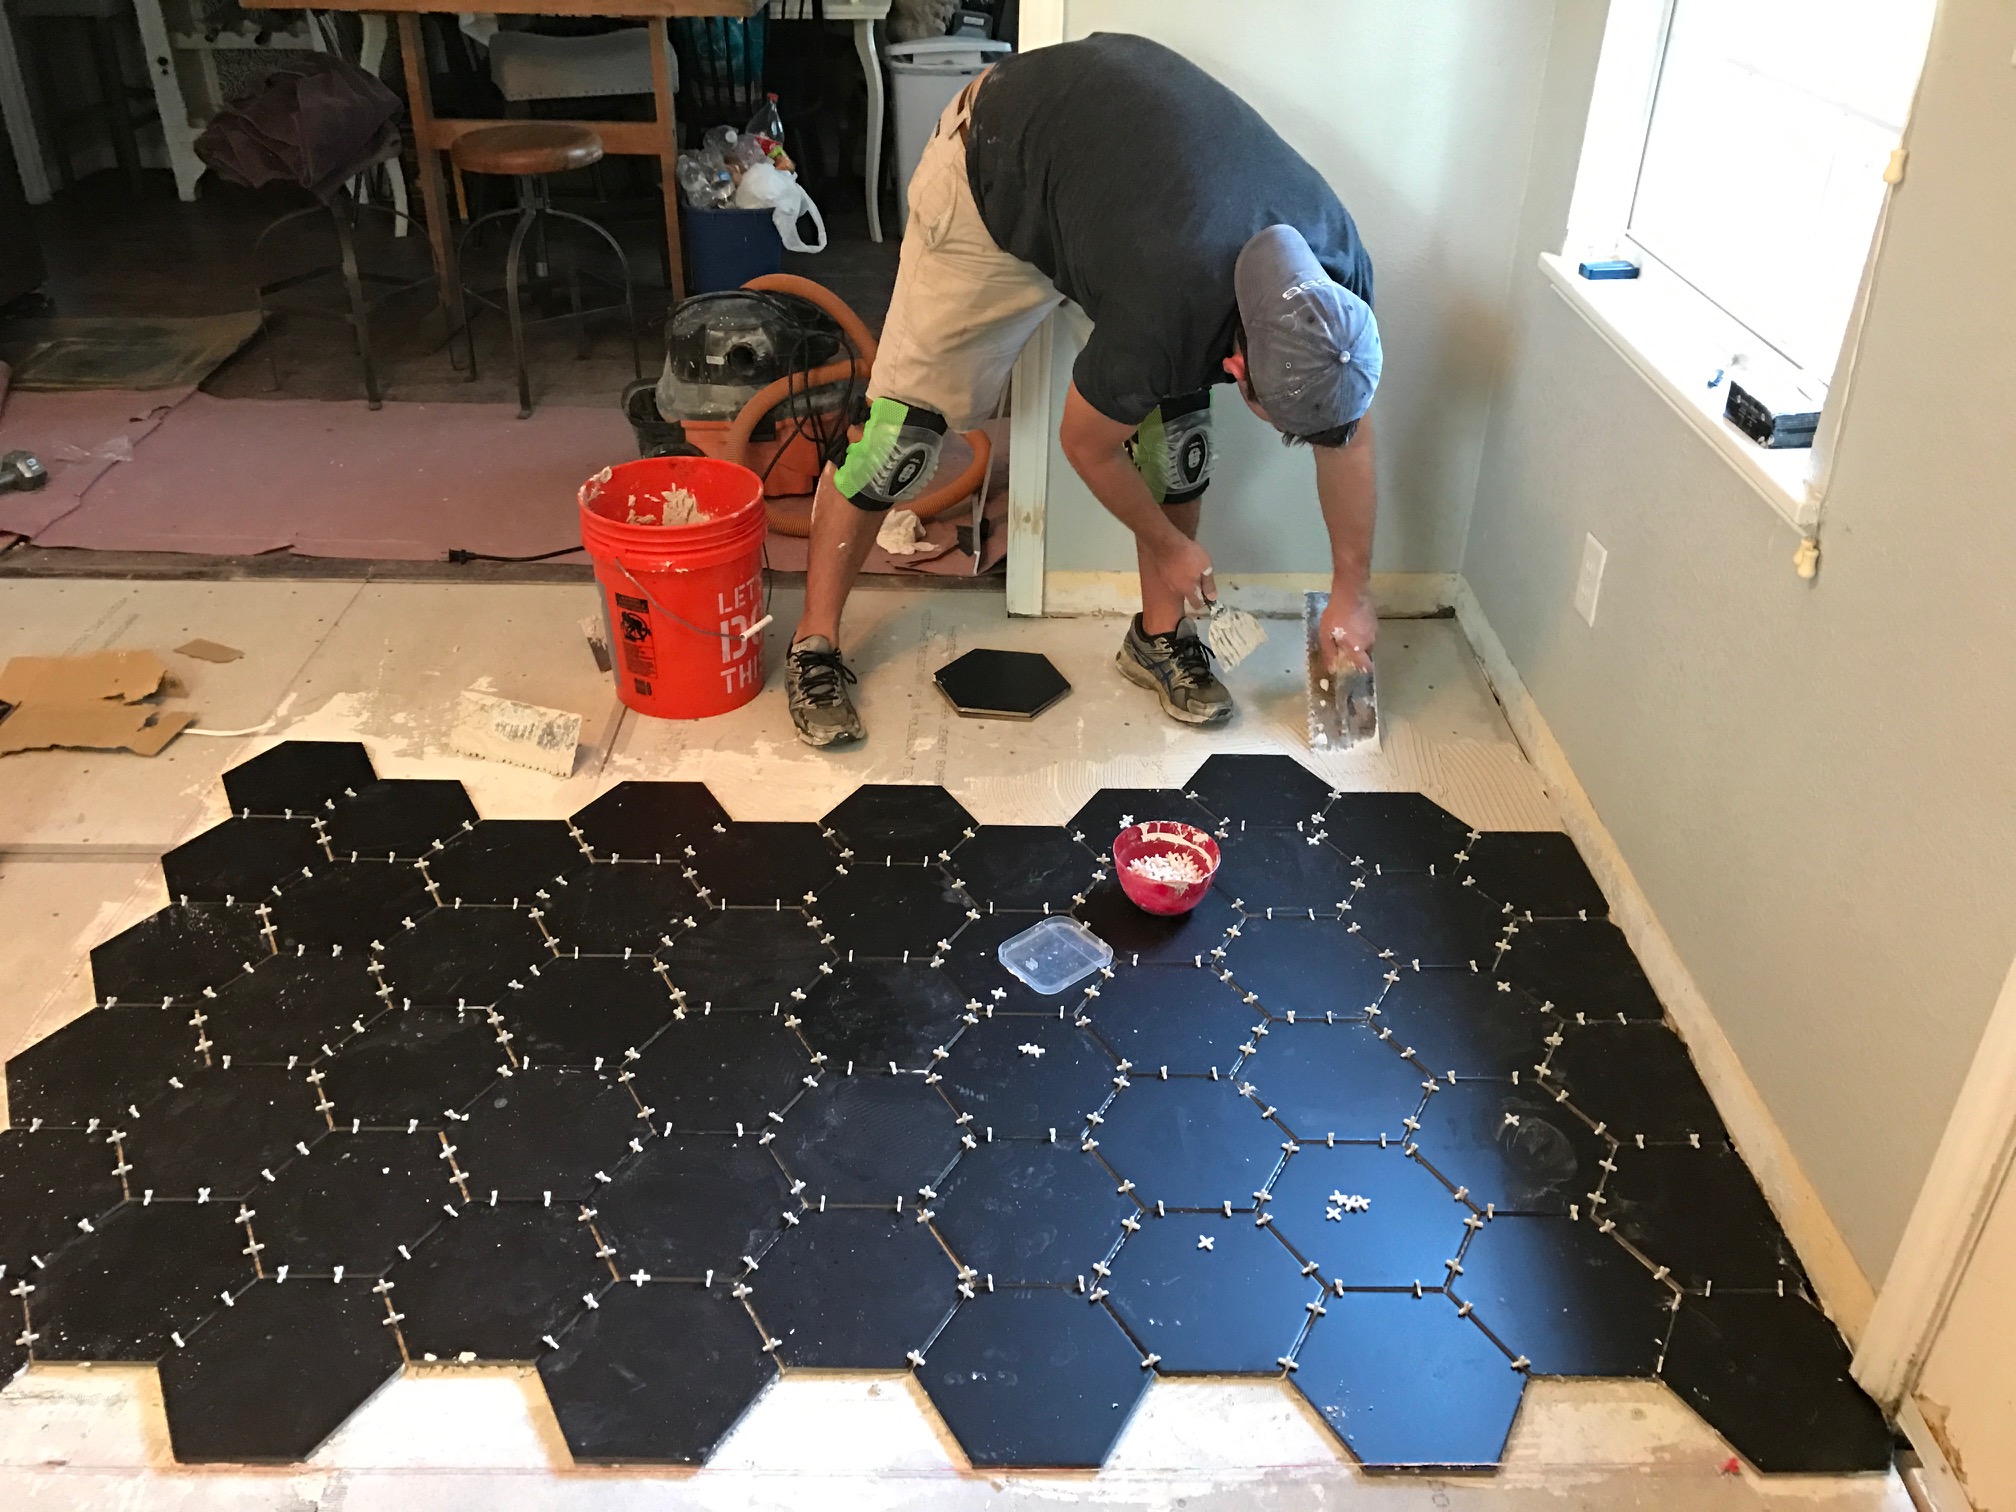
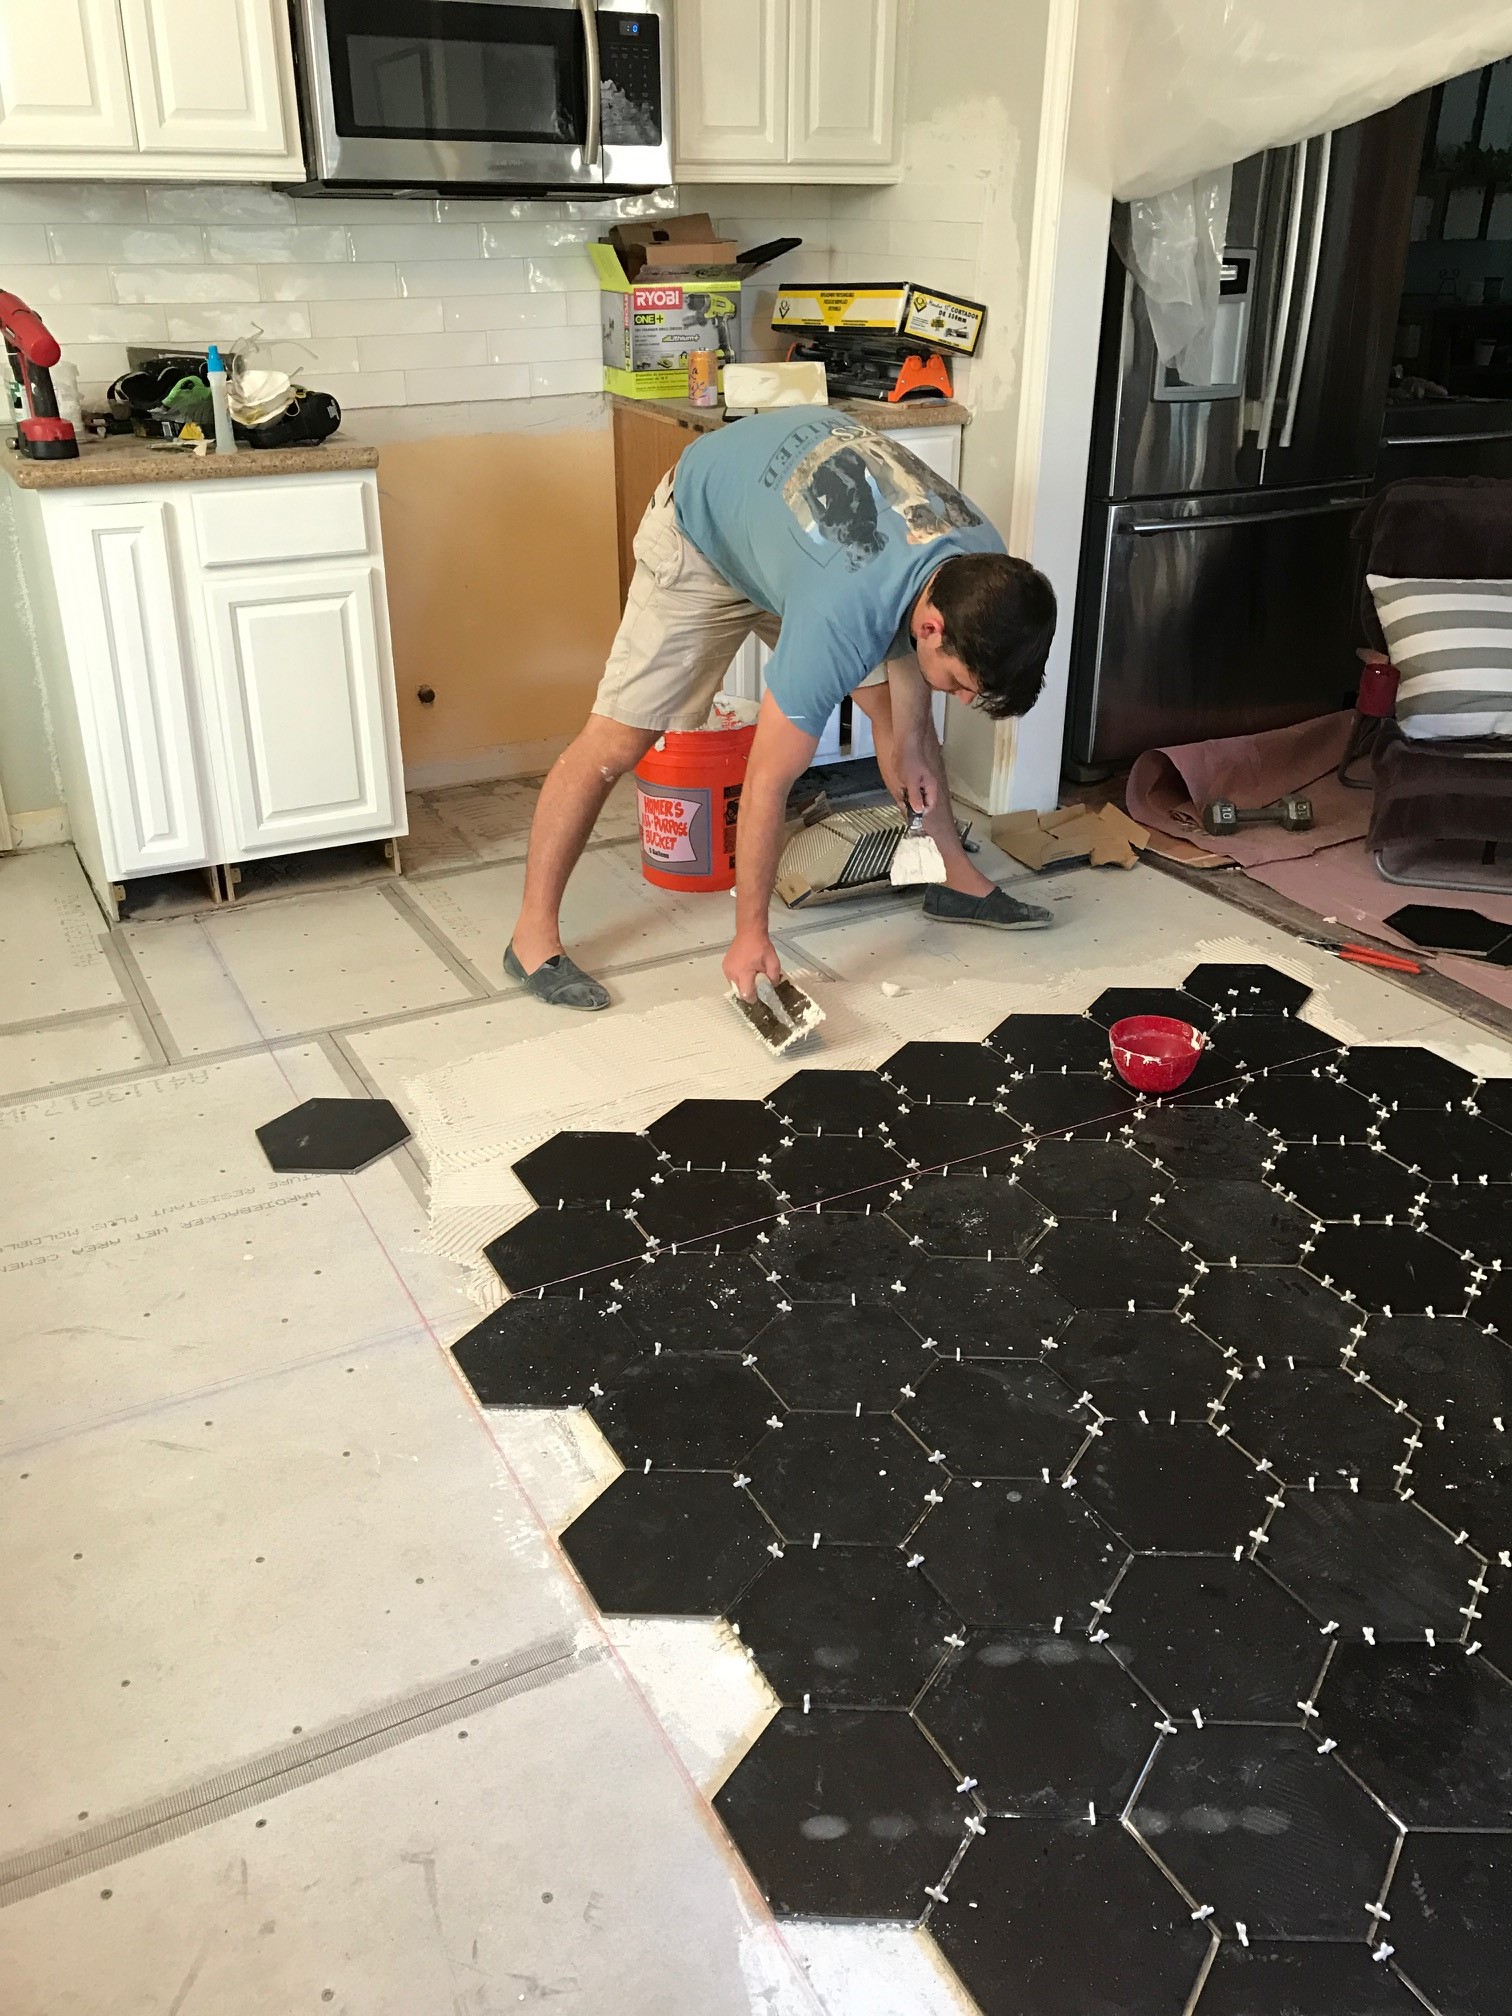
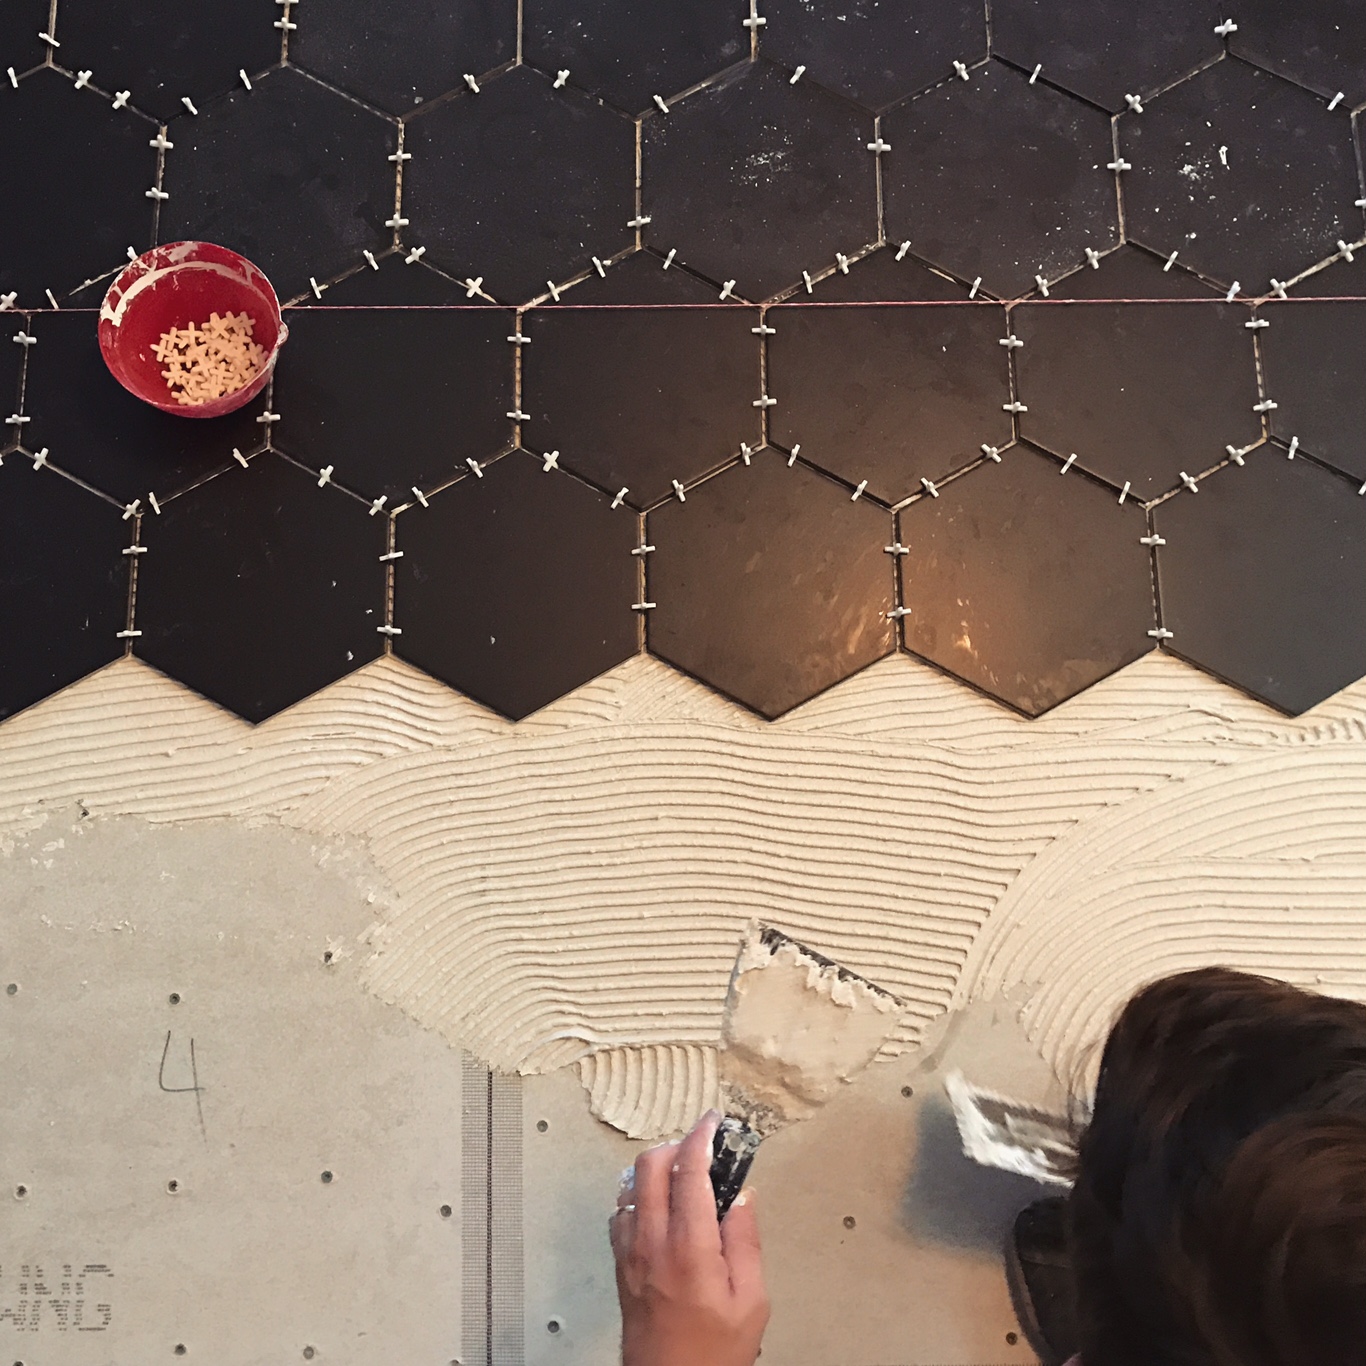
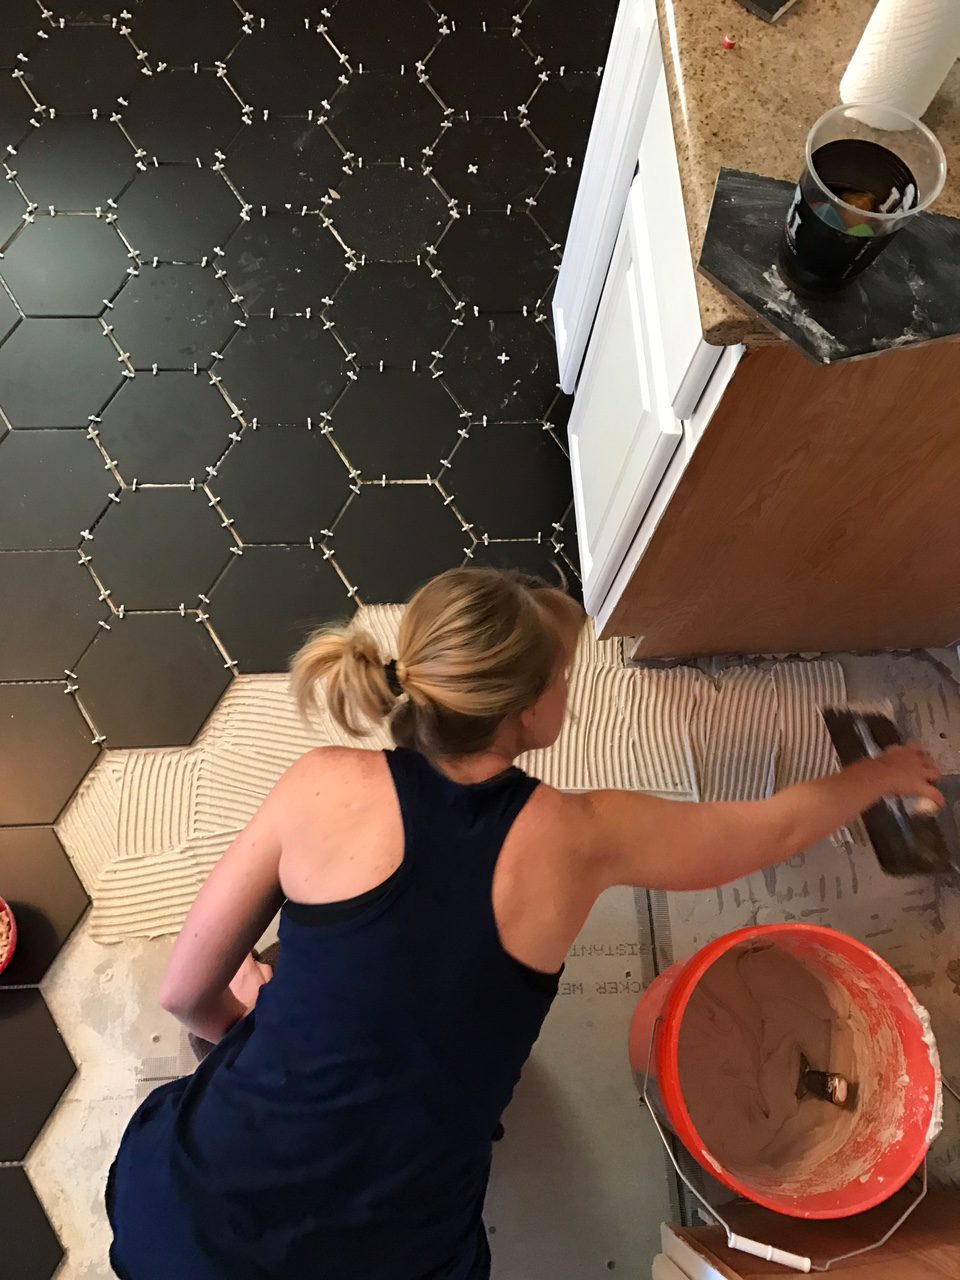
Three days later- ALL DONE!
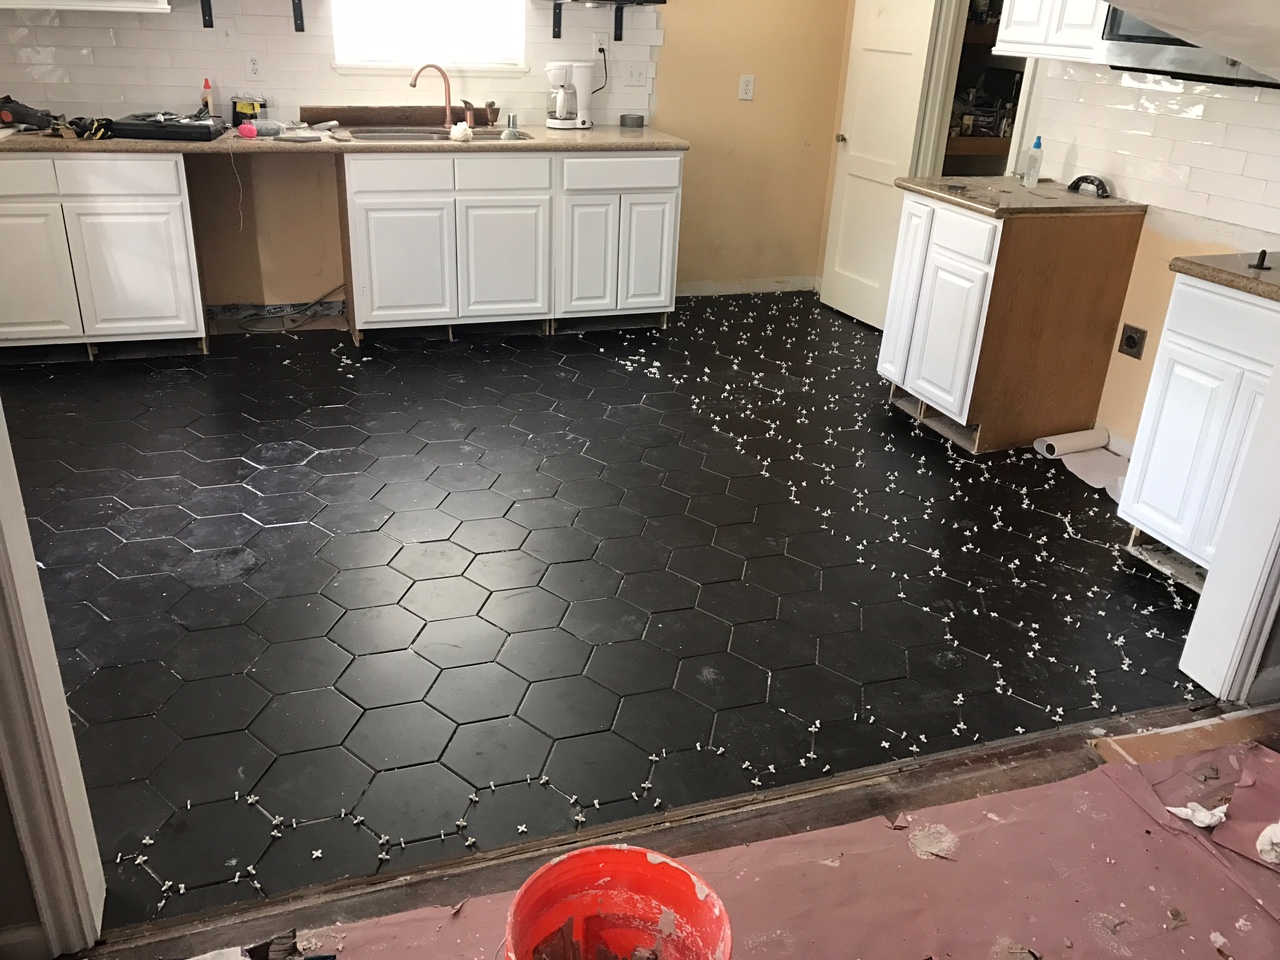
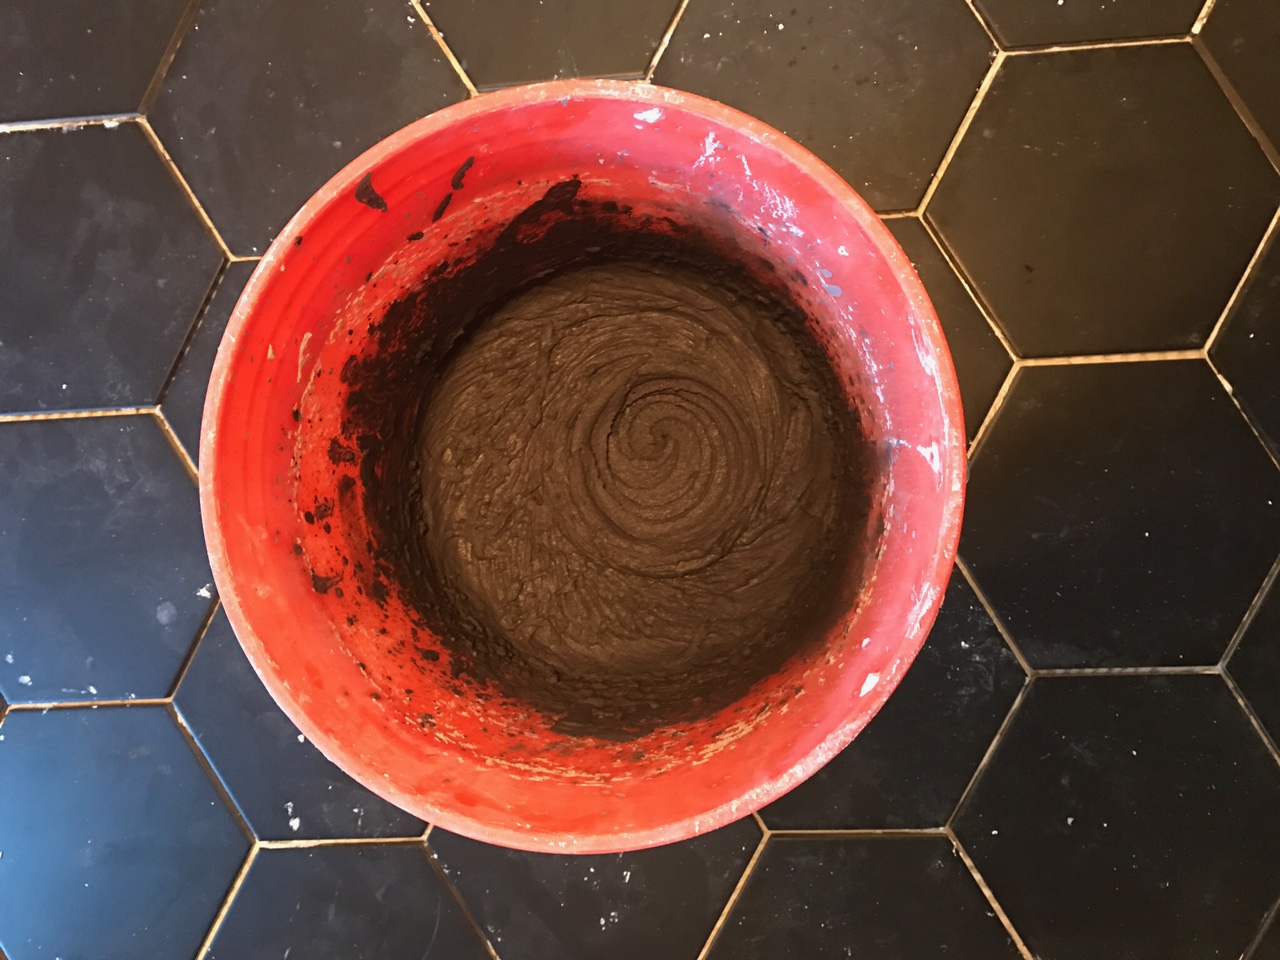
Then David got to work grouting! We selected Pewter gray grout. Not too dark and not too light. This step really made the floor come together.
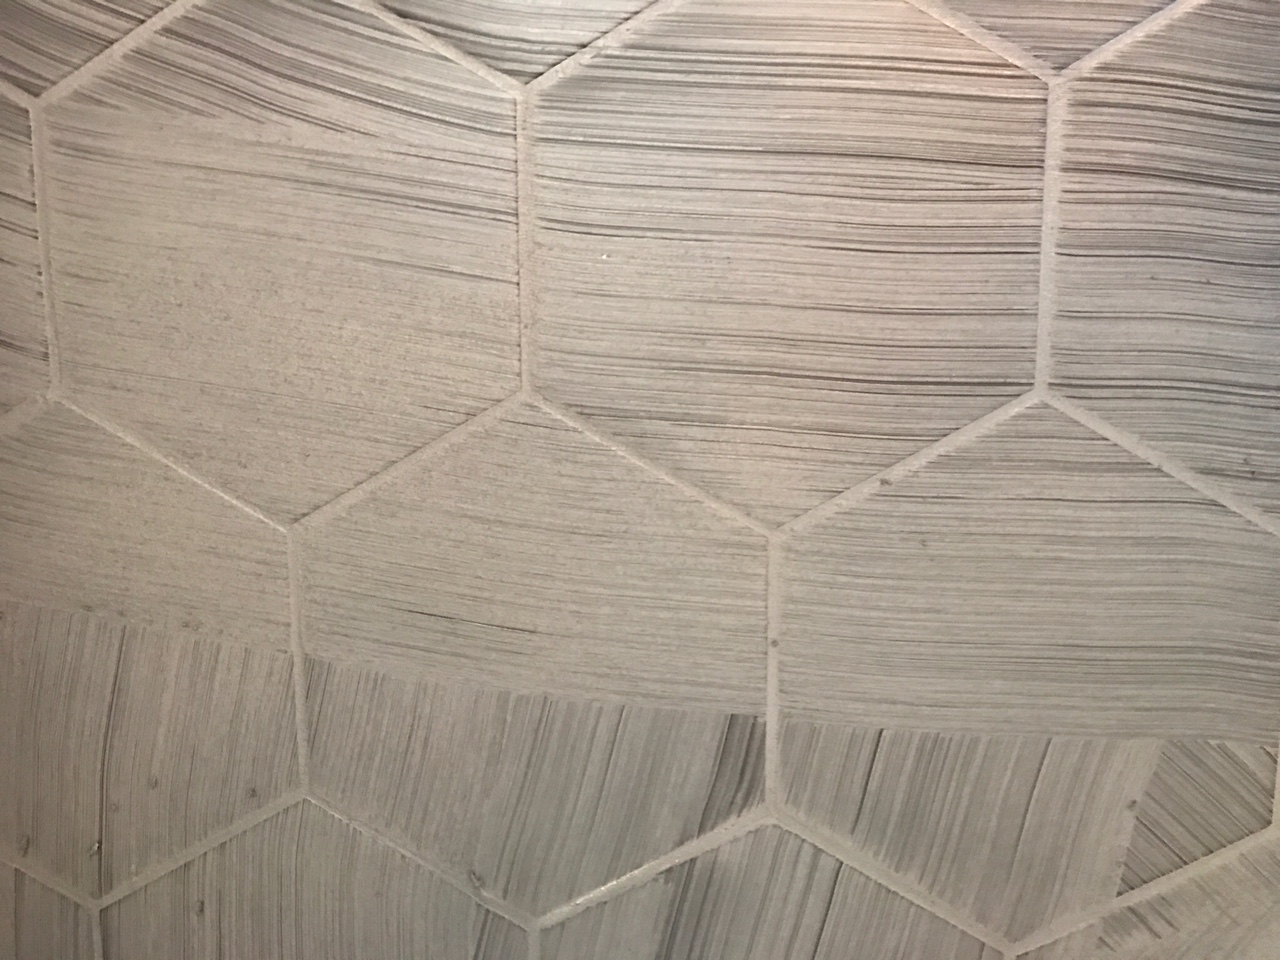
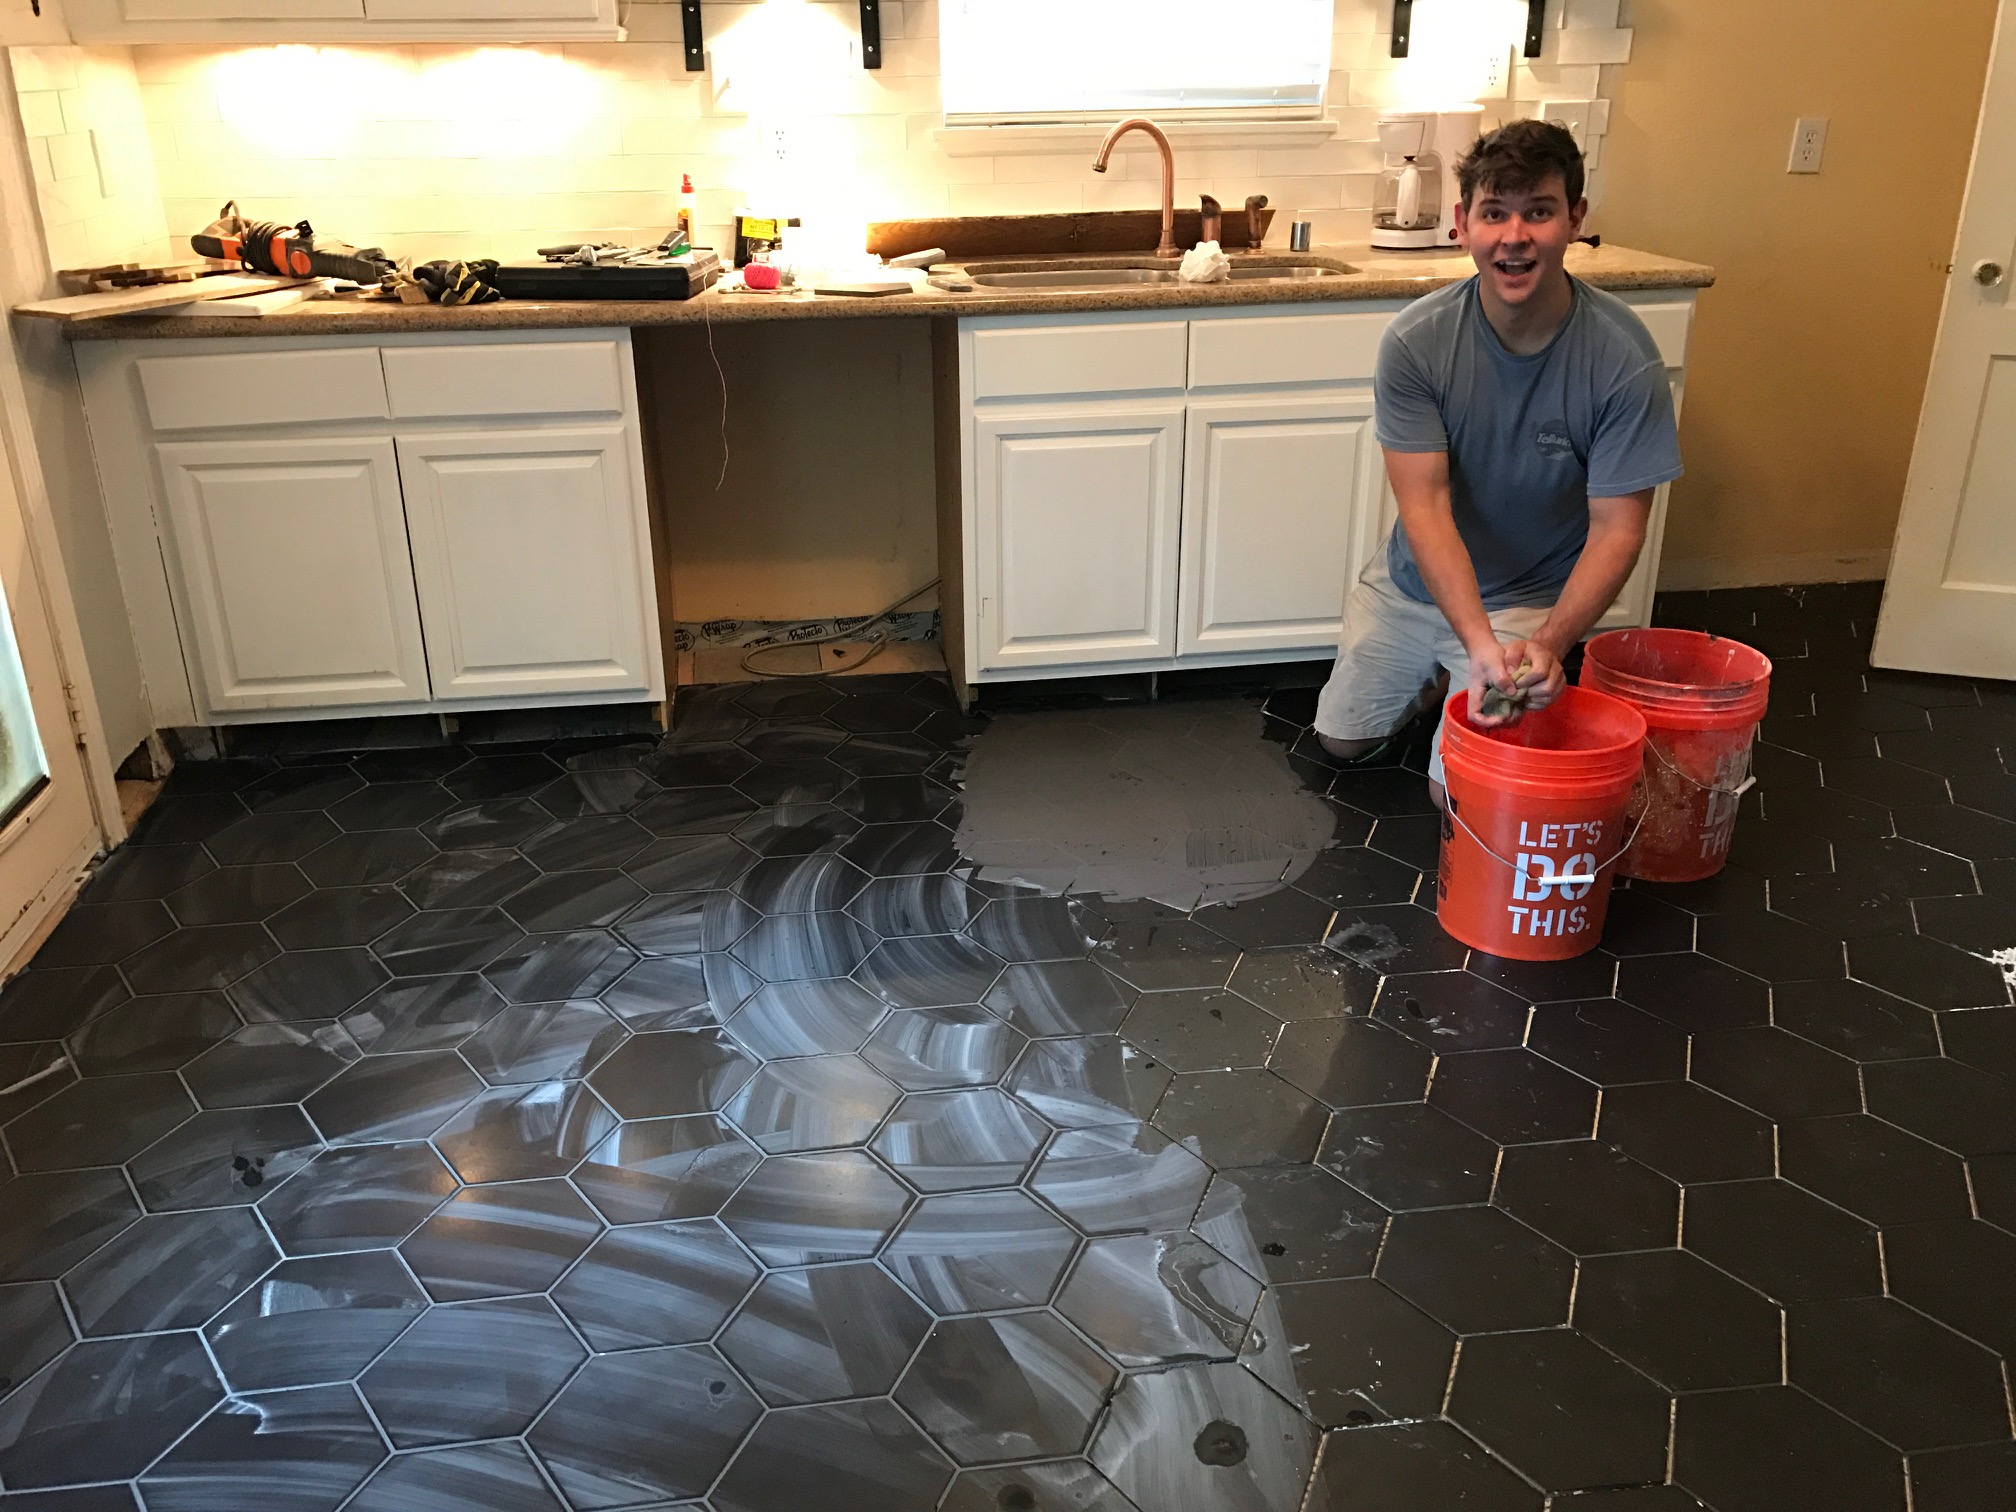
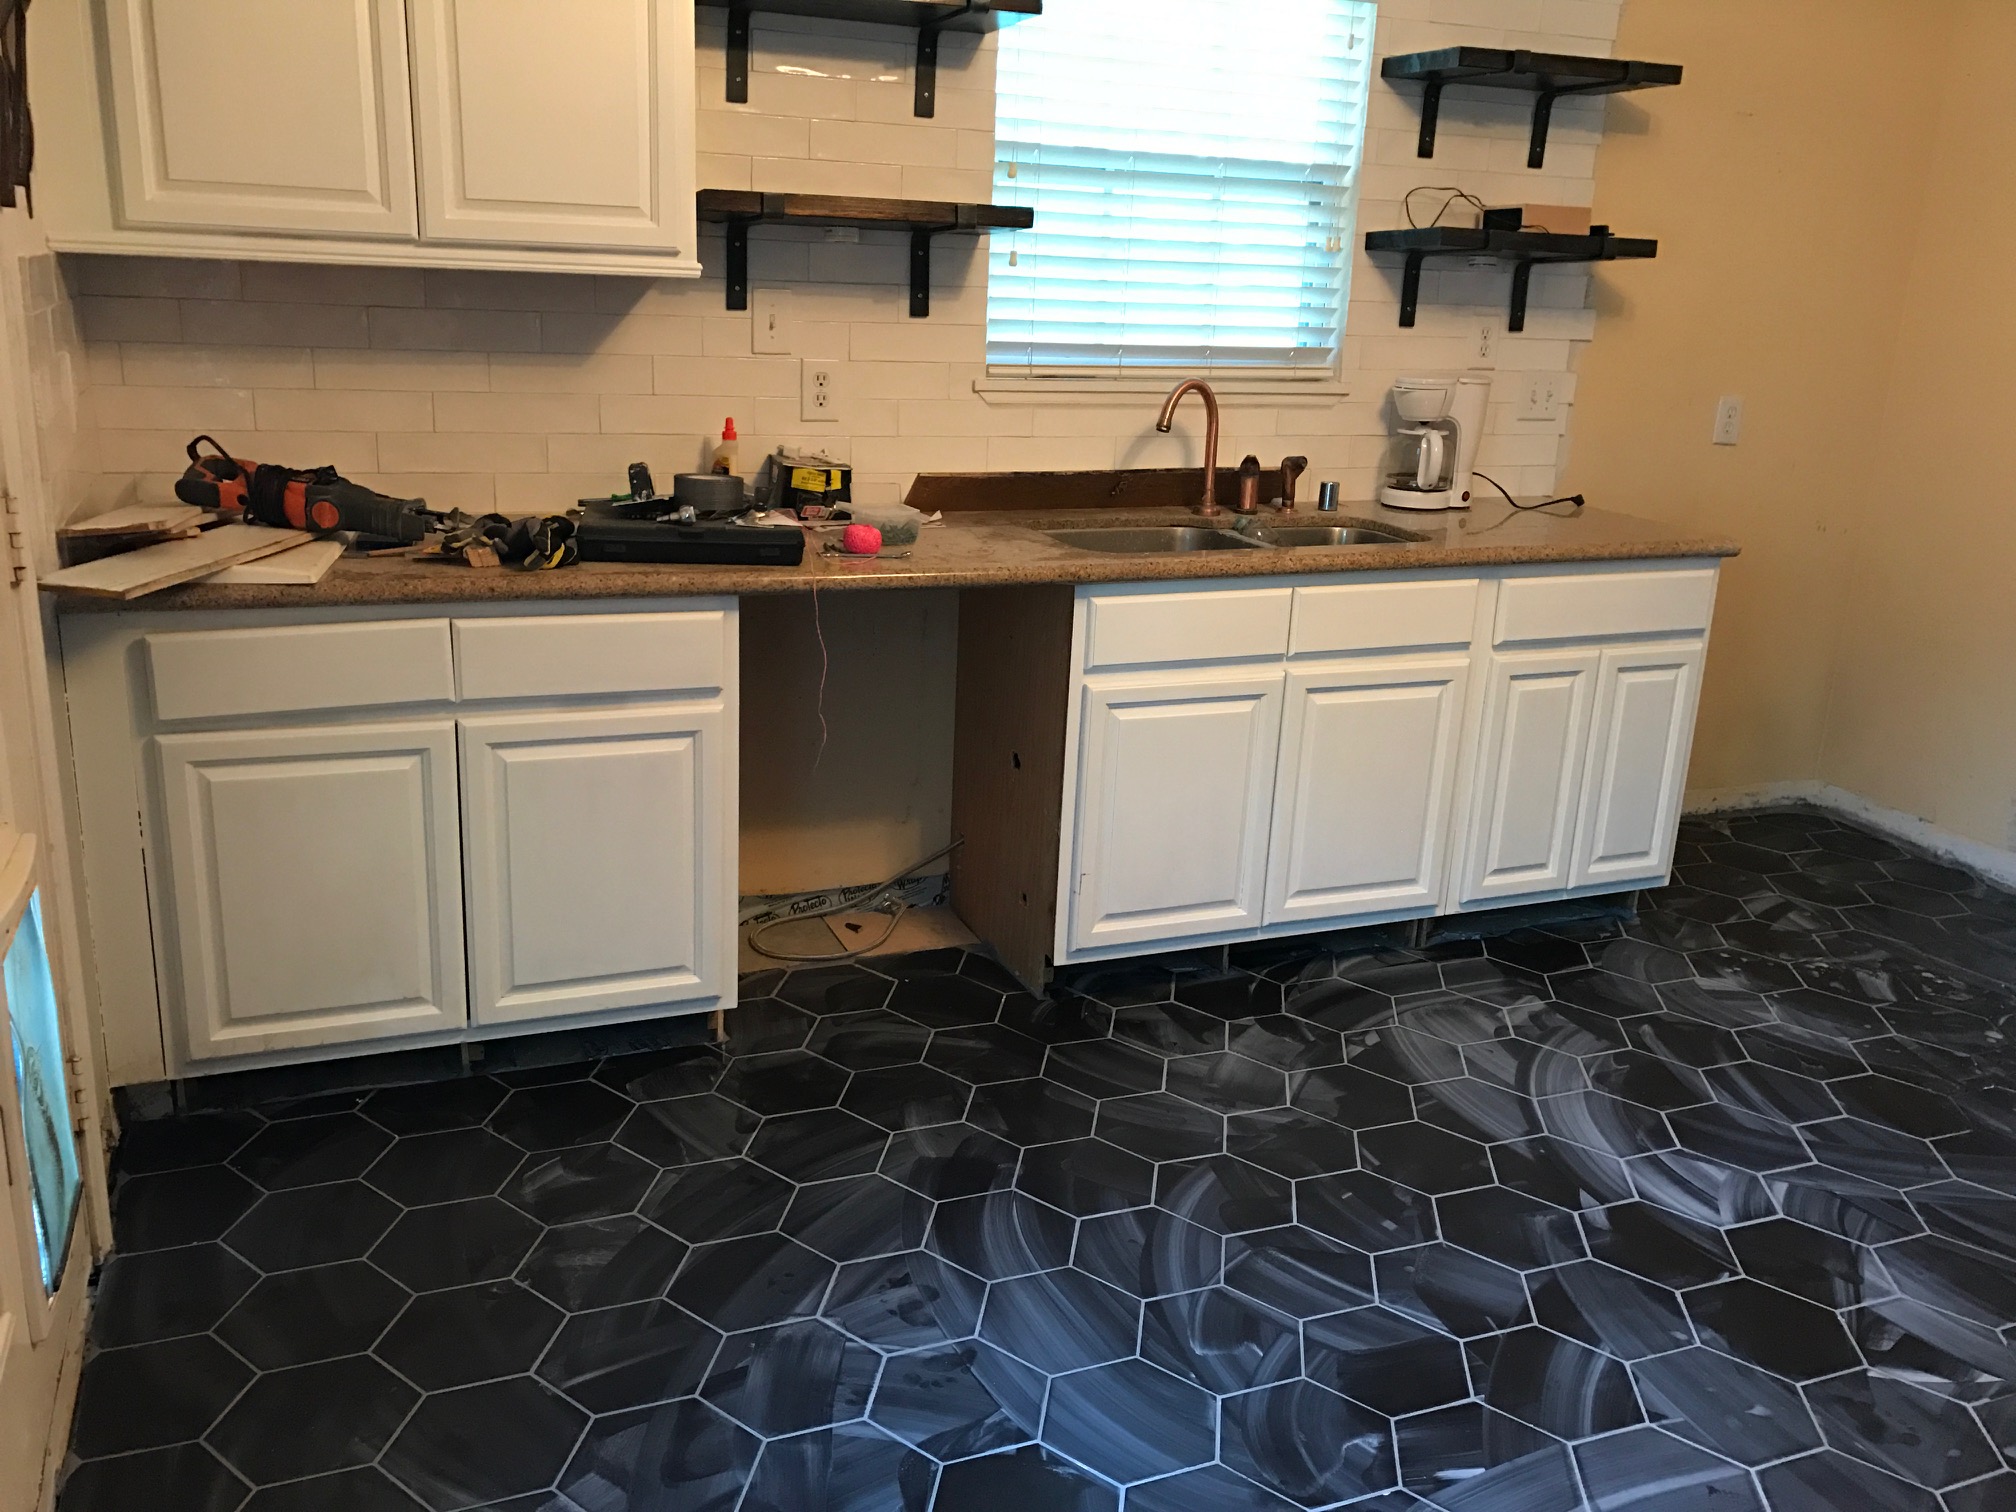
Now all we have to do is seal the grout, move the appliances back in, replace the baseboards, and get the messy kitchen back in order. Finished kitchen photos to come!

